Today, in this blog post, we will explore how to create an Amazon Elastic Kubernetes Service (EKS) cluster using Terraform. We’ll walk through the entire process step-by-step, focusing on essential configurations, including setting up the IAM user and making necessary script adjustments. Let’s dive in!
Prerequisites
Required Tools:
- Terraform installed on your local system.
- AWS CLI configured with your credentials
Architecture:

1. Folder Structure
project-root/
├── main.tf # Core Terraform configuration
├── variables.tf # Input variable definitions
├── outputs.tf # Output definitions
└── README.md # Documentation
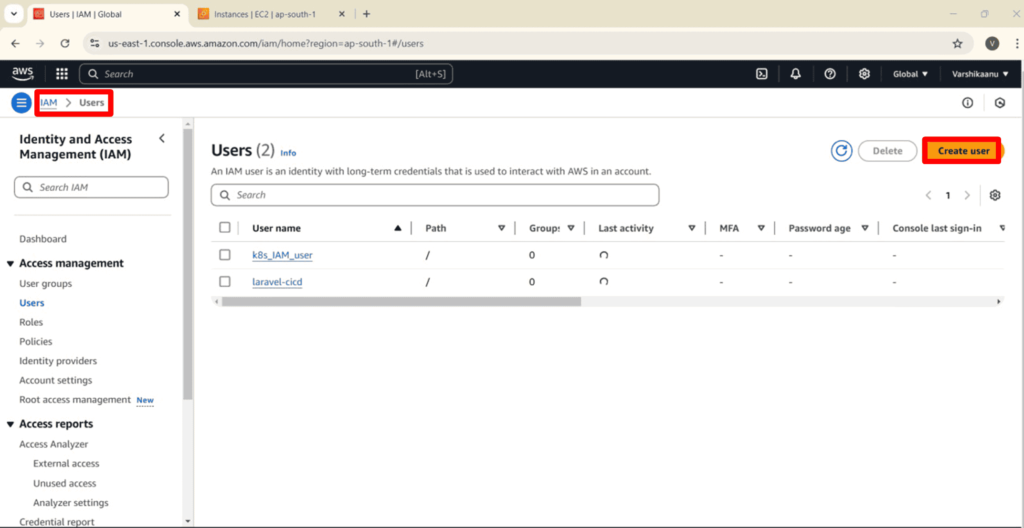
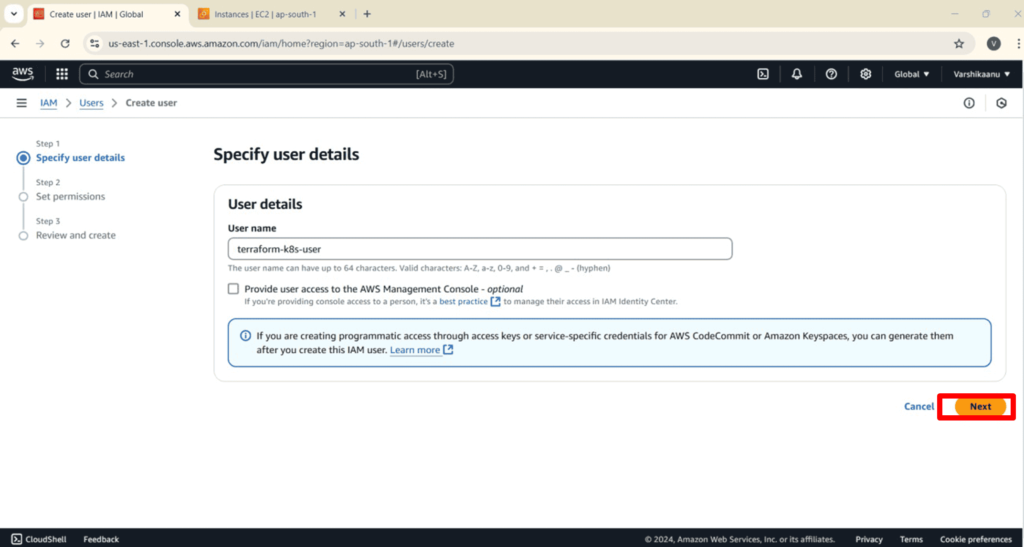
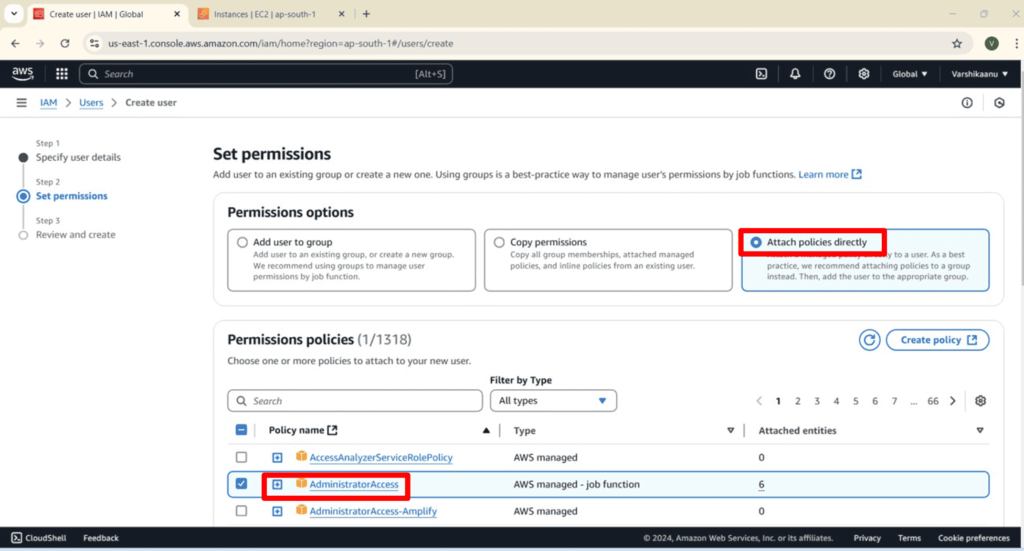
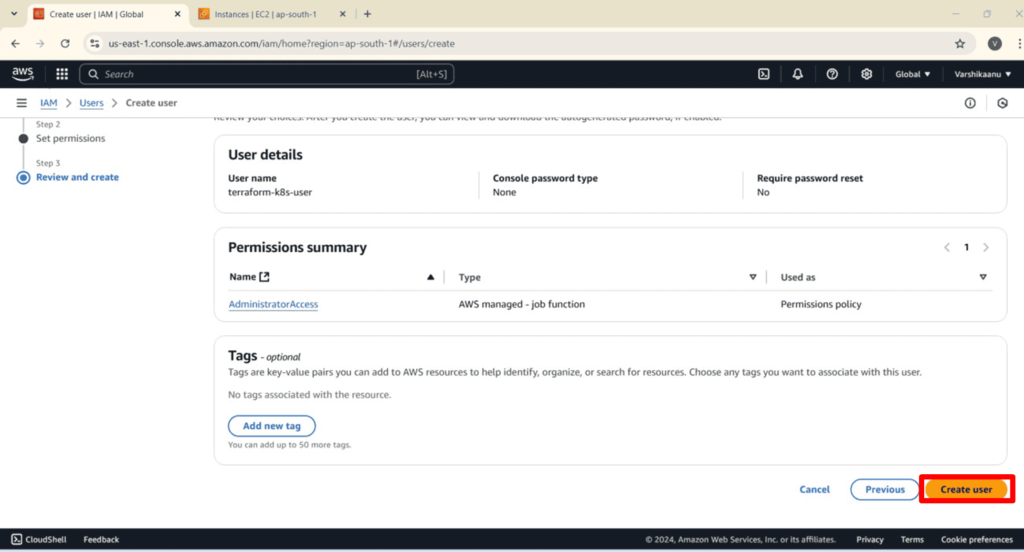
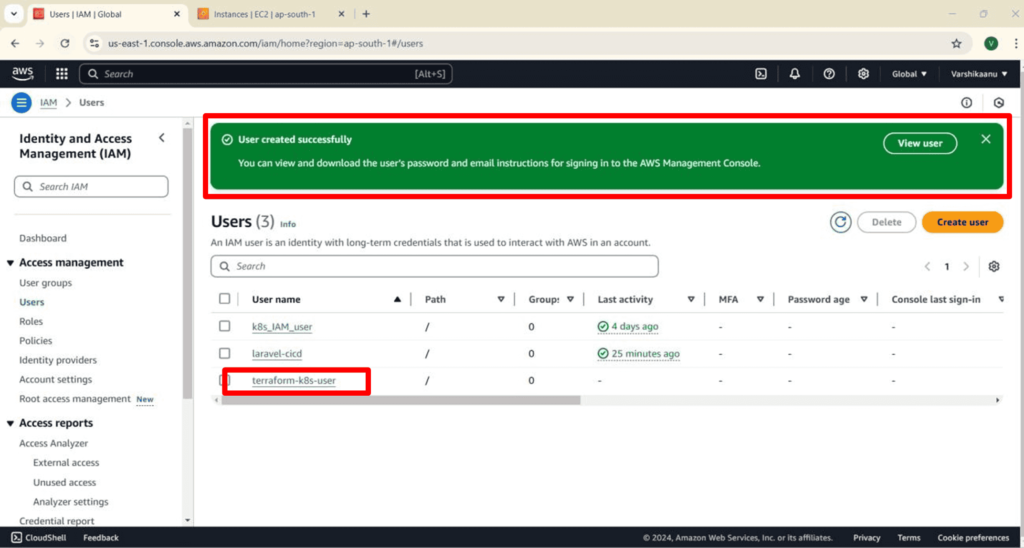
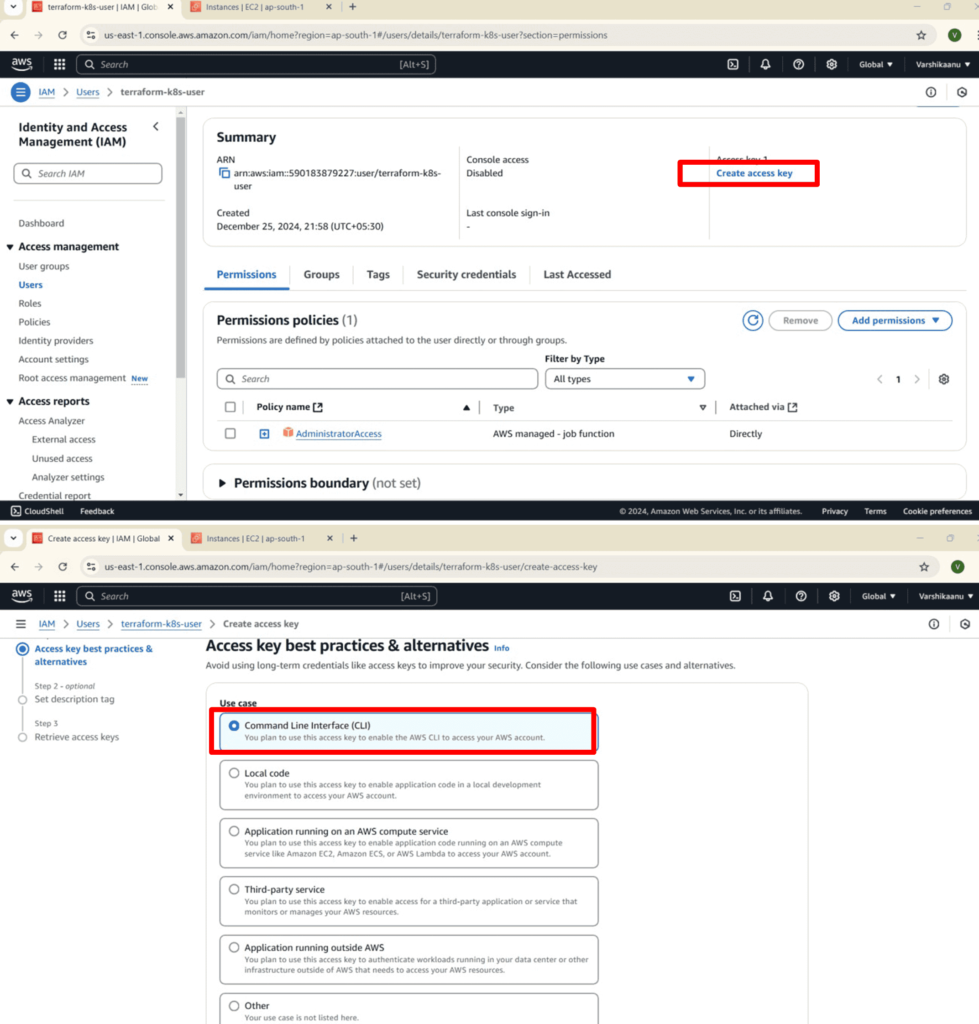
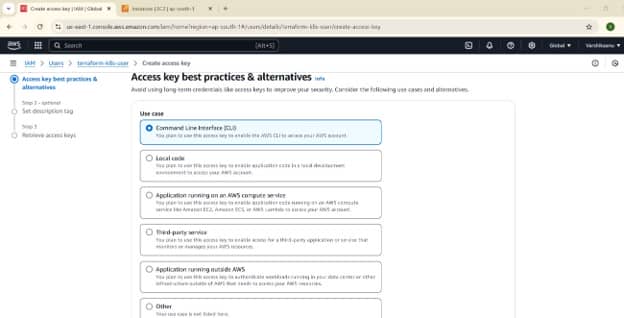
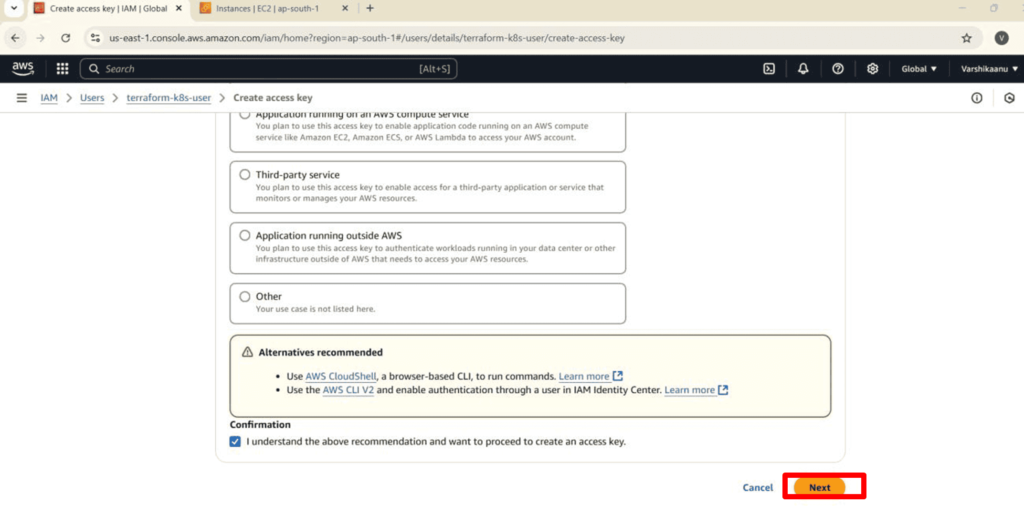
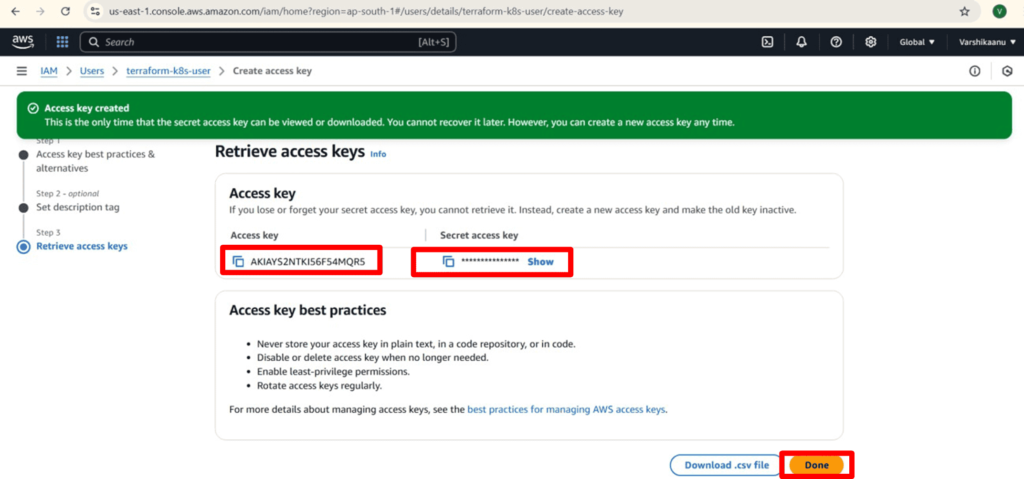
2. IAM User Creation
3. Terraform Script Overview
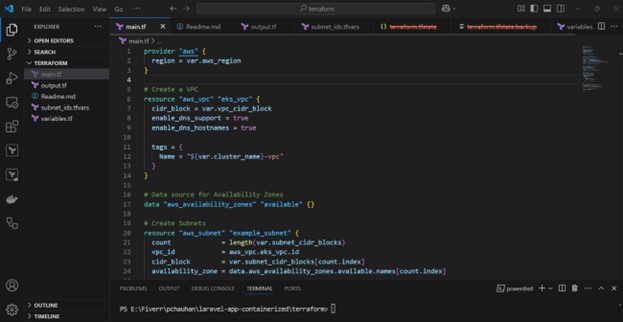
Main.tf
The main configuration includes setting the provider, defining the VPC, subnets, IAM roles, and the EKS cluster.
Provider Setup:
provider "aws" {
region = var.aws_region
}
VPC Creation:
resource "aws_vpc" "eks_vpc" {
  cidr_block = var.vpc_cidr_block
  enable_dns_support = true
  enable_dns_hostnames = true

  tags = {
    Name = "${var.cluster_name}-vpc"
  }
}
Subnets:
resource "aws_subnet" "example_subnet" {
  count             = length(var.subnet_cidr_blocks)
  vpc_id            = aws_vpc.eks_vpc.id
  cidr_block        = var.subnet_cidr_blocks[count.index]
  availability_zone = data.aws_availability_zones.available.names[count.index]

  tags = {
    Name = "${var.cluster_name}-subnet-${count.index}"
  }
}
EKS Cluster:
resource "aws_eks_cluster" "eks_cluster" {
  name     = var.cluster_name
  role_arn = aws_iam_role.eks_role.arn

  vpc_config {
    subnet_ids = aws_subnet.example_subnet[*].id
  }
}
IAM Role for EKS
resource "aws_iam_role" "eks_role" {
  name = "${var.cluster_name}-role"

  assume_role_policy = jsonencode({
    Version = "2012-10-17"
    Statement = [
      {
        Effect = "Allow"
        Principal = {
          Service = "eks.amazonaws.com"
        }
        Action = "sts:AssumeRole"
      }
    ]
  })
}
Policy Attachments for IAM Role
resource "aws_iam_role_policy_attachment" "eks_policies" {
  for_each = toset([
    "arn:aws:iam::aws:policy/AmazonEKSClusterPolicy",
    "arn:aws:iam::aws:policy/AmazonEKSVPCResourceController",
  ])

  role       = aws_iam_role.eks_role.name
  policy_arn = each.value
}
outputs.tf
Define outputs to display the EKS cluster’s key details:
output "eks_cluster_name" {
  description = "Name of the EKS cluster"
  value       = aws_eks_cluster.eks_cluster.name
}

output "eks_cluster_endpoint" {
  description = "EKS Cluster endpoint"
  value       = aws_eks_cluster.eks_cluster.endpoint
}

output "eks_cluster_arn" {
  description = "EKS Cluster ARN"
  value       = aws_eks_cluster.eks_cluster.arn
}
variables.tf
Customize the variables for the Terraform configuration:
variable "aws_region" {
  description = "AWS region to deploy resources"
  default     = "ap-south-1"
}

variable "cluster_name" {
  description = "Name of the EKS cluster"
  default     = "alvin-eks-cluster"
}

variable "vpc_cidr_block" {
  description = "CIDR block for the VPC"
  default     = "10.0.0.0/16"
}

variable "subnet_cidr_blocks" {
  description = "List of CIDR blocks for the subnets"
  type        = list(string)
  default     = ["10.0.1.0/24", "10.0.2.0/24"]
}
4. Execution Steps
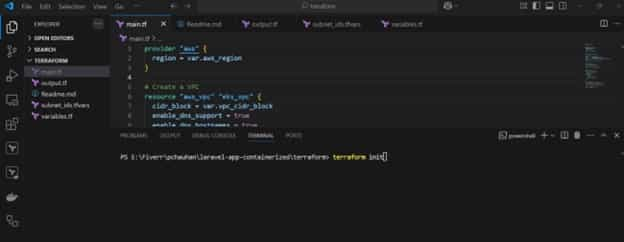
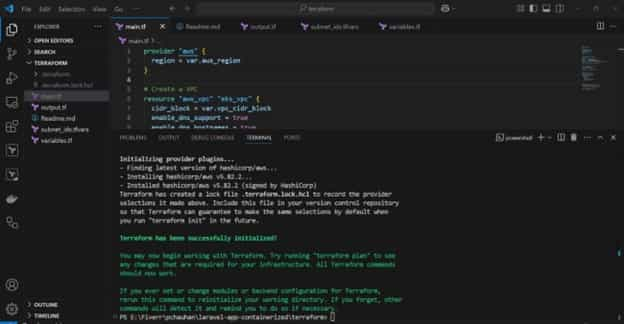
Initialize Terraform:
Run the initialization command to set up the working environment:
bash
terraform init
Plan Configuration:
Generate and review the execution plan:
bash
terraform plan

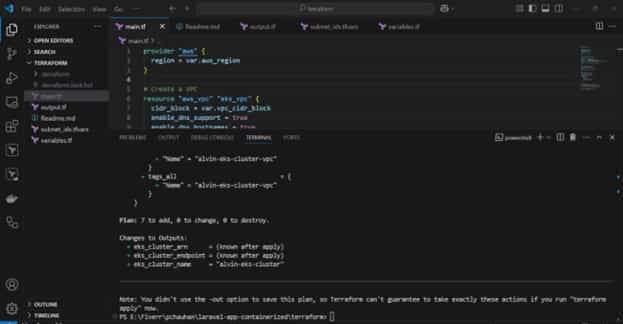
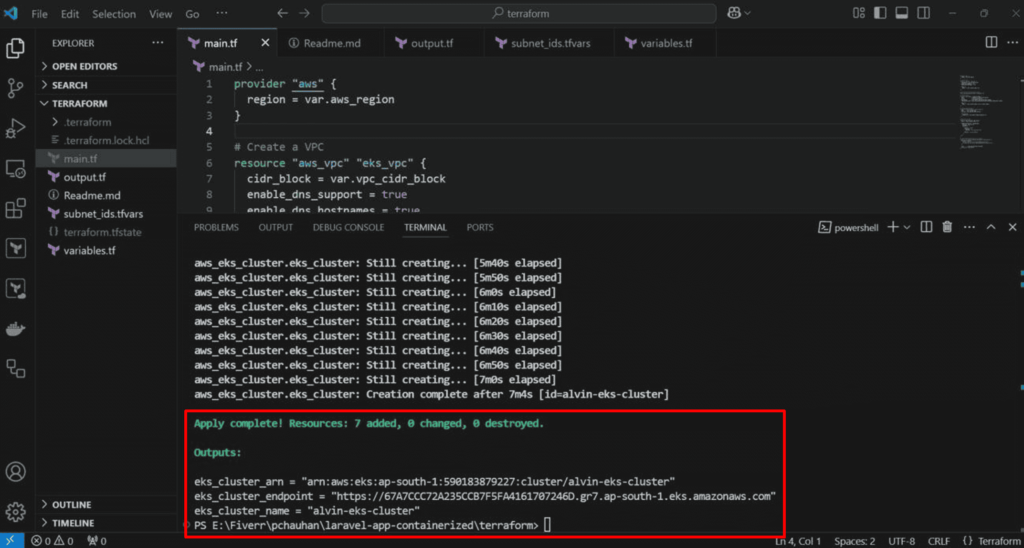
Before executing the terraform apply command, I retrieved and reviewed the EKS output.
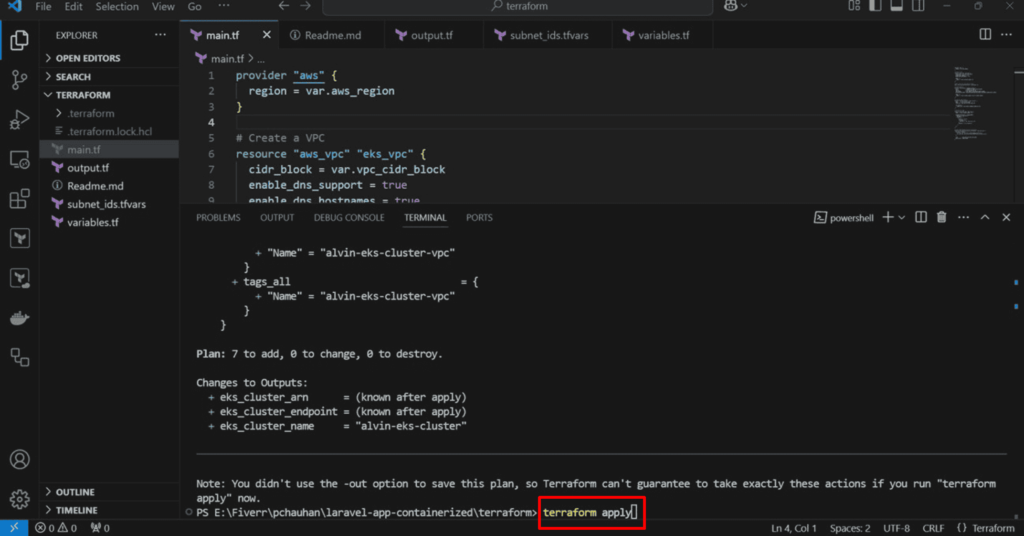
Apply Configuration:
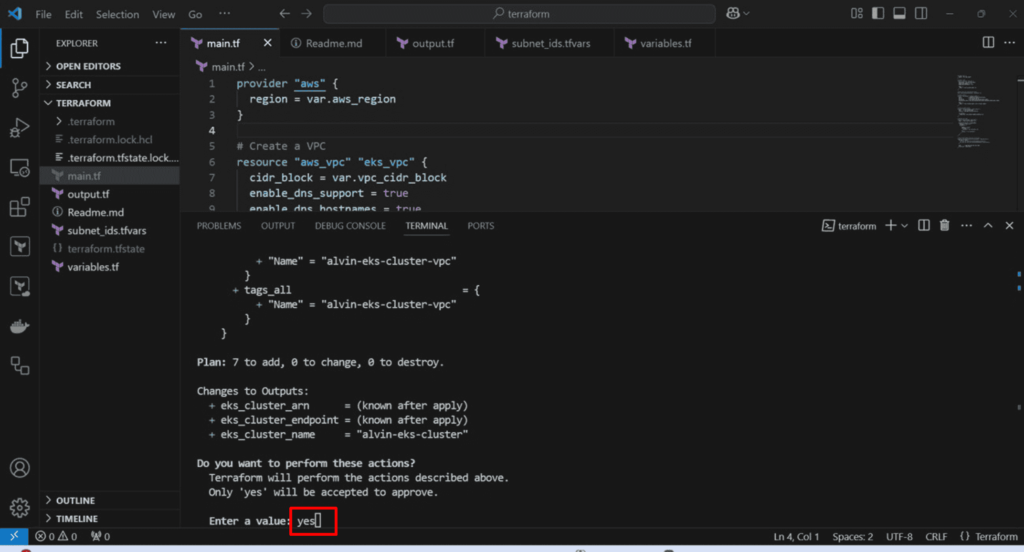
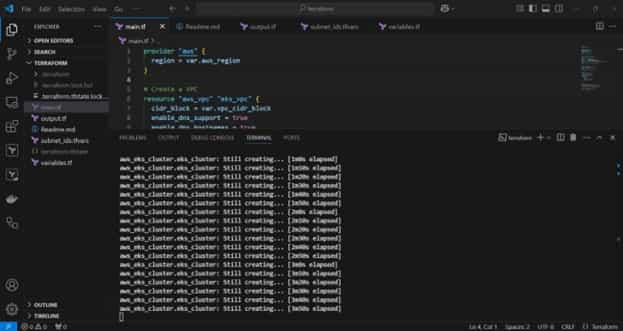
Apply the configuration to create the resources:
bash
terraform apply
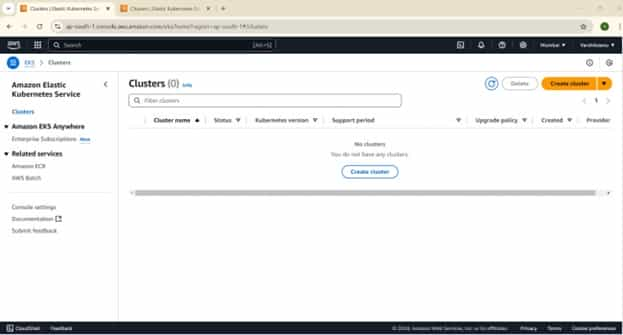
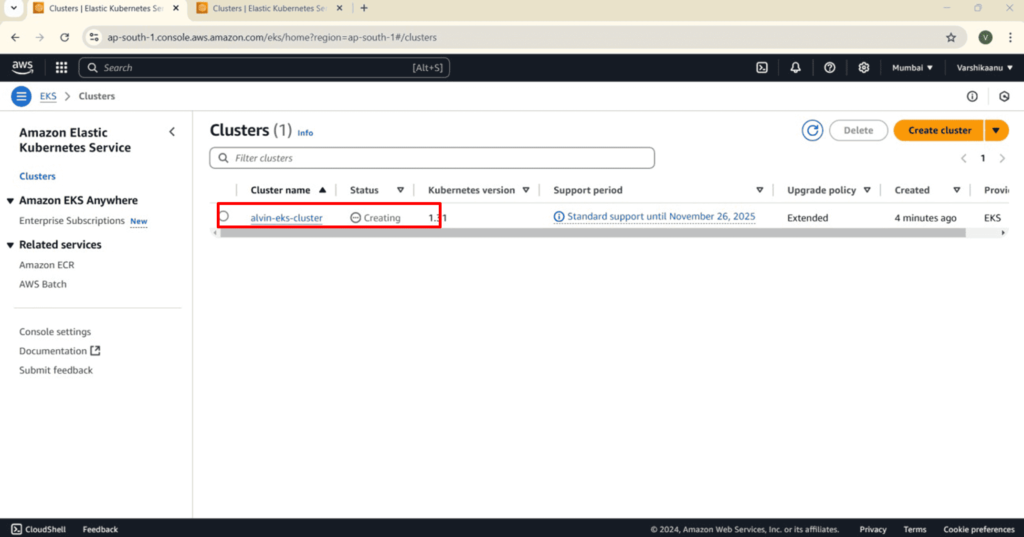
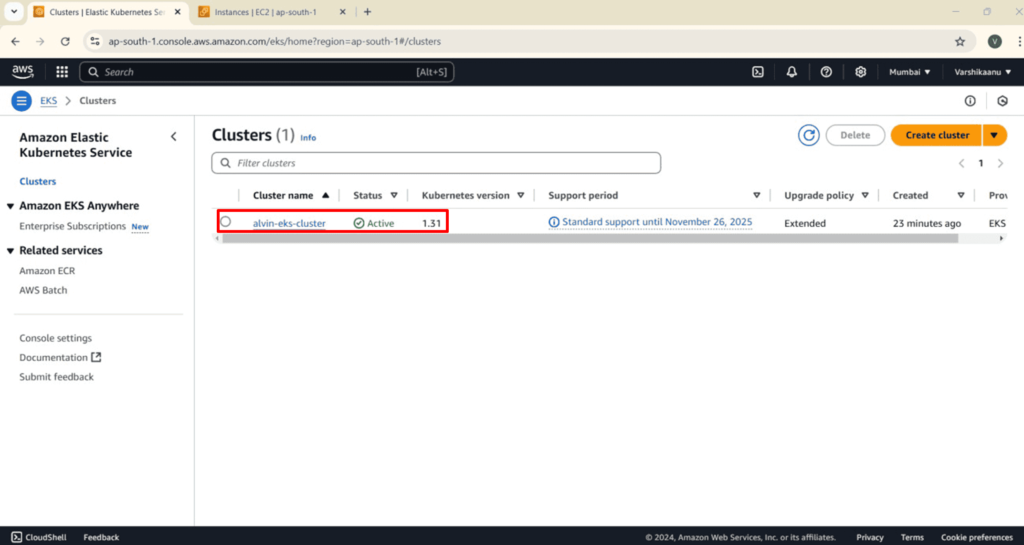
Validate the EKS cluster:
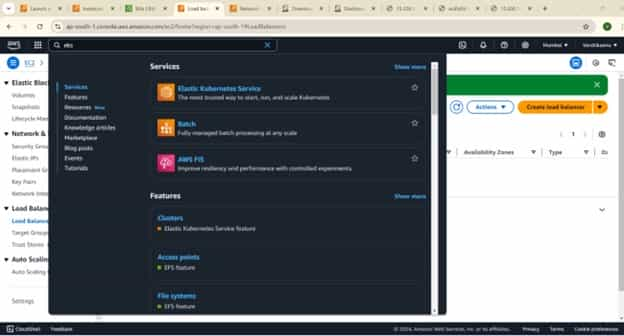
- Navigate to the **Amazon EKS console**.
- Review the cluster’s status and configuration details to ensure it has been created.
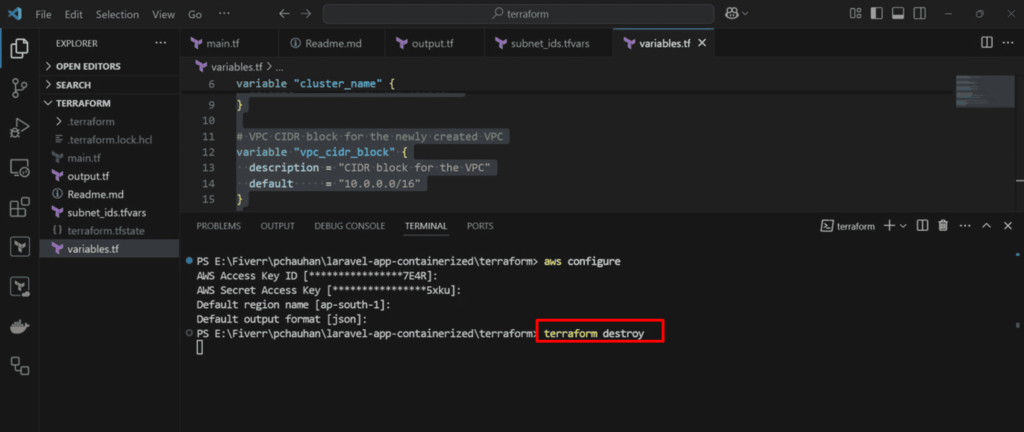
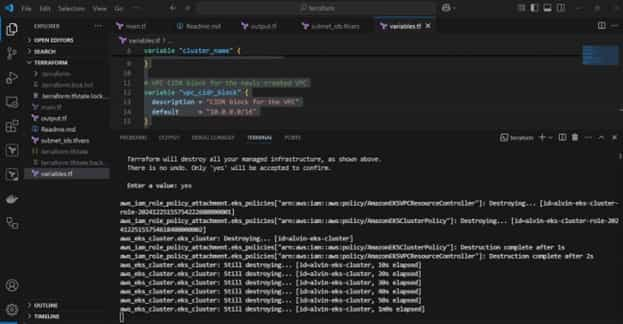
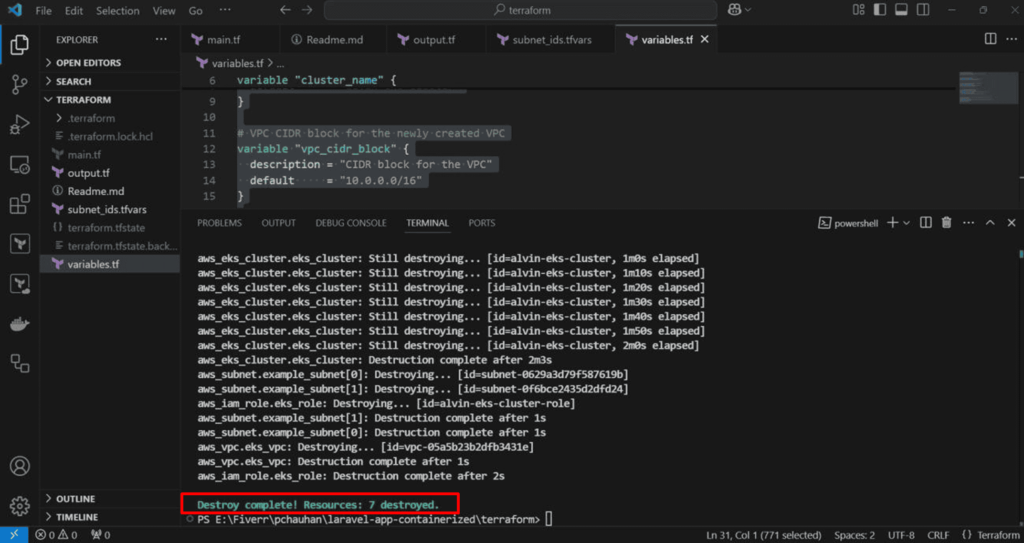
To destroy the resources
- Run the following command:
terraform destroy
Conclusion
This setup provides an easy and secure way to deploy an EKS cluster on AWS. It’s flexible and can be adjusted to fit your needs, making it a great starting point for exploring DevOps and cloud-native solutions.
A big thank you for exploring TechsBucket! Your visit means a lot to us, and we’re grateful for your time on our platform. If you have any feedback or suggestions, we’d love to hear them.