
A to-do list application is a practical tool that helps users stay organized by keeping track of tasks, goals, and daily activities. Whether you’re a coding enthusiast or a beginner in web development, building a to-do list app is an excellent project to learn key skills in HTML, CSS, and JavaScript.
In this guide, we’ll explore how to create a simple yet efficient task management tool that allows users to add, delete, and manage tasks dynamically. Plus, we’ll look into enhancing the application with local storage for persistent task saving.
Setting Up the Project Structure
Before diving into the code, you need a clear project structure. Here’s how to organize your files:
/to-do-list-app
  ├── index.html
  ├── style.css
  ├── script.js
- index.html: The main file where the application’s structure resides.
- style.css: Handles the styling for a visually appealing interface.
- script.js: Contains the logic for task management features.
Building the HTML Structure
Start by creating the foundational structure of the application. Open the index.html file and include the following code:
html
<!DOCTYPE html>
<html lang="en">
<head>
  <meta charset="UTF-8">
  <meta name="viewport" content="width=device-width, initial-scale=1.0">
  <title>To-Do List Application</title>
  <link rel="stylesheet" href="style.css">
</head>
<body>
  <div class="container">
    <h1>My To-Do List</h1>
    <div class="input-section">
      <input type="text" id="taskInput" placeholder="Add a new task..." />
      <button id="addTaskBtn">Add Task</button>
    </div>
    <ul id="taskList"></ul>
  </div>
  <script src="script.js"></script>
</body>
</html>
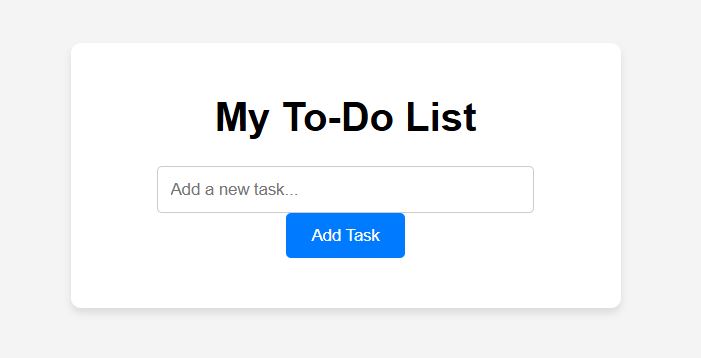
This code creates:
- A header for the application.
- An input field and button for adding tasks.
- A list (ul) to display tasks dynamically.
Styling with CSS
To make your application visually appealing, use CSS. Open the style.css file and add the following:
CSS
body {
  font-family: Arial, sans-serif;
  background-color: #f4f4f4;
  margin: 0;
  padding: 0;
  display: flex;
  justify-content: center;
  align-items: center;
  height: 100vh;
}

.container {
  background: white;
  padding: 20px;
  border-radius: 8px;
  box-shadow: 0 4px 6px rgba(0, 0, 0, 0.1);
  width: 100%;
  max-width: 400px;
  text-align: center;
}

.input-section {
  margin-bottom: 20px;
}

input {
  width: 70%;
  padding: 10px;
  border: 1px solid #ccc;
  border-radius: 4px;
}

button {
  padding: 10px 20px;
  border: none;
  background-color: #007BFF;
  color: white;
  cursor: pointer;
  border-radius: 4px;
}

button:hover {
  background-color: #0056b3;
}

ul {
  list-style: none;
  padding: 0;
}

li {
  background: #f9f9f9;
  margin: 10px 0;
  padding: 10px;
  display: flex;
  justify-content: space-between;
  align-items: center;
  border-radius: 4px;
}

.completed {
  text-decoration: line-through;
  color: gray;
}
Writing JavaScript for Dynamic Updates
JavaScript powers the core functionality of the to-do list. Open script.js and add the following:
javascript
document.addEventListener("DOMContentLoaded", () => {
  const taskInput = document.getElementById("taskInput");
  const addTaskBtn = document.getElementById("addTaskBtn");
  const taskList = document.getElementById("taskList");

  // Add Task
  addTaskBtn.addEventListener("click", () => {
    const taskText = taskInput.value.trim();
    if (taskText !== "") {
      const taskItem = document.createElement("li");
      taskItem.innerHTML = `
        <span>${taskText}</span>
        <button class="deleteBtn">Delete</button>
      `;

      taskItem.querySelector("span").addEventListener("click", () => {
        taskItem.querySelector("span").classList.toggle("completed");
      });

      taskItem.querySelector(".deleteBtn").addEventListener("click", () => {
        taskList.removeChild(taskItem);
        saveTasks();
      });

      taskList.appendChild(taskItem);
      taskInput.value = "";
      saveTasks();
    }
  });

  // Save tasks to localStorage
  const saveTasks = () => {
    const tasks = [];
    taskList.querySelectorAll("li").forEach(task => {
      tasks.push({
        text: task.querySelector("span").innerText,
        completed: task.querySelector("span").classList.contains("completed"),
      });
    });
    localStorage.setItem("tasks", JSON.stringify(tasks));
  };

  // Load tasks from localStorage
  const loadTasks = () => {
    const savedTasks = JSON.parse(localStorage.getItem("tasks") || "[]");
    savedTasks.forEach(task => {
      const taskItem = document.createElement("li");
      taskItem.innerHTML = `
        <span class="${task.completed ? 'completed' : ''}">${task.text}</span>
        <button class="deleteBtn">Delete</button>
      `;
      taskItem.querySelector("span").addEventListener("click", () => {
        taskItem.querySelector("span").classList.toggle("completed");
        saveTasks();
      });
      taskItem.querySelector(".deleteBtn").addEventListener("click", () => {
        taskList.removeChild(taskItem);
        saveTasks();
      });
      taskList.appendChild(taskItem);
    });
  };

  loadTasks();
});
Explanation of Key Features
- Adding Tasks: Tasks are dynamically created and appended to the list.
- Marking Tasks as Complete: Clicking on a task toggles the “completed” class.
- Deleting Tasks: A delete button removes tasks from the DOM and localStorage.
- Saving Tasks: Tasks are saved in localStorage to persist after refreshing the page.
Saving Tasks Using localStorage
The localStorage API is used to store tasks as a JSON string. This ensures the tasks remain available even after closing the browser.
