In this article, we will walk you through the step-by-step process of installing and configuring Ansible on CentOS 7 and CentOS 8. By providing detailed instructions, practical tips, and troubleshooting insights, we aim to empower you with the knowledge to successfully set up Ansible and harness its capabilities to manage your infrastructure seamlessly.
What is Ansible?
Ansible is a radically simple IT automation engine that automates cloud provisioning, configuration management, application deployment, intra-service orchestration, and many other IT needs.
It is an agentless management tool and it doesn’t require any other agent to be installed on remote hosts, which makes it different from other similar tools like Puppet & Chef, Both these tools need agents to be installed on remote hosts to manage them. Ansible communicates with its hosts by using SSH to manage them.
Ansible Terminology
Ansible Master Node: It is a Linux machine where we will install the Ansible tool to manage all other Linux servers centrally. This is also called a controller Node.
Remote Host Inventory: It is a file in the Ansible master node, where we made entries of all the remote servers/devices that need to be managed by the Ansible master node for the deployment of applications and services.
Playbook: These are basically Ansible scripts that are written in the “YAML” language. We can write different playbooks as per our requirements. Playbooks contain
Steps to install Ansible on CentOS 7 / 8
To get Ansible for CentOS 7, first, ensure that the CentOS 7 EPEL repository is installed
# sudo yum install epel-release
Once the repository is installed, install Ansible with yum:
# sudo yum install ansible
Configuring Ansible Hosts
Step 1
Add all the Linux boxes in “/etc/Ansible/hosts” hosts inventory file

- [testans] is the Group name of remote hosts on which we need to manage
- In Group Testans we have 3 servers mentioned, we can add many more servers
Step 2
Copy “ssh-key” to all the remote hosts mentioned in host inventory file by using below command, we have to copy “ssh key” to all the host servers we need to install.
# ssh-copy-id qorblvsitestvm3

Step3
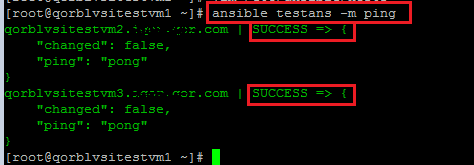
Verify if all the host servers mentioned in Host Inventory file is pinging using below command
# ansible testans -m ping

Below is an example of a playbook which will install VMtool on Linux virtual machines in Vcenter.
---
- hosts: VMtool

  remote_user: root

  tasks:
  - name: Install dependencies from repository
    yum: name={{ item }} state=present
    with_items:
      - open-vm-tools
  - name: Enabling vmtoolsd
    service:
      name: vmtoolsd
      enabled: yes
  - name: Starting vmtoolsd
    service:
      name: vmtoolsd
      state: restarted
Run the Ansible Playbook to update/install VM Tools
Step 1
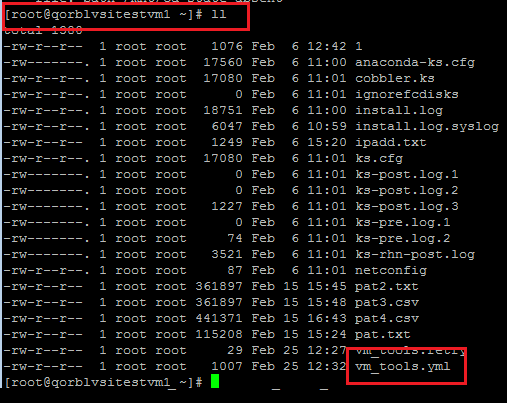
Ansible Playbook is saved in /root directory “vm_tools.yml

Step 2
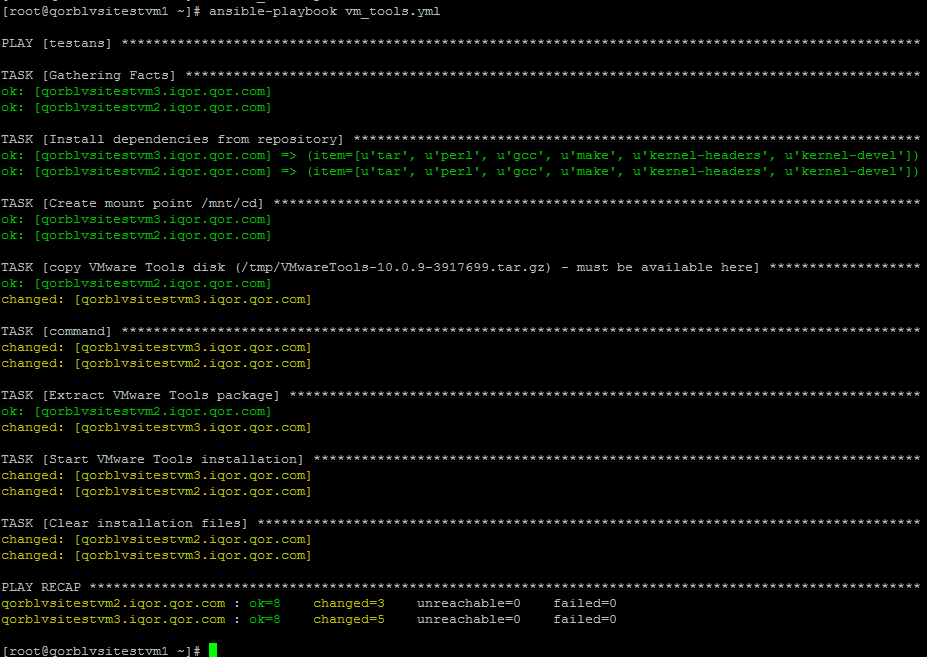
Run the Playbook with the below command
# ansible-playbook vm_tools.yml

Step 3
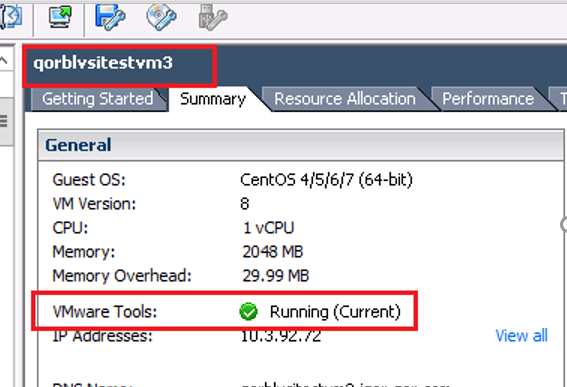
Once the playbook is executed successfully you can verify if the VM Tool is installed and running from the VMware Client

By following the steps outlined in this guide, you’ve gained a solid foundation in setting up Ansible and understanding its core concepts. As you continue to explore and apply Ansible’s capabilities, you’ll discover the immense potential it holds for transforming the way you manage and maintain your systems


