
Hello friends, in this article I will guide you on how to deploy MariaDB and PhpMyAdmin using Docker with images.
Docker is a platform and technology for building, shipping, and running distributed applications. It uses containerization to package an application and its dependencies in a single unit, which can be run consistently across different environments.
Install Docker on Linux
Docker allows for greater flexibility and portability for developers, as well as easier deployment and scaling for applications in production.
Step 1
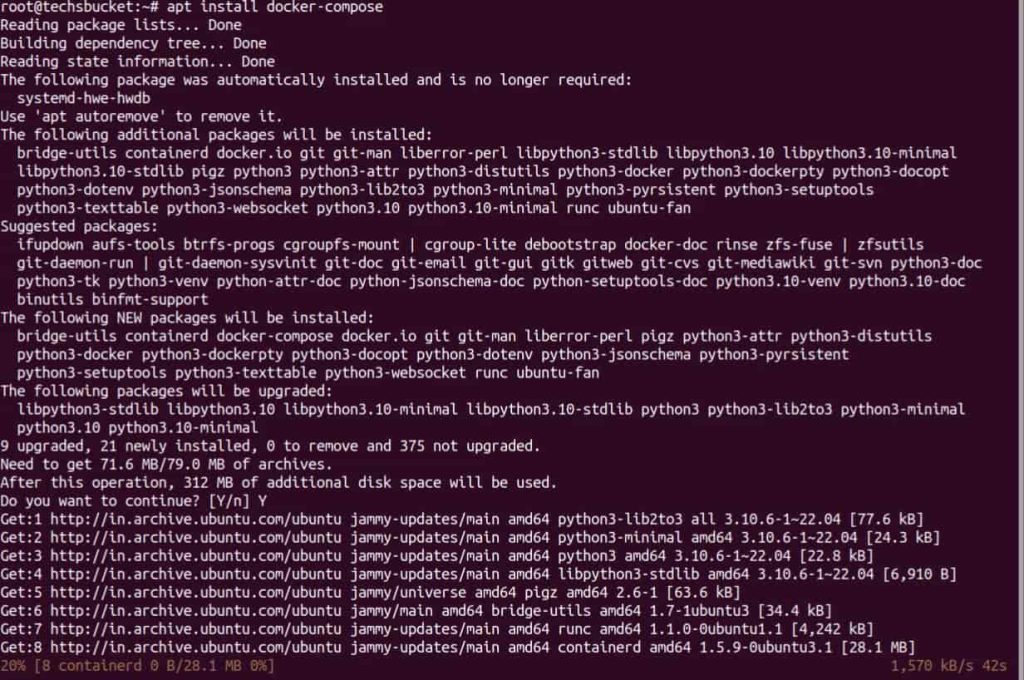
To install Docker, just run the simple command.
# sudo apt install docker-compose
Step 2
Check and verify Docker is installed on the system.
# sudo docker --version

Deploy MariaDB and PhpMyAdmin
To run MariaDB and phpMyAdmin using Docker, you will need to have Docker installed on your system. Once you have Docker set up, you can use the official MariaDB and phpMyAdmin Docker images to create and run the containers.
You can easily deploy a MariaDB and phpMyAdmin container using the .yml file.
Step 1
# sudo vi docker-compose.yml
Add the following in the docker-compose.yml file
version: '3.1'

services:

  db:
    image: mariadb:latest
    restart: always
    environment:
      MARIADB_ROOT_PASSWORD: Pass@123
      MYSQL_USER: "techsb"
      MYSQL_PASSWORD: "Passw0rd"
    volumes:
      - "./mariadb/data:/var/lib/mysql/data/"
      - "./mariadb/logs:/var/lib/mysql/logs/"


  phpmyadmin:
    image: phpmyadmin:latest
    restart: always
    ports:
      - 8080:80
    environment:
      - PMA_ARBITRARY=1
We have created docker-compose.yml file in the root home directory. In this .yml file, we have defined MariaDB’s latest version to be installed with the root password. Directories we have defined for MariaDB which is the default so MariaDB will be installed in this directory.
Note: Change the password shown in the above script and keep your password.
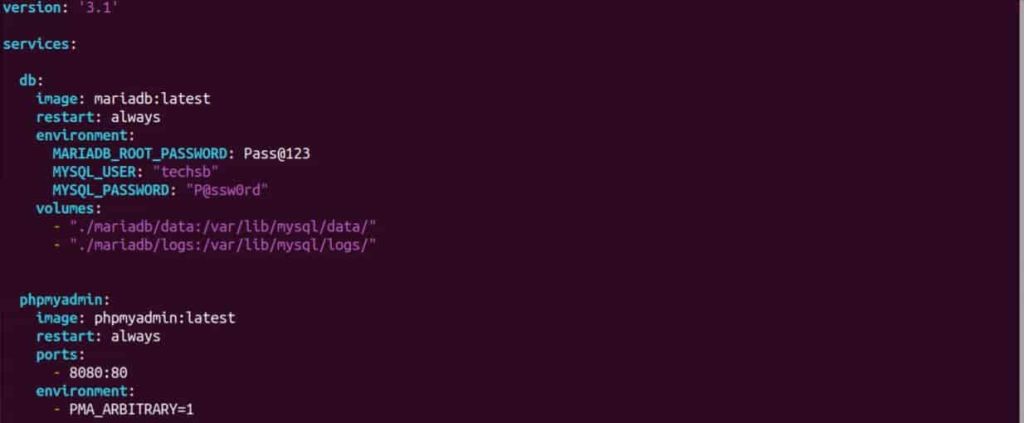
The 2nd is known as phpMyAdmin and obviously, it’s miles destined for PhpMyAdmin. In this script, we have defined the latest image to be installed after running the docker-up command. We have kept the 8080:80 port open because this port has no restrictions in the Firewall.
Step 2
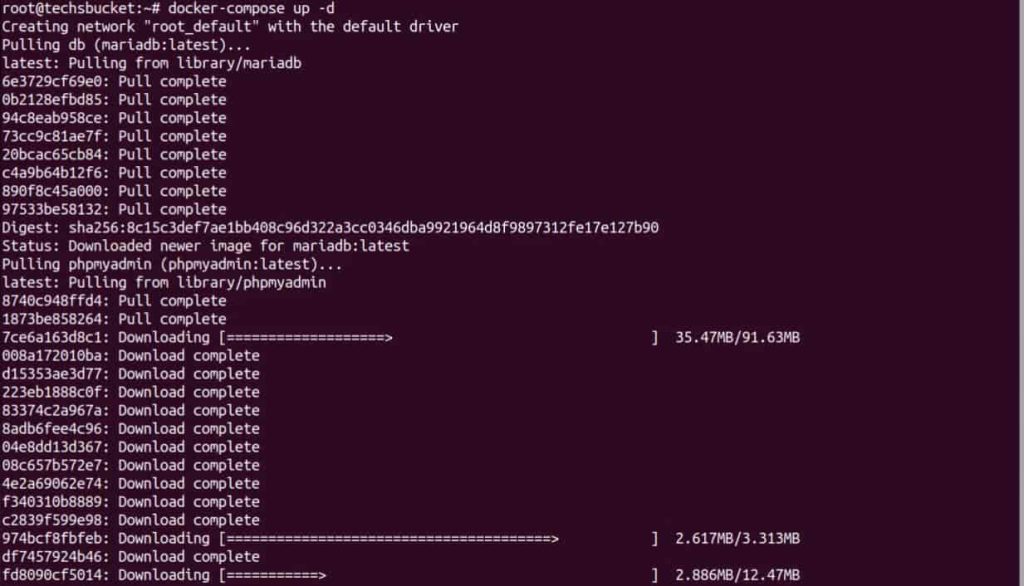
Save the changes and close the editor. Now install both, it should be via the following command.
# sudo docker-compose up -d
Step 3
Finally, open the web browser and access http://your-server:8080 you will see phpMyAdmin home page. Log in with the root user or with the normal user. We have defined db as the server name, so write db in the server name.
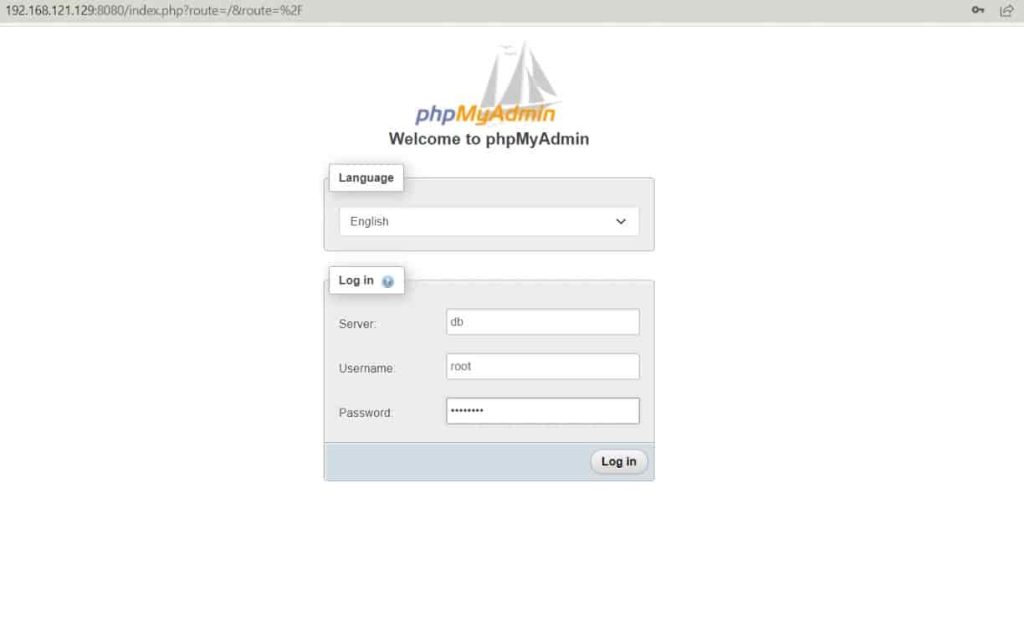
Once these steps are completed, MariaDB and phpMyAdmin will be running in separate containers and can be accessed via the specified ports which we defined as port 80 while deploying.
Note:
- It’s a good practice to use a more secure password than ‘password’
- Make sure you have enough resources on your machine, such as RAM and CPU, to run both containers.
- If you’re running this on a remote server, it’s also recommended to use a reverse proxy to access the phpMyAdmin web UI.
Don’t Miss: HTML and CSS code for basic Keyword Research Tool
Video Tutorial
In this article, we have covered how to deploy MariaDB and phpMyAdmin using docker on Ubuntu 22.04.


nice
Nice