In this comprehensive guide, we’ll take you through the process of exporting server logs using rsyslog in CentOS 8. The step-by-step instructions provided here aim to help you seamlessly set up a rsyslog daemon, ensuring the efficient transmission of log messages to a remote server. This not only facilitates robust log management but also optimizes disk space utilization on your CentOS machine.
Follow the steps below to optimize your log management system free up valuable disk space on your CentOS machine and make sure you have free space for other processes.
Verifying rsyslog Installation
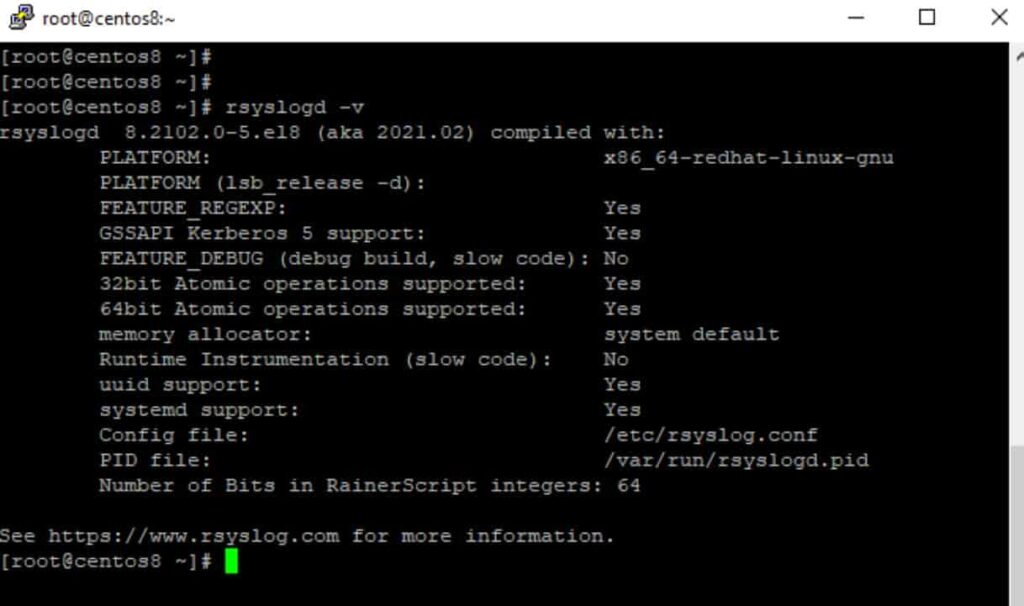
Before diving into the configuration, it’s crucial to confirm that the rsyslog daemon is installed and active on your CentOS 8 system. Execute the following commands to check its status.
# grep rsyslog | rpm –q
# rsyslogd –v
If the rsyslog package is not installed, use the following command to install it.
# sudo yum install rsyslog
Rsyslog Configuration for Log Export
To initiate the configuration process, open the primary rsyslog configuration file.
# sudo vim /etc/rsyslog.conf
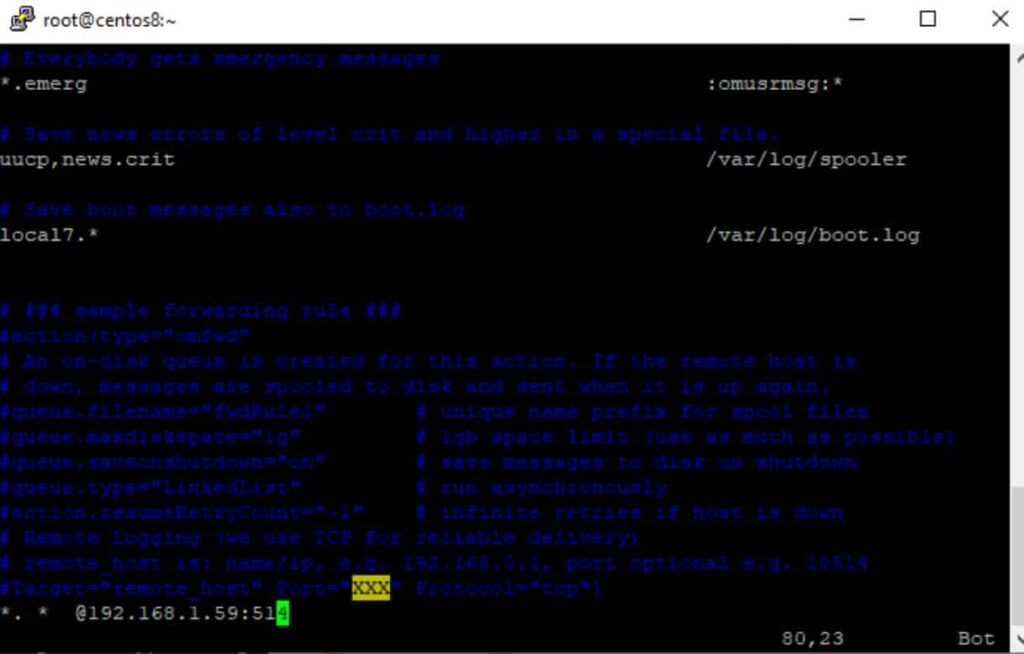
Append the following line to the end of the file, adjusting the IP address and FQDN of the remote rsyslog server accordingly.
# *. * @192.168.1.59:514
Make sure to replace the IP address and FQDN of the remote rsyslog server appropriately in the above line. This line instructs the rsyslog daemon to send all log messages to the IP 192.168.1.59 over the 514/UDP port, regardless of facility or severity.
Add another ‘@’ character in front of the remote host if the remote log server is configured to only accept TCP connections or if you want to utilize a dependable transport network protocol like TCP, as illustrated in the example below.
# *. * @@logs.domain.lan:514
Special characters, such as ‘=’ or ‘!’, can be prefixed to priority levels in Linux rsyslog to signal “this priority only” for equal sign and “not this priority or higher than this” for!
Below are some examples of rsyslog priority level qualifiers.
- kern.info: Kernel logs with a priority of information or higher.
- kern.=info: Only kernel messages with the priority of information are allowed.
- kern.info;kern.!err: Only kernel messages with the priorities info, notice, and warning are allowed.
- kern.debug;kern.!=warning: Except for warning, all kernel priority are equal.
- kern.*: All messages with a priority in the kernel
- kern.none: Regardless of priority, do not log any associated kernel facility messages.
For example, if you just want to send a subset of facility messages to a remote log server, such as all associated mail messages regardless of priority, add the following line to the rsyslog configuration file:
# mail.* @192.168.1.59:514
Finally, for the updated settings to take effect, the rsyslog service must be restarted with the following command.
# sudo systemctl restart rsyslog.service
If the Rsyslog daemon is not activated during boot time for some reason, run the following command to enable the service system-wide:
# sudo systemctl enable rsyslog.service
Sending Web Server Logs to a Remote Server
Add the following line to Apache’s main configuration file.
# sudo vim /etc/httpd/conf/httpd.conf
CustomLog "| /bin/sh -c '/usr/bin/tee -a /var/log/httpd/httpd-access.log | /usr/bin/logger -thttpd -plocal1.notice'" combined
The line tells the HTTP daemon to write log messages to the filesystem log file, but it also tells it to send them to a faraway syslog server by designating them as coming from the local1 facility.
If you wish to send Apache error log messages to a remote syslog server as well, create a new rule similar to the one given above, but change the name of the httpd log file and the severity level of the log file to match the error priority, as shown in the following example:
ErrorLog "|/bin/sh -c '/usr/bin/tee -a /var/log/httpd/httpd-error.log | /usr/bin/logger -thttpd -plocal1.err'"
After you’ve changed the above lines, you’ll need to restart the Apache daemon to see the changes take effect.
# sudo systemctl restart httpd.service
By adding the following lines of code to a Nginx configuration file, the Nginx web server has a built-in capability to directly log its messages to a remote syslog server as of version 1.7.1.
error_log syslog:server=192.168.1.59:514,facility=local7,tag=nginx,severity=error;

access_log syslog:server=192.168.1.59:514,facility=local7,tag=nginx,severity=info main;
To receive the logs sent by the Apache web server, make the following changes to the rsyslog configuration file on the remote rsyslog server.
local1.* @Apache_IP_address:514
Conclusion:
By following these steps, you have successfully configured the rsyslog daemon in client mode, allowing Apache or Nginx to send log messages to a remote syslog server. This setup ensures efficient log management and facilitates troubleshooting when system issues arise.
A big thank you for exploring TechsBucket! Your visit means a lot to us, and we’re grateful for your time on our platform. If you have any feedback or suggestions, we’d love to hear them. Looking forward to serving you again soon!