Hello everyone, in this post, I am going to show you, how to install a cPanel on AlmaLinux 8. cPanel will help you to build your own SMTP server as well as this will help to create TXT, SPF, and DKIM records very easily and many more.
So, you will be able to use this server for email or for bulk email. You can buy a good VPS and the domain name from Bluehost, Dreamhost, or Namecheap. Once VPS or Localhost is ready, you may go with the next steps which are cPanel installation.
Before selecting any Linux operating system, check here on cPanel official website of cPanel supported Linux operating systems.
Steps to install cPanel on AlmaLinux 8
I am ready with my Localhost loaded with AlmaLinux 8. If you are on VPS, do not forget to point your domain name which you have purchased, map to the server IP address which is “A” record from the DNS panel. If you have installed MySQL previously then remove it completely from the server. My advice is, you should select a fresh AlmaLinux 8 machine for cPanel installation and update the system with “yum update”.
Step 1
Install httpd and Add httpd Port in Firewalld.
# sudo yum install httpd
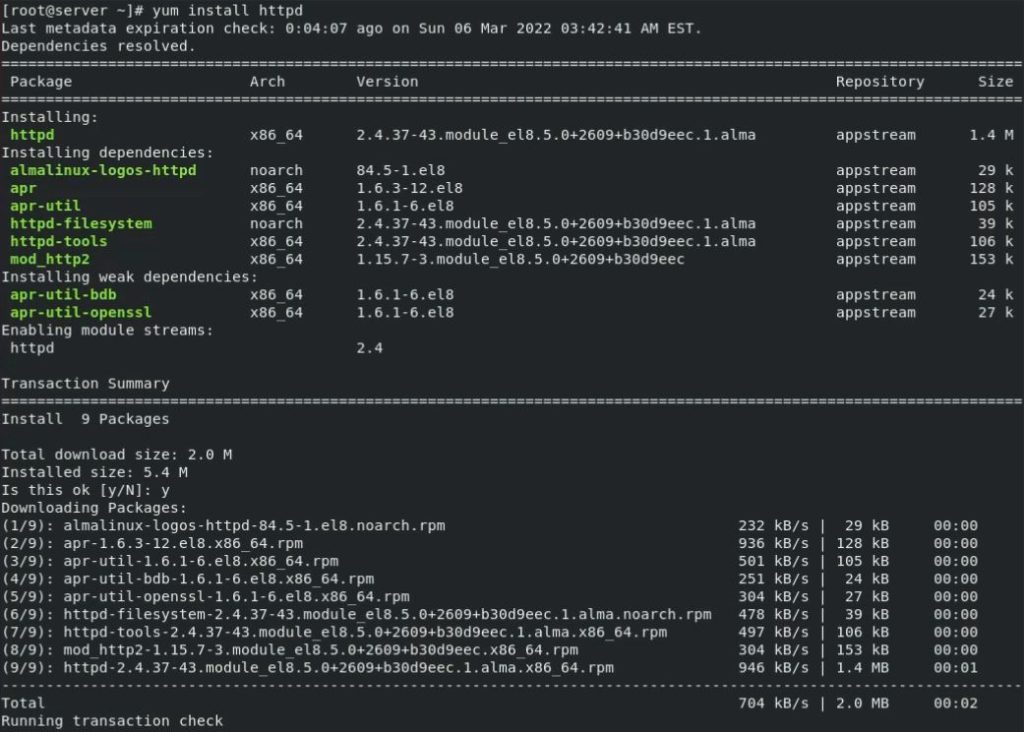
Allow the Apache ports in the firewall to Open Apache Web Server Access.
#  sudo firewall-cmd --permanent --add-port=80/tcp

#  sudo firewall-cmd --permanent --add-port=443/tcp
# sudo systemctl restart firewall
Allow PHP to work with Apache and restart the httpd service.
# sudo chcon -Rt httpd_sys_rw_content_t /var/www

# sudo systemctl restart httpd
Step 2
Now, Install PHP Latest Version.
# sudo yum install php
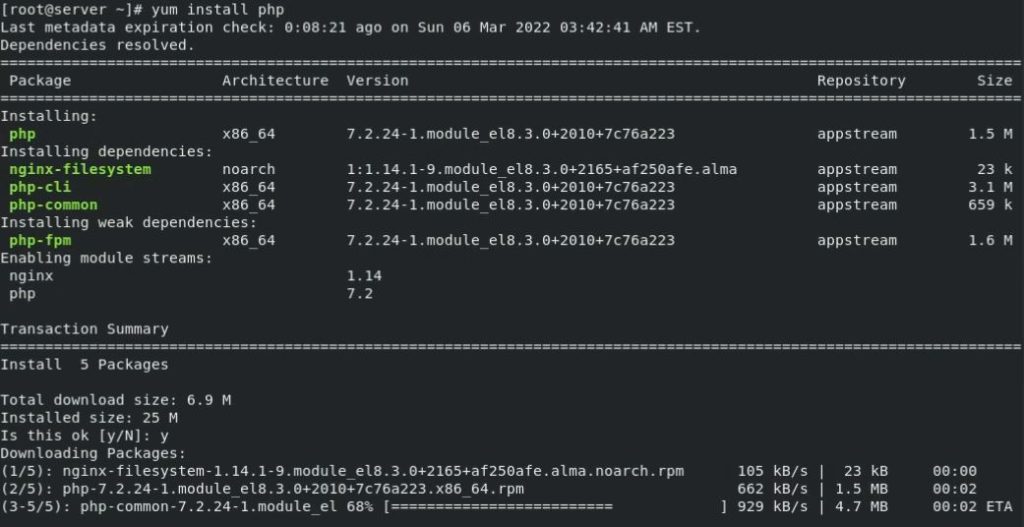
Install some common modules of PHP and restart the httpd service.
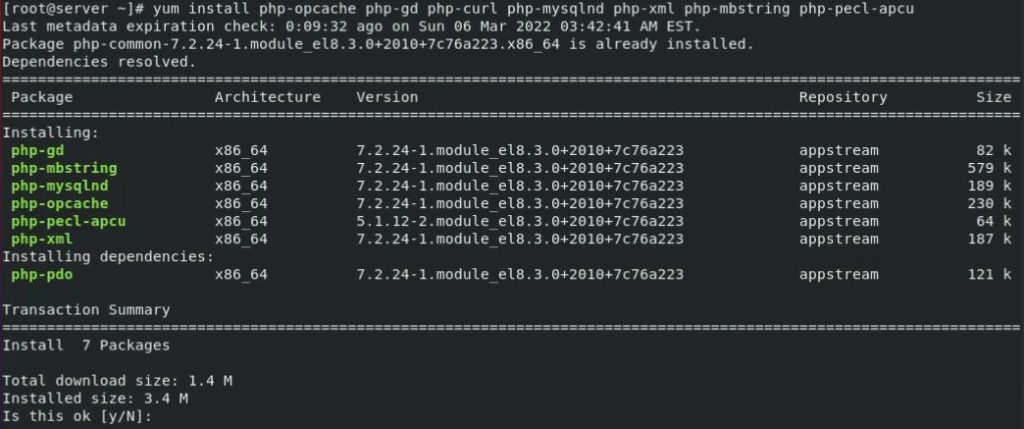
# sudo dnf install php php-opcache php-gd php-curl php-mysqlnd php-xml php-mbstring php-pecl-apcu

# sudo systemctl enable --now php-fpm

# sudo service httpd restart
Step 3
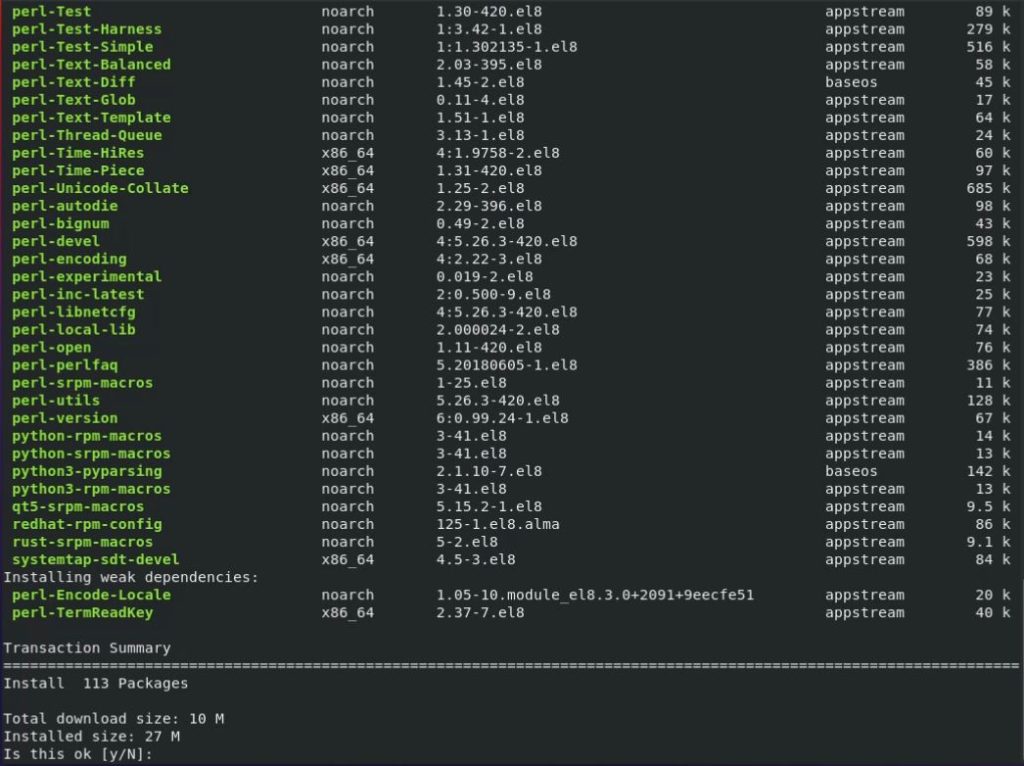
In this step, we will install cPanel. First, run the command to install Perl library which is used by cPanel, and then run the command to install cPanel.
Command to install Perl
# sudo yum install perl
Finally install cPanel, navigate to the home directory first to save a cPanel setup. Reboot the machine after cPanel installation is done.
# sudo cd /home

# curl -o latest -L https://securedownloads.cpanel.net/latest

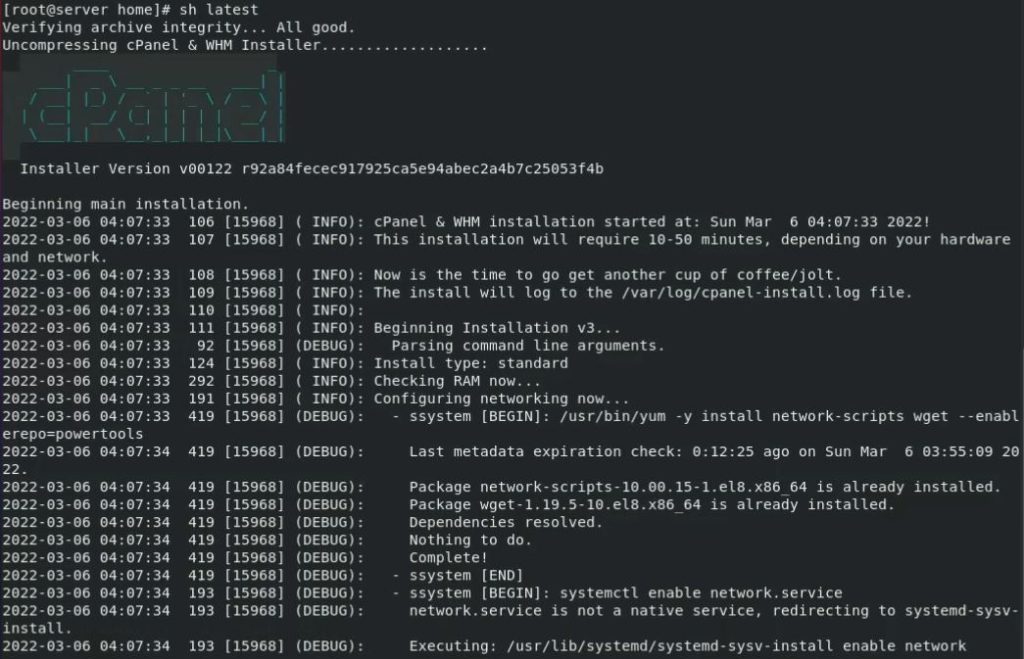
# sudo sh latest
Note : cPanel installation can take much time to complete. Do not do anything during the installation process, this will be completed.
Step 4
Start the NetworkManager that can be stopped after cPanel installation and allow MySQL, cPanel ports in the firewall.
#  sudo service NetwokManager start

#  sudo firewall-cmd --permanent --add-port=2087/tcp

#  sudo firewall-cmd --permanent --add-port=2083/tcp

#  sudo firewall-cmd --permanent --add-port=3306/tcp

#  sudo systemctl restart firewall

Step 5
Set the server and domain name. Get a domain name and update the “A” record with a VPS IP address. I am using my localhost with the fqdn “server.cpanel.local“. You can edit and update the hostname from “/etc/hostname/” and domain name from “/etc/hosts“. Reboot the system to take effect.
# sudo vi /etc/hostname

# sudo vi /etc/hosts
![]()
Step 6
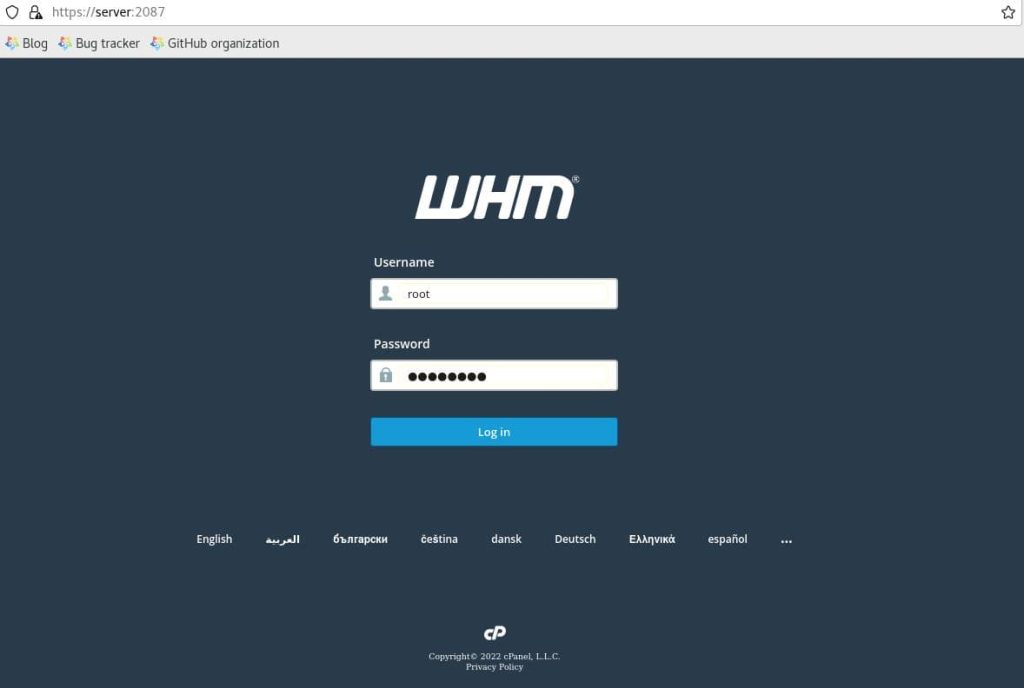
Open any browser and browse “ your-server-ip:2087 “. My server IP is 192.168.10.50, so my cPanel URL will be 192.168.10.50:2087. Login with your root credentials. URL will automatically point to your server hostname.
192.168.10.50:2087
Step 7
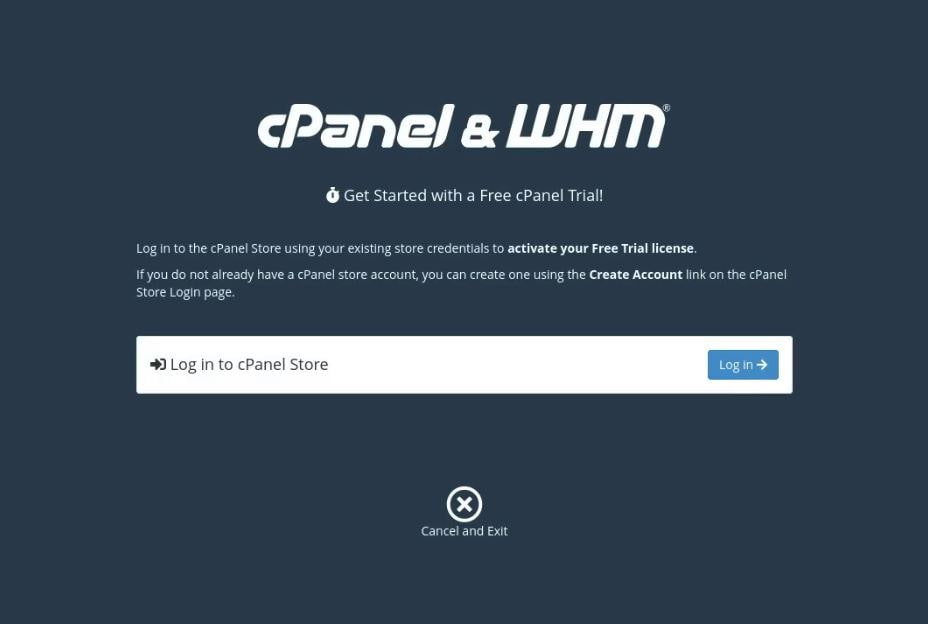
You can start with the free trial. Just click on the login button.
Step 8
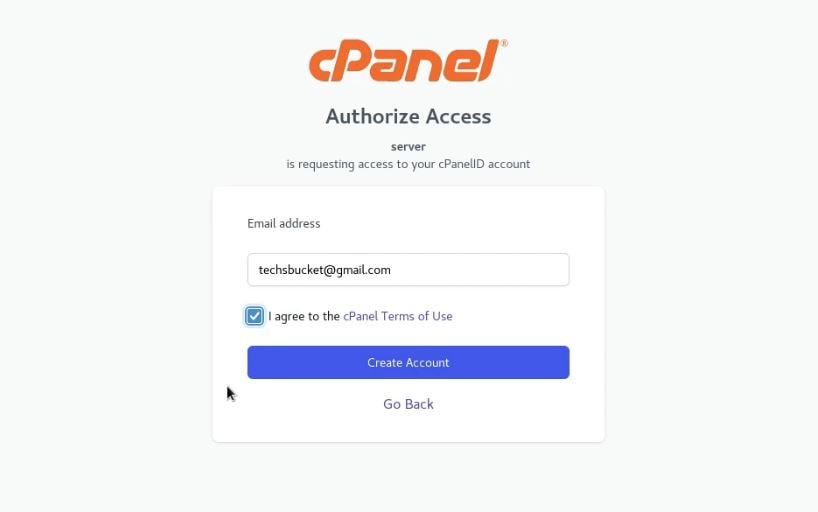
Register with your email id here. Click on “create an account ” and then put your email id.
Step 9
You will receive a password reset link on your email which you have provided. Open the link and reset the password.
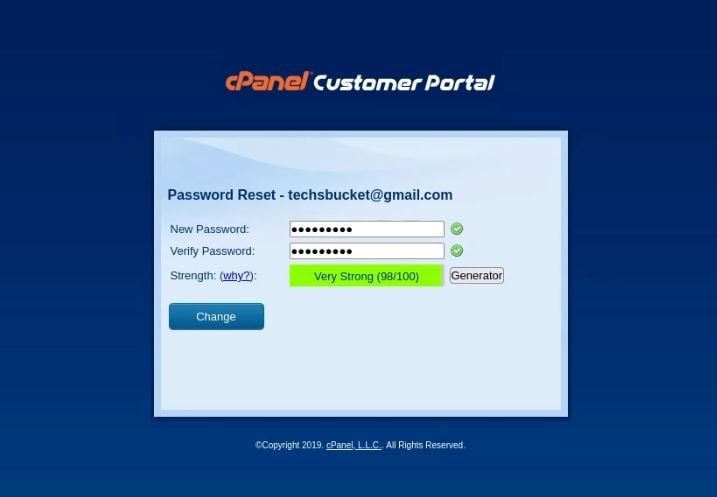
Step 10
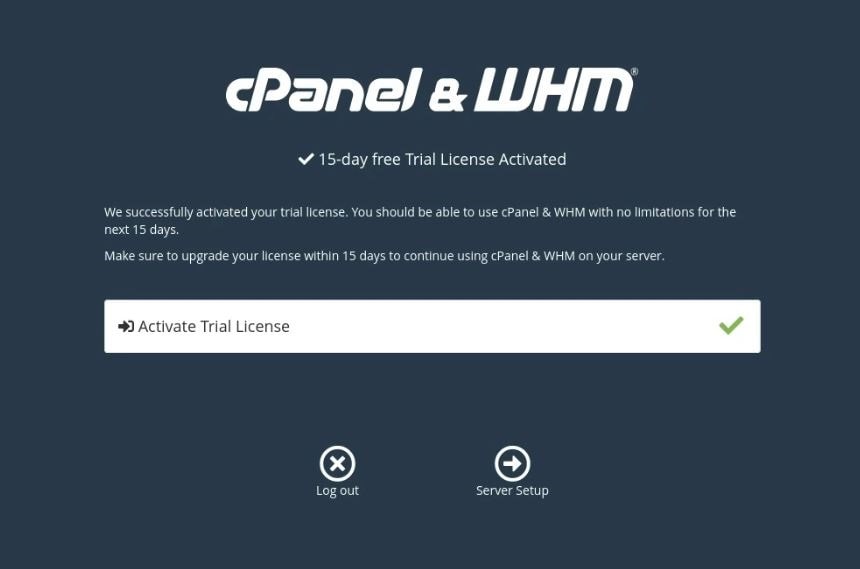
Reopen the cPanel URL in a new tab from your browser and log in with root again. This time, you will be prompted to “allow access” on your email id. Simply, click on allow and you will see Activating trial license then click on the Server Setup button.
Step 11
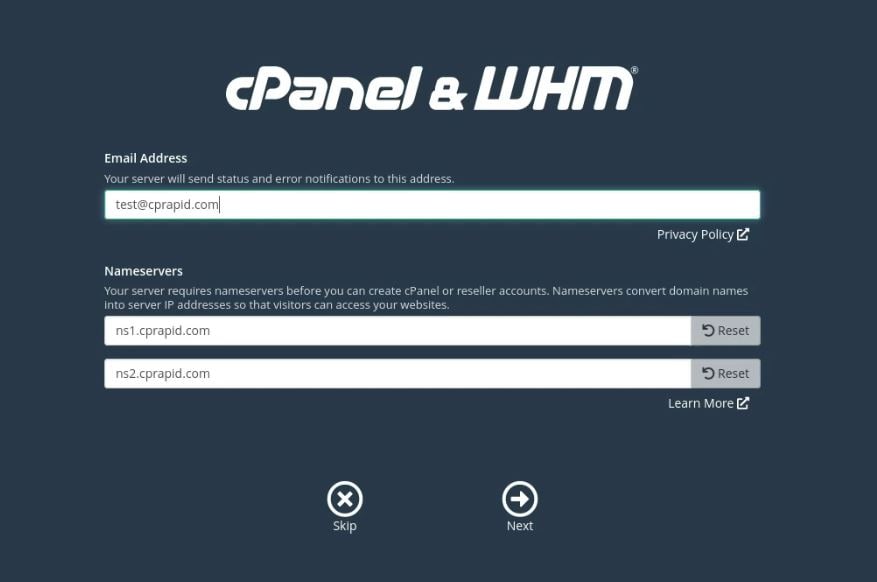
In this step, provide the email address and don’t change anything here then click on Next.
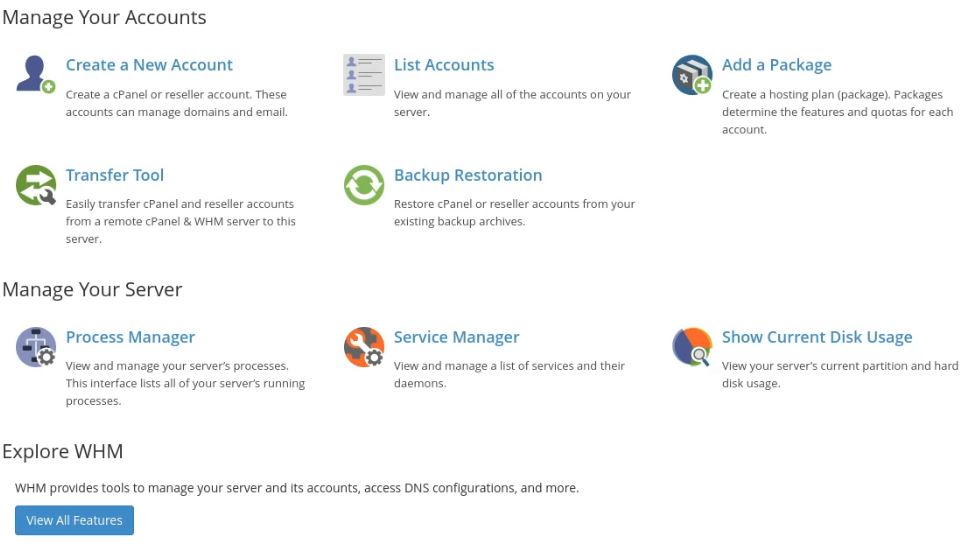
Finally, you will see a cPanel dashboard with all the options.
Also Read : How to install and use OpenSSH on Linux
Also Read : How to install and use SAR in RedHat 8 / CentOS 8
Video Tutorial
In this post, we have covered how to install cPanel on AlmaLinux 8. cPanel has officially announced, cPanel will be supporting AlmaLinux till 2029. We have covered, how to set the server hostname, install httpd and we saw how to install php with required extensions and step-by-step cPanel installation. Comment below if you have any doubts regarding this post.


Very educative. Please keep up the great work
Thank you.. Do not forget to share this post..
good information
It’s very nice