If you are using Ubuntu and want to install Webmin on these operating systems then you are in right place. In this post, we are going to learn how to simply install Webmin on Ubuntu step by step. We can download Webmin from the internet browser locally from Webmin’s official website and then install it, and another way is to download and install it through terminal command.
Webmin is a tool that provides us with a good graphical interface for your Linux machine. You can manage programs and services which are installed on your Linux machine through Webmin. For example, you can access MySQL, Apache, Postfix’s config files, and many more from the Webmin dashboard. Some are features of Webmin as per installed services.
- Real-time server monitoring ( CPU / Memory )
- Manage database and permissions for MySQL
- Manage BIND DNS.
- Edit, update postfix, dovecot config files.
- Manage Apache config files and many more…
Also Read : How to install WordPress in Subdirectory
Steps to Install Webmin using APT Directory
To install Webmin using APT directory, you need to update sources.list file on your system as per the following steps, but before proceeding to install Webmin, make sure your IP address should point out to your system hostname.
Step 1
Point your IP to your system hostname then reboot the system to apply changes.

Step 2
Update your system and then copy the below line to etc/apt/sources.list if not exist.
deb https://download.webmin.com/download/repository sarge contrib

Step 3
Generate and install GPG key with these commands.
# sudo cd /root wget https://download.webmin.com/jcameron-key.asc

# sudo apt-key add jcameron-key.asc
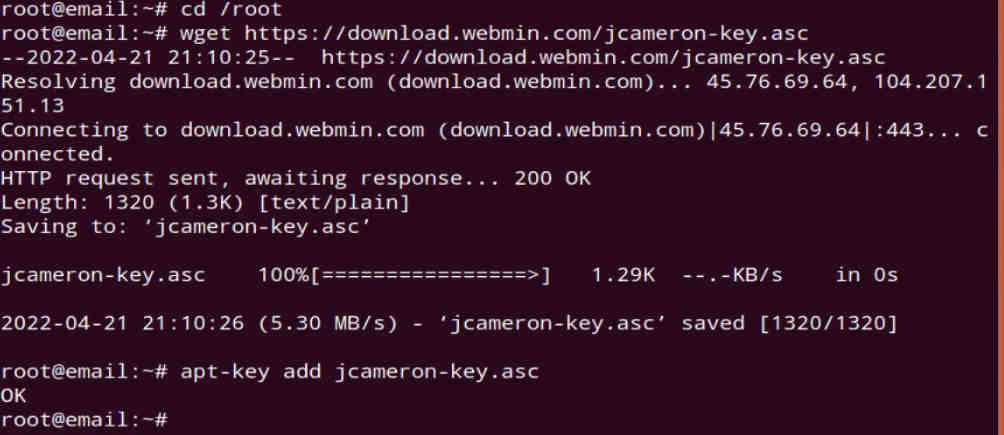
Note : For Debian 11 and Ubuntu 22.04+ use this command.
# sudo cd /root wget https://download.webmin.com/jcameron-key.asc

# sudo cat jcameron-key.asc | gpg --dearmor >/etc/apt/trusted.gpg.d/jcameron-key.gpg
Step 4
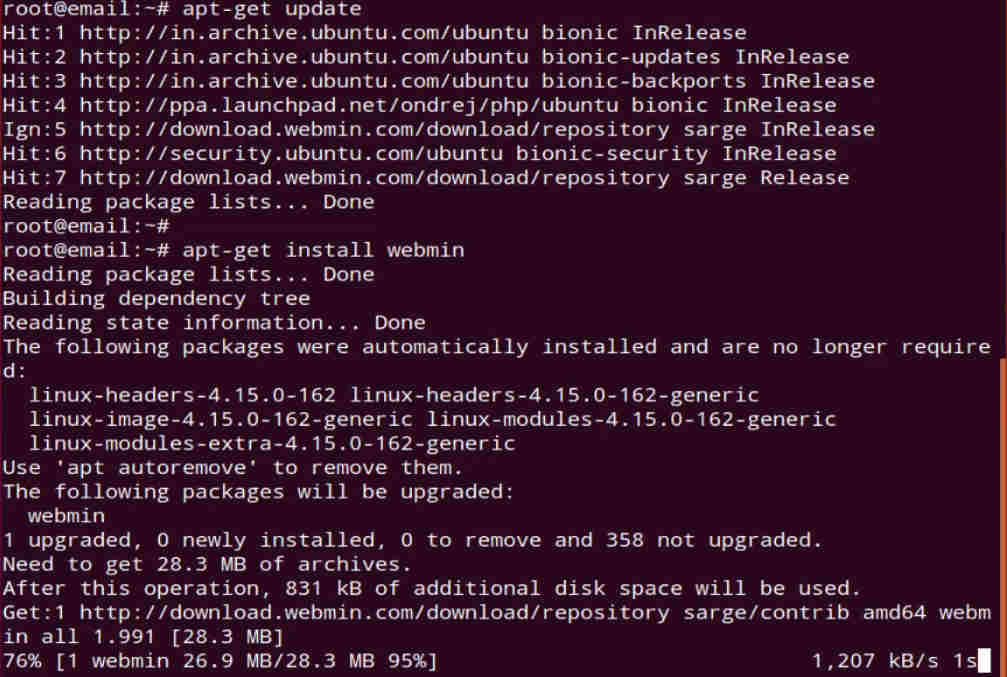
Finally, go for the Webmin installation. Run these commands one by one in your system.
# sudo apt-get install apt-transport-https

# sudo apt-get update

# sudo apt-get install webmin
Step 5
If your firewall is running, then allow Webmin port 10000
# sudo ufw allow 10000/tcp

# sudo ufw reload

Step 6
Open the browser and login Webmin with your server IP address or hostname with port 10000.
192.168.10.105:10000
Click on URL with your hostname.

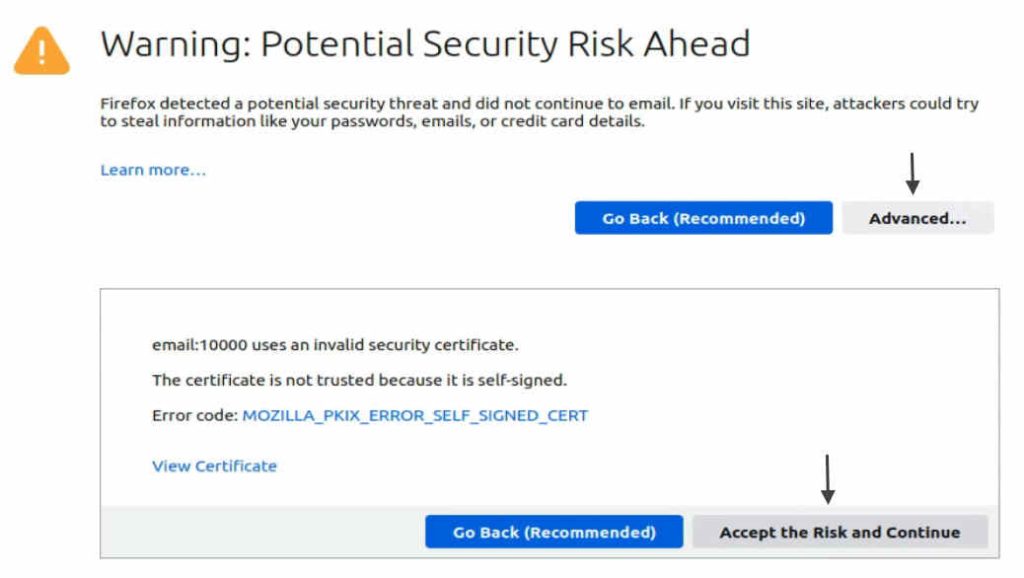
Now, you will see a Warning. Click on Advanced then Accept the Risk and Continue.
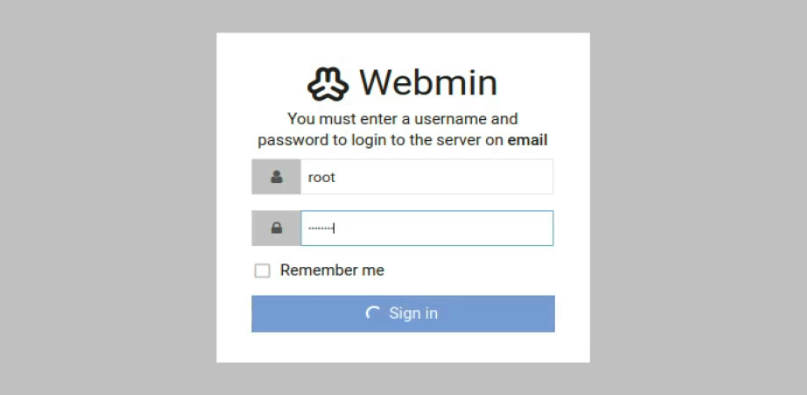
 You will see a Webmin login page. Put username as “root” and it’s password to login.
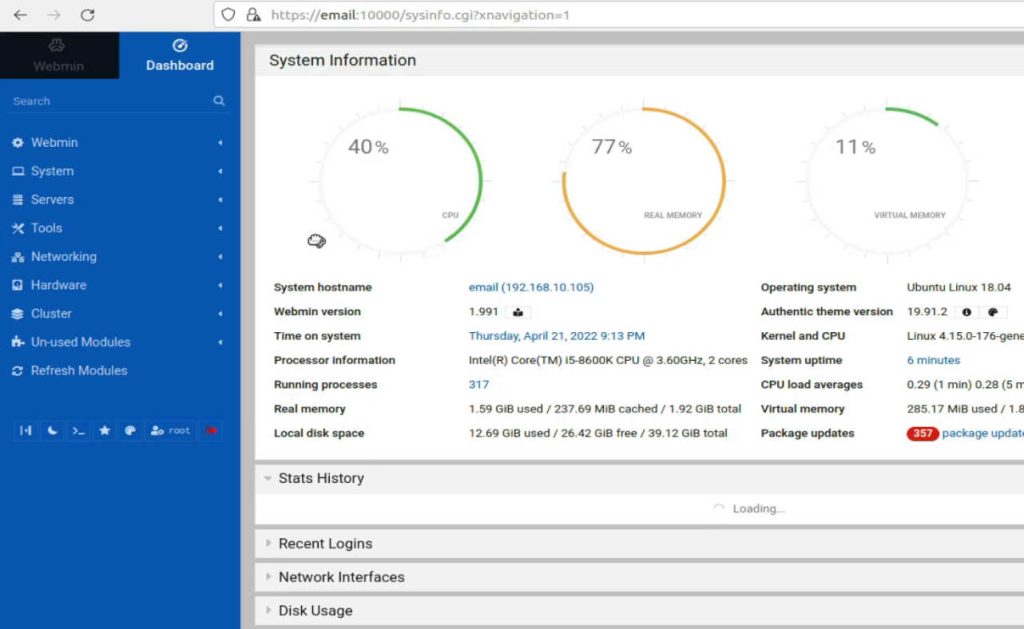
Finally, you will see a Webmin dashboard after successful login is done.
Also Read : How to install cPanel on AlmaLinux 8
Steps to Install Webmin for DEB
Step 1
Point your IP to your system hostname then reboot the system to apply changes.

Step 2
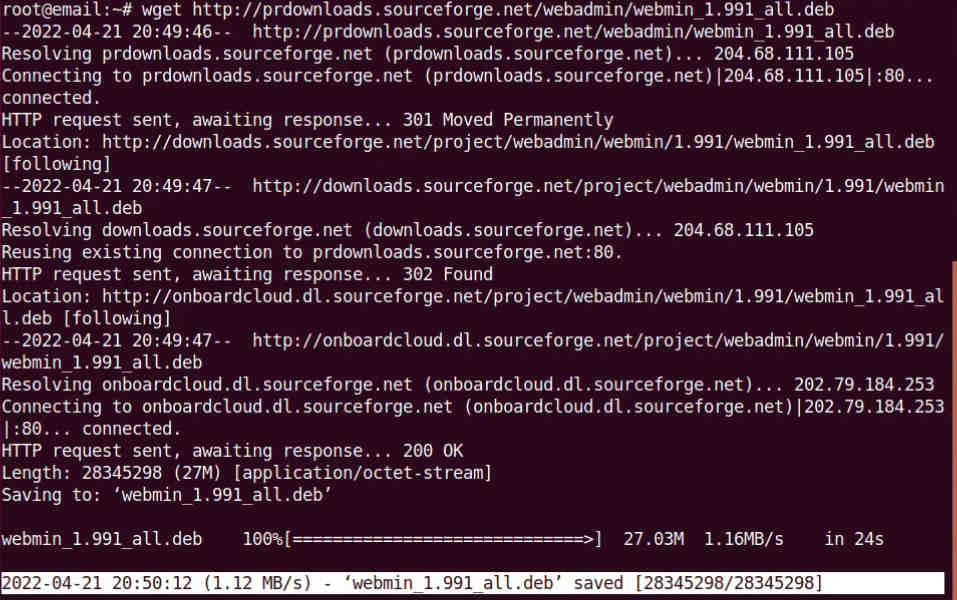
Update your system and download Webmin from the browser or run the following command.
# wget http://prdownloads.sourceforge.net/webadmin/webmin_1.991_all.deb
Step 3
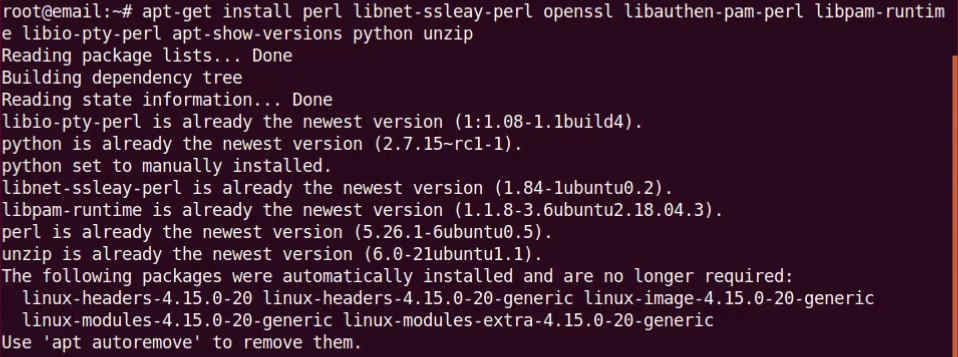
Add the following dependencies for Webmin installation process.
# sudo apt-get install perl libnet-ssleay-perl openssl libauthen-pam-perl libpam-runtime libio-pty-perl apt-show-versions python unzip
Step 4
Now run the following. This will be installed Webmin into /usr/share/webmin directory.
# dpkg --install webmin_1.991_all.deb

Step 5
Allow Webmin port in the firewall if the firewall is enabled.
# sudo ufw allow 10000/tcp

# sudo ufw reload

Step 6
Webmin is installed on your machine and now browse Webmin as per your hostname or IP address.
192.168.70.128:10000
Click on URL with your hostname.

Now, you will see a Warning. Click on Advanced then Accept the Risk and Continue.
 You will see a Webmin login page. Put username as “root” and it’s password to login.

Finally, you will see a Webmin dashboard after successful login is done.

It’s a Webmin module for managing a number of digital hosts by way of a single interface, like Plesk or Cpanel. It helps the creation and administration of Apache digital hosts, BIND DNS domains, MySQL databases, and mailboxes and aliases with Sendmail or Postfix. It makes use of the prevailing Webmin modules for these servers, and so ought to work with any current system configuration, fairly than needing it is a personal mail server, net server, and so forth.
Video Tutorial
In this tutorial, we have covered how to install Webmin on the Ubuntu system by two methods. So, we can try any of the methods to install Webmin. Webmin is freely available for Linux operating system under the GPL but has to pay for the pro version.


Very good
best