In today’s post, we will see how to install and set up Gitlab on the Ubuntu operating system.
GitLab, a web-based Git repository manager, and code hosting application provides an integrated platform to manage projects from planning to development to deployment to the cloud. With GitLab, you can host your Git server and manage your entire development process under one roof, from start to finish. Setting up GitLab on Ubuntu 18.04, 20.04, and 22.04 (Bionic Beaver) can be tricky, but it’s worth it if you’re familiar with the Linux command line and want to get the most out of this powerful tool.
In this tutorial, I will explain how to set up and configure GitLab on an Ubuntu 18.04, 20.04, and 22.04 server in five steps. Let’s get started!
Pre-requisites
Before we begin, we will need the following
- A simple network and an Ubuntu server with a sudo user other than root.
- Hardware specifications: 2 cores and 8 GB of RAM
- Access your domain name points for the server.
Step 1
Install Dependencies
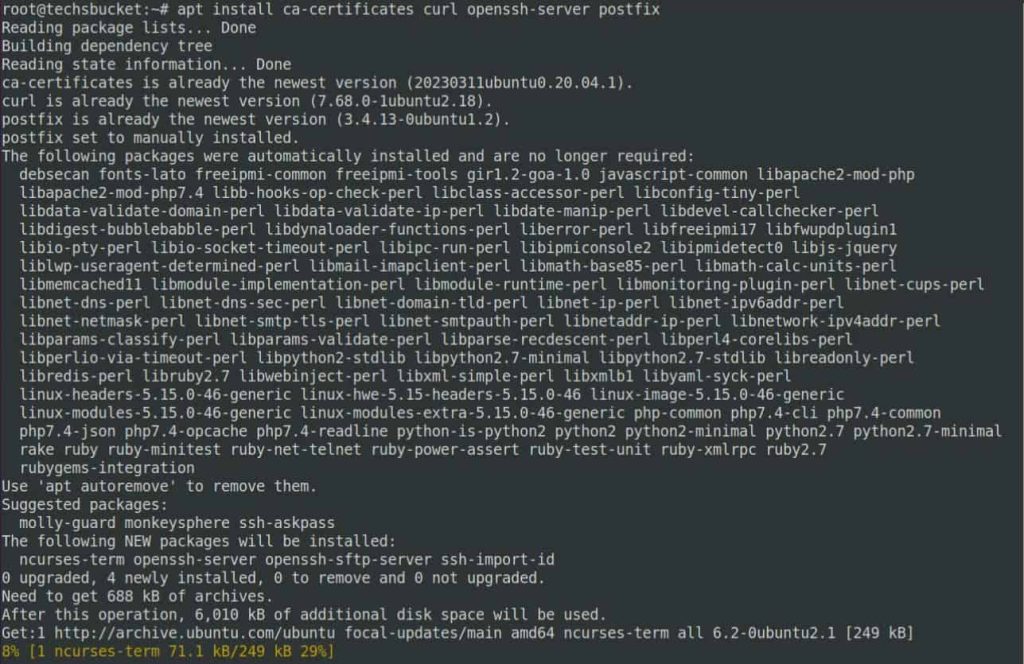
Before installing Gitlab, it is crucial to install the dependencies needed for running GitLab. You can do this by installing it from Ubuntu’s default package repository. As this session is the first usage of apt, we may update our local package index and install the necessary dependencies by command
# sudo apt update
# sudo apt install ca-certificates curl openssh-server postfix
Step 2
Install Gitlab
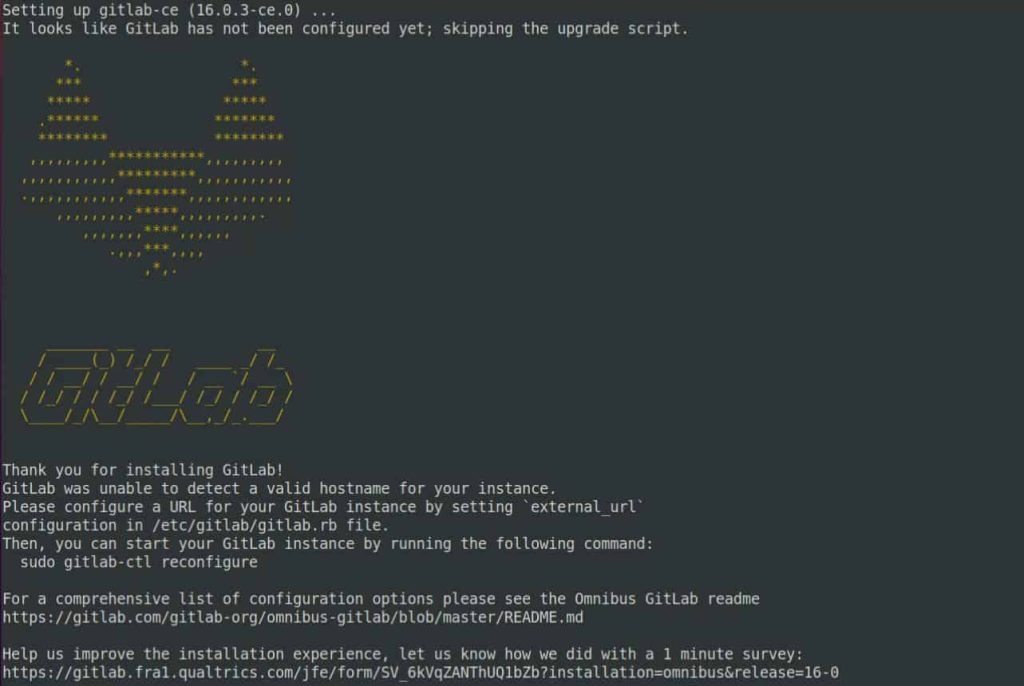
Since the dependencies are installed and working fine, we are ready to install Gitlab. It is an effortless process as it uses the installation script. This script is further used in configuring the system with the help of the GitLab repository.
Type /tmp directory to download the installation script
cd /tmp && curl -LO https://packages.gitlab.com/install/repositories/gitlab/gitlab-ce/script.deb.sh

Also, it is advised to have a look at the download script to ensure that you have got what you wanted. To get a hosted version, follow the below command
less /tmp/script.deb.sh
Launch the installer once you are sure of your script’s security.
# sudo bash /tmp/script.deb.sh
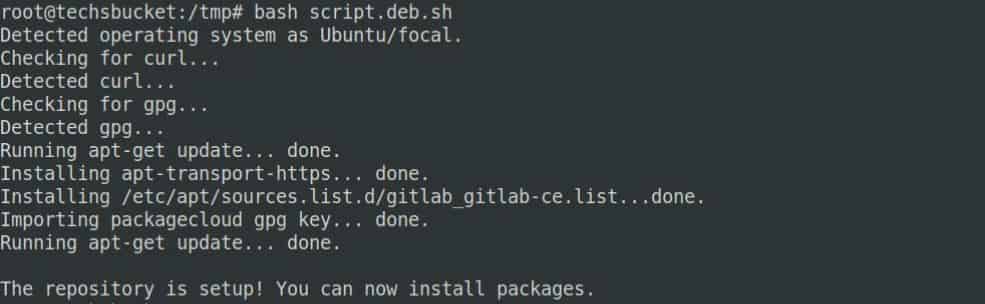
Your server will be set up to use the GitLab repository using this script. It may now be managed with the same package management tools as other system packages. Once finished, use the following command to use apt to install the GitLab program:
# sudo apt install gitlab-ce
Step 3
Firewall Rules
Before you configure GitLab, it is essential to check if your firewall rules are free so that the web traffic is allowed. To check the existing status of your firewall type;
# sudo ufw status
As you can see, the regulations as they stand only permit access to SSH communications; other services are not permitted. Given that GitLab is a web application, HTTP access should be permitted. We’ll also enable HTTPS access because GitLab will be used to obtain and enable free TLS/SSL certificates from Let’s Encrypt.
/etc/services file contains port mapping protocols for HTTP and HTTPS, allowing us to accept that traffic by name. If you haven’t already, you should enable OpenSSH traffic now as well:
# sudo ufw allow http
# sudo ufw allow https
# sudo ufw allow OpenSSH
You should notice access permissions defined for at least these two services if you check ufw status once more:
# sudo ufw status

After the application is configured, the output above demonstrates that the GitLab web interface is accessible.
Step 4
Edit the GitLab Configuration File
Updating the configuration file and executing the reconfigure command is essential before using the application. In order to do so, first open the GitLab configuration file.
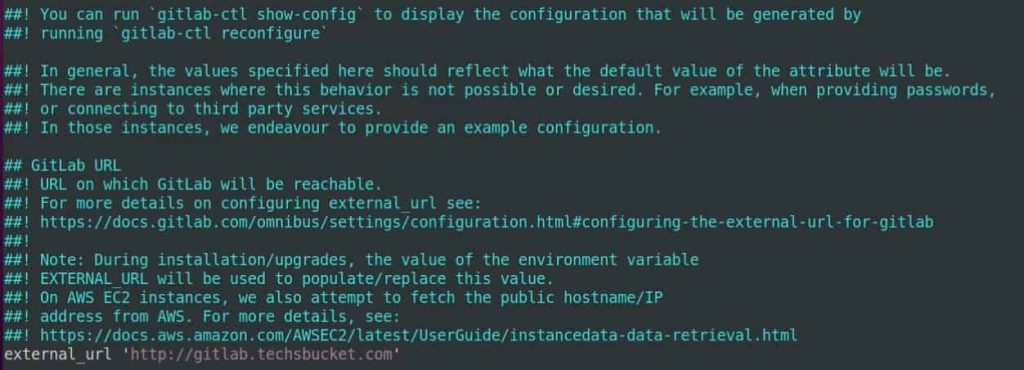
/etc/gitlab/gitlab.rb
# sudo vi /etc/gitlab/gitlab.rb
On the top is the external_url configuration line, which you must update to match the domain. Update HTTP to HTTPS to allow GitLab to spontaneously divert users to the sites that Let’s Encrypt certificates protect.
##! For more details on configuring external_url see:
##! https://docs.gitlab.com/omnibus/settings/configuration.html#configuring-the-external-url-for-gitlab external_url 'https://gitlab.example.com'
You can make changes to letsencrypt[‘contact_emails’] settings so that you are notified whenever there are any issues with your domain.
letsencrypt['contact_emails'] = ['
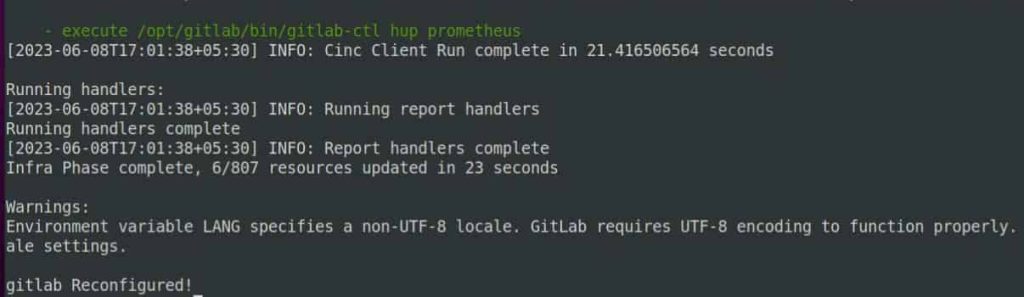
Finally, save this particular file and run the following command to reconfigure GitLab.
# sudo gitlab-ctl reconfigre
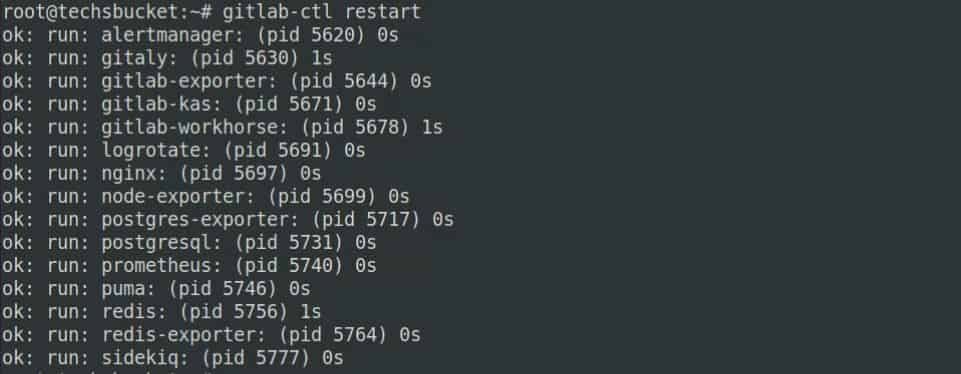
# sudo gitlab-ctl restart
Step 5
Initial via Web Interface
Using the web interface, we need to conduct some configuration in the beginning as and when GitLab is accessed and executed.
First Login
Sign in to the domain name of GitLab’s server in the web browser.
http://127.0.0.1
or put URL as per gitlab config file
http://gitlab.example.com
When you first log in, you would be prompted to set a new password account. here on this page, provide a robust password for your account, and click on “Change Password” when you are done.
Further, now you will be redirected to the Login page of GitLab where you can log in using the password you set. The username you must use is “root”.
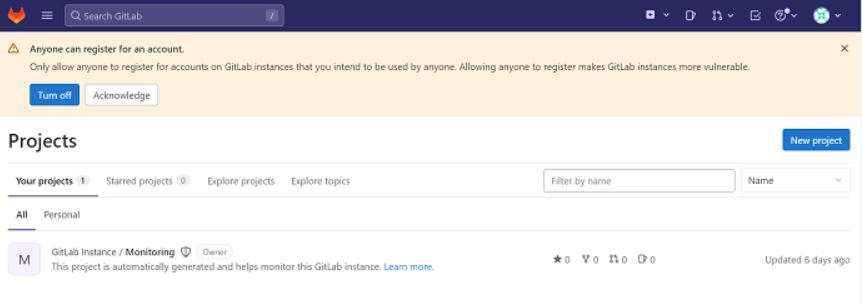
Click on “Sign In”, and you will be logged in to GitLab, where you can add projects.

Once you are in, you can make changes to your account by going to the settings section. You can change your account name, email and make other changes to your profile.
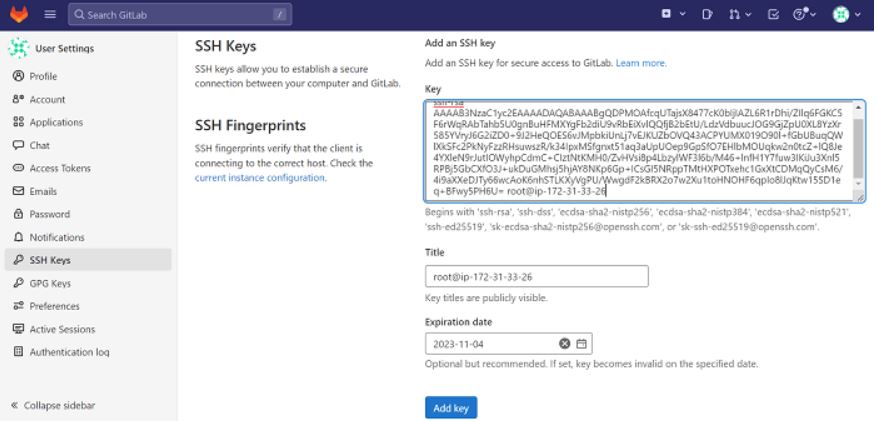
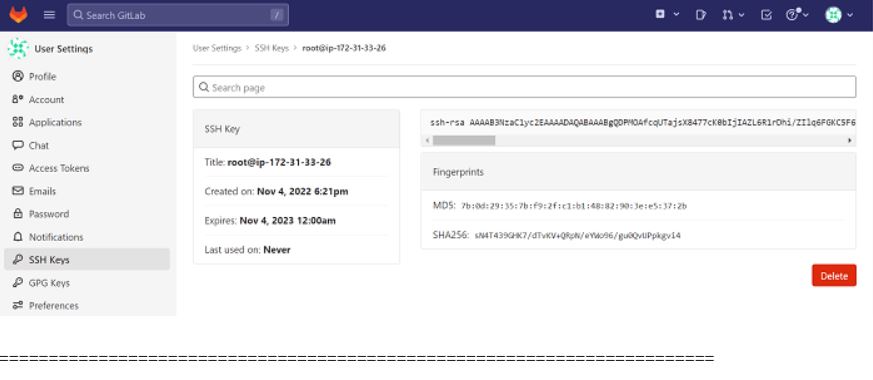
Finally, add an SSH key to your account. Mostly, you need an SSH key with which you can interact with the project in GitLab. You can do this by adding an SSH public key to your GitLab account.
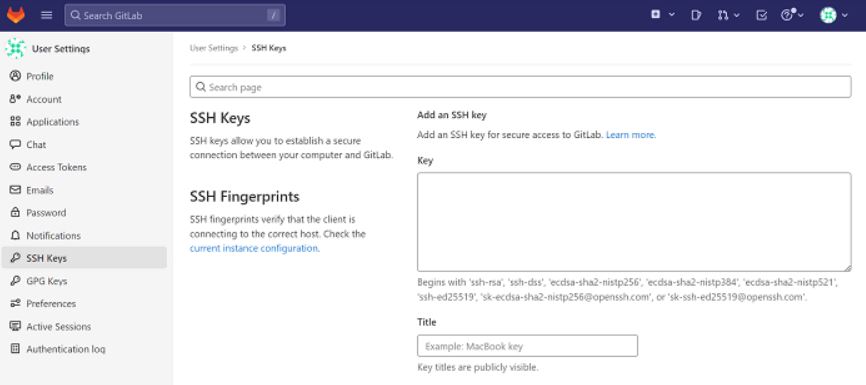
Pair the SSH key on your local computer by typing.
cat ~/.ssh/id_rsa.pub
You would see a large text that looks like below.

This text is an SSH public key that you must copy and add in the SSH keys section on the settings of GitLab.