
Checkmk is a powerful and flexible IT monitoring software that provides real-time insights into the health and performance of your entire IT infrastructure, including servers, networks, applications, and services. It uses a range of monitoring techniques such as active and passive checks, SNMP, and agent-based monitoring to gather data, which is then processed, analyzed, and presented in a user-friendly interface.
Checkmk supports a wide range of platforms and can scale from small to large environments, making it suitable for businesses of all sizes.
In this article, we are going to see how to install the Checkmk monitoring tool on Rocky Linux 9 / Cent OS 8/ Alma Linux 9
Steps to Install Checkmk on Rocky Linux 9 / Cent OS 8/ Alma Linux 9
Checkmk also includes a range of advanced features such as automation, event correlation, alerting, reporting, and more. Checkmk is available in both open-source and enterprise editions.
Before starting, we are assuming that you already have installed and configured the web server Apache or Nginx on your Linux machine.
Step 1
Update the system completely and enable the EPEL and CRB repositories which are required for Checkmk.
# sudo dnf update -y
Enable the repositories with this command.
# sudo dnf config-manager --set-enabled crb
EPEL Repositories as well
# sudo dnf install https://dl.fedoraproject.org/pub/epel/epel-release-latest- 9.noarch.rpm
Step 2
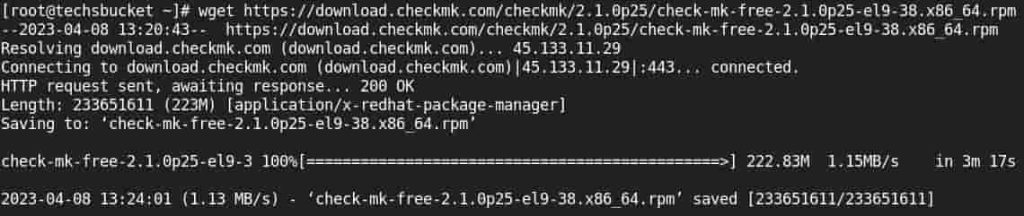
Download the latest Checkmk RPM package
# wget https://download.checkmk.com/checkmk/2.1.0p25/check-mk-free-2.1.0p25-el9-38.x86_64.rpm
Step 3
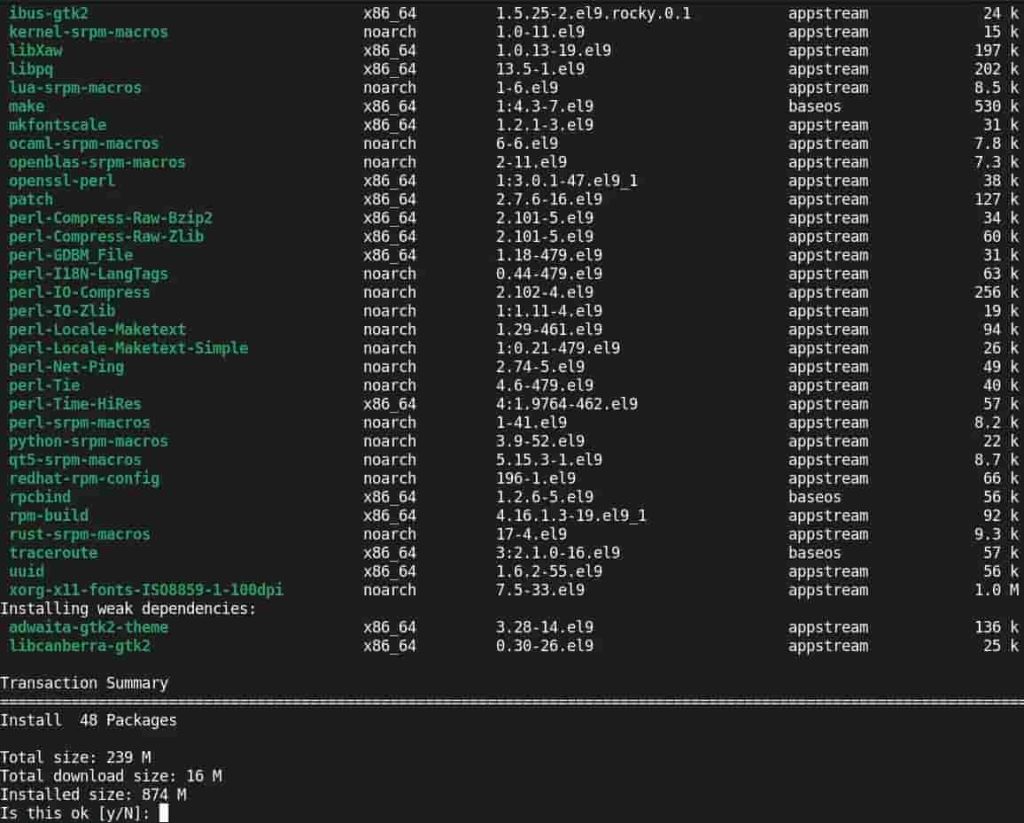
Once the download is completed, install the Checkmk with the following command.
# sudo dnf install ./check-mk-free-2.1.0p25-el9-38.x86_64.rpm
Step 4
We can check with OMD command to verify the installation is done.
# omd version
The output should be like this, it does mean it is installed.

Step 5
A very important step to disable SELinux is to access Checkmk from the browser else you will see an error while browsing Checkmk on the browser.
# sudo setenforce 0
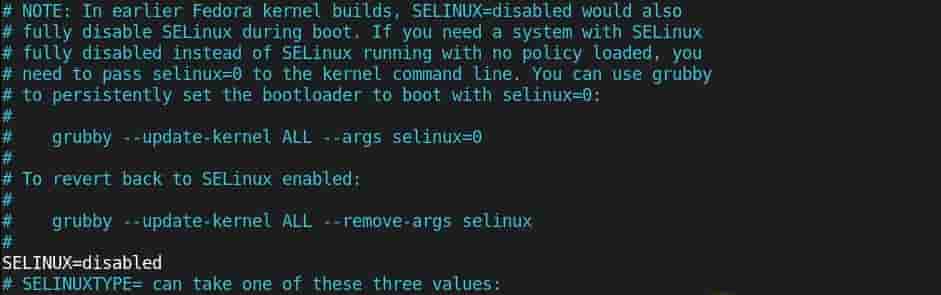
OR you can disbaled SElinux by udating SELinux config file.
# sudo vi /etc/selinux/config
Change from SELINUX=enforcing to SELINUX=disabled
Step 6
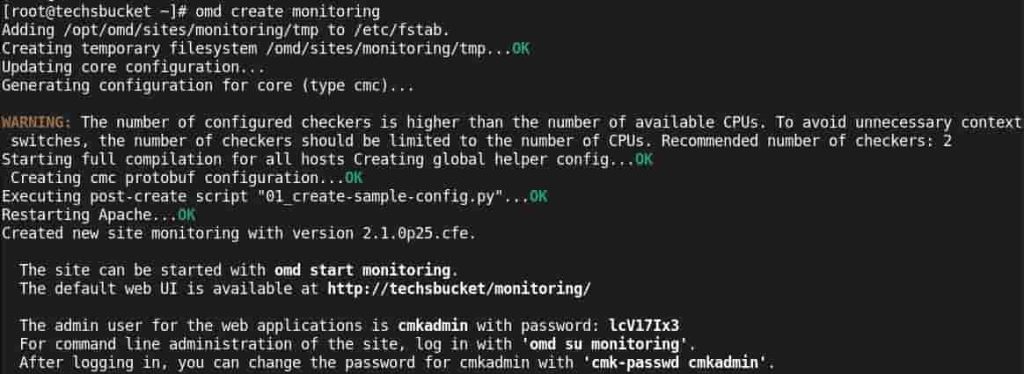
Create a Checkmk monitoring site that can be accessible from the local browser. Use OMD command to create, it will show you the URL as well as the username and password in the output.
# sudo omd create monitoring
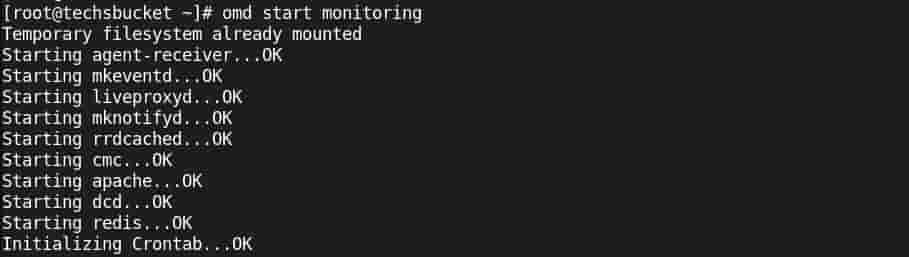
Start the site with OMD command only.
# sudo omd start monitoring
Step 7
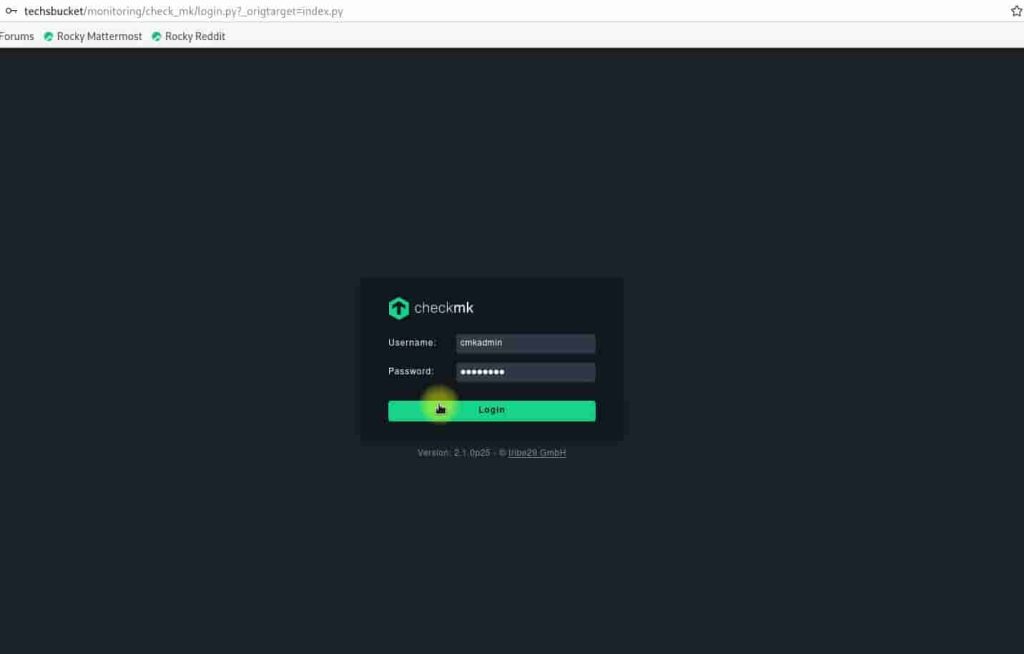
Once everything has been done and started successfully, now open any local browser and put in the URL, username, and password as per the Step 6 screenshot.
In my case, my URL is http://techsbucket/monitoring
Once the login has been done successfully, the following dashboard will see
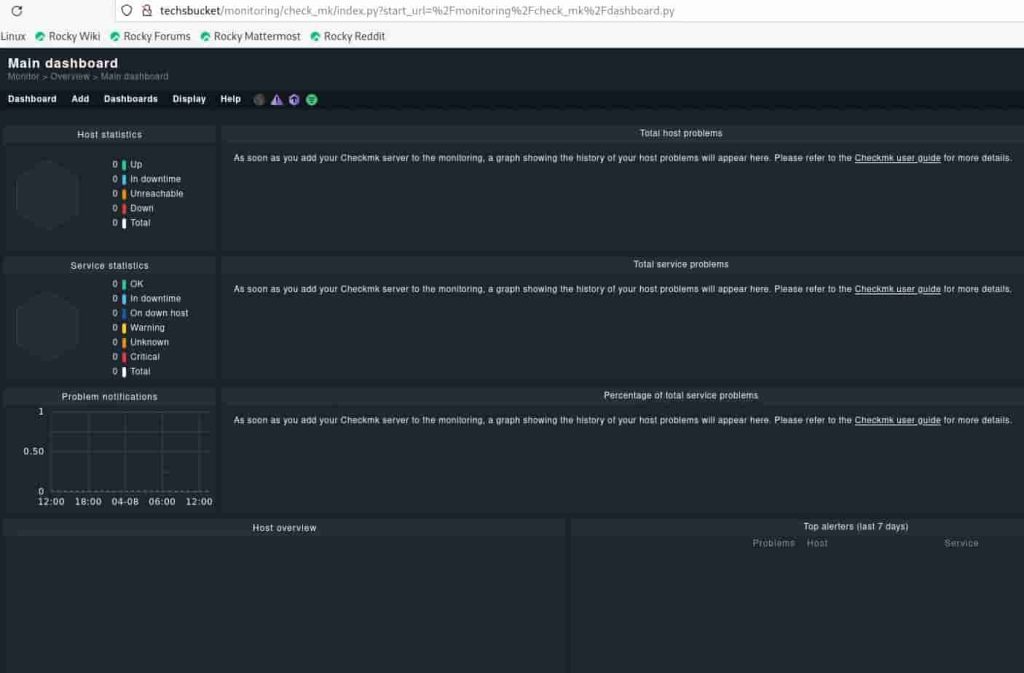
This is how you can access Checkmk from any local browser.

