Nagios monitors the server’s uptime and server’s availability and gives notification of broken things on the server. To make sure your server is running properly without any failure we will install the Nagios tool and monitor with this tool. Nagios keeps track of the server’s memory, disk spaces, networks, and your server’s history.
Basically, if we install Nagios on a server and that server will be monitoring its connected clients. These clients are actually servers monitored by the Nagios server. The Nagios server is like a management console everything keeps track of clients just needs to install reporting tools on client machines. Just for e.g, if one client goes down then we can easily track it on the Nagios server. In the below diagram, Nagios server is monitoring 3 servers.

Nagios minimum requirement
- At least 20GB free space
- Minimum 2 GB Memory or More
- CPU Dual Core 2.4 GHz or faster
- OS – Ubuntu / CentOS / RHEL
Steps to install Nagios
Above is the minimum requirement to run the Nagios Server. Given configuration will be higher which depends on the number of Client servers connected to the Nagios server for monitoring. We are going to be installed Nagios on Ubuntu 20.04 and make sure you have a minimum configuration as per the above prerequisites.
Step 1
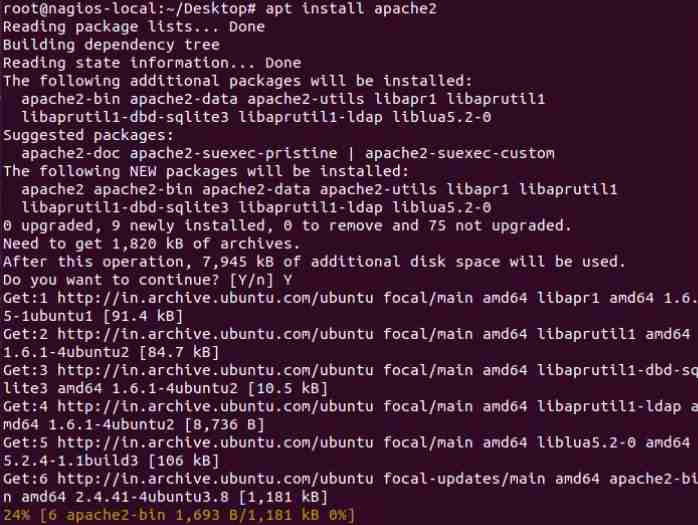
Select a Ubuntu 20.04 machine with a good configuration and update the system first then install the apache server.
# sudo apt-get update

# sudo apt-get install apache2
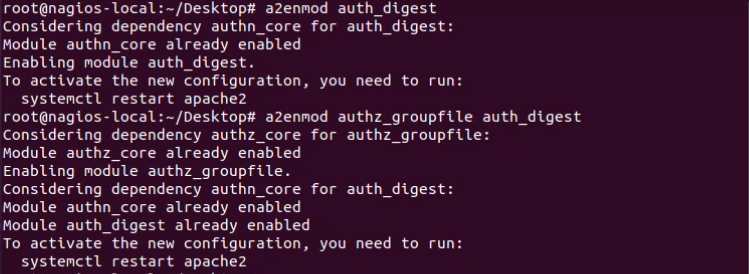
Step 2
Install the required module from the apache server
# sudo a2enmod auth_digest

# sudo a2enmod authz_groupfile auth_digest
Step 3
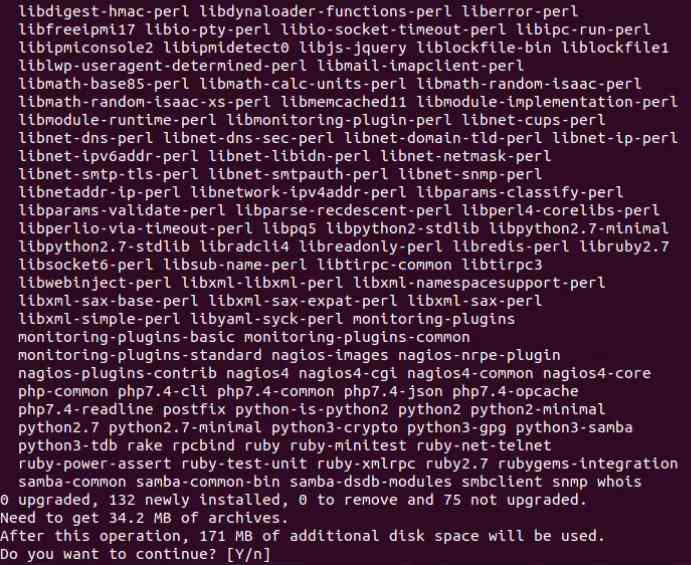
Install the latest Nagios4 with the following command on your Ubuntu 20.04
# sudo apt install nagios4 nagios-nrpe-plugin nagios-plugins-contrib
Step 4
Use htdigest command to create a Nagios admin user. This user will have all the admin privileges and login id for the Nagios console. Make sure to create the user “nagiosadmin” which has all the privileges.
# sudo htdigest -c /etc/nagios4/htdigest.users Nagios4 nagiosadmin

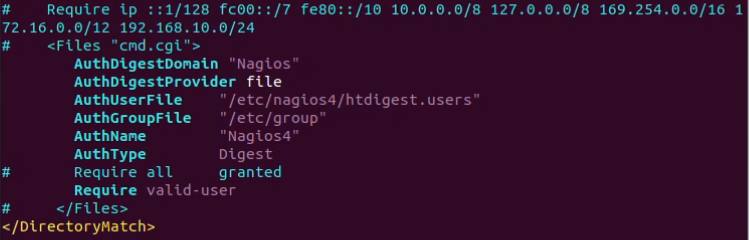
Step 5
Edit the Nagios apache config file. We will do some line items commend/uncomment. You can use vim or nano editor whatever you want.
# sudo vi /etc/apache2/conf-enabled/nagios4-cgi.conf
- Comment Require IP line
- Files start and closing tag only
- Comment “Required all granted”
- Uncomment “Require valid-user”
Step 6
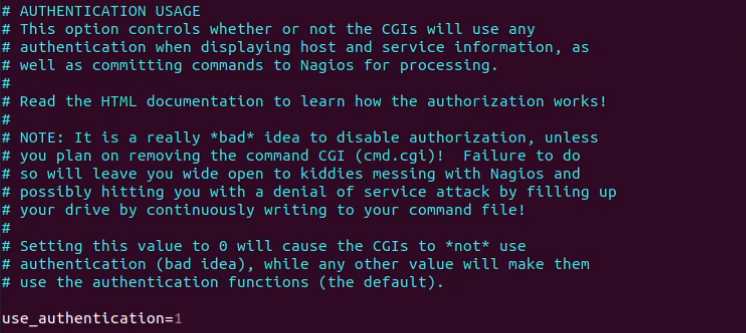
Now, configure the CGI Authentication. Go to/etc/nagios4/cgi.cfg file and edit use_athentication from 0 to 1.
# sudo vi /etc/nagios4/cgi.cfg
Step 7
After all the above steps, restart apache and Nagios services.
# sudo systemctl restart apache2

# sudo systemctl restart nagios4

Step 8
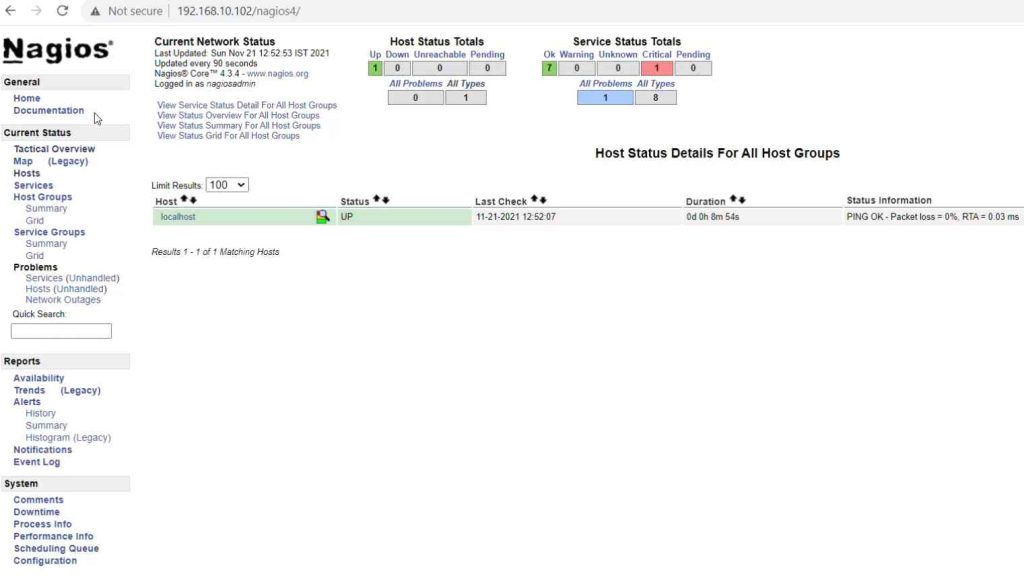
Finally, open your local web browser and put Nagios server’s IP address in the URL with sub-URL as /nagios4 You will see the main dashboard of Nagios after login.
192.168.10.102/nagios4
Also Read: Create service on Docker Swarm And Container Replica
Also Read: How to Create PGP Encryption Key on Windows
Video Tutorial
In this article, we have learned how to install Nagios latest version on Ubuntu 20.04. Nagios is the monitoring tool and we can monitor connected clients with the Nagios server. If you have any doubts regarding the article, you can reach me anytime with the contact form or you can directly email me.