
SFTP stands for Secure File Transfer Protocol and many organizations are using SFTP for secure file sharing with SFTP user credentials.
A server that is connected to the internet and allows many users to download and upload files from this server with the given SFTP credentials by SFTP server Administrator. A server can store files, host a website or manage network resources.
An SFTP server provides secure FTP services so users can transfer and store data securely. SFTP requires authentication by the server you are connecting to and runs over an ssh session on TCP port 22. SSH (Secure Socket Shel) creates a secure channel between the local computer and the remote computer.
Steps to Setup free SFTP Server on Windows
SFTP uses client and server connections to facilitate the file transfer but SFTP is a separate protocol, unlike FTP. SFTP file transfers are done over the control channel and there is no need to open a separate data channel to complete your file transfer.
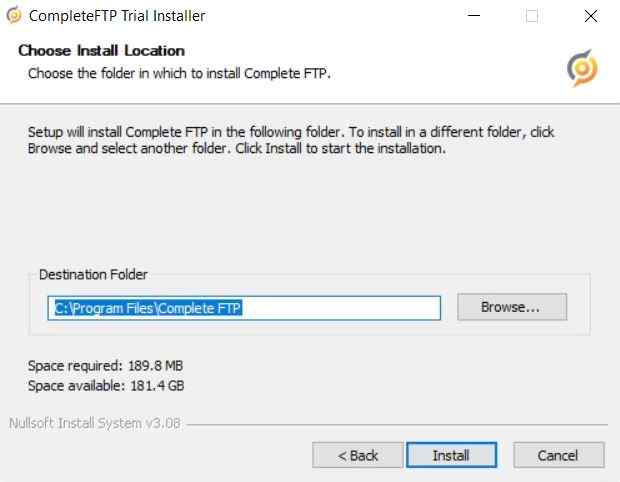
Step 1: Download and Install CompleteFTP
Click here to download the CompleteFTP free basic version or you can purchase an advanced version. I will recommend getting a Free version of the complete SFTP. Install the CompleteFTP once the setup is downloaded.
Step 2: Create a Folder for File Sharing
Create Any folder on your SFTP server that is to be shared later via ComplateFTP.
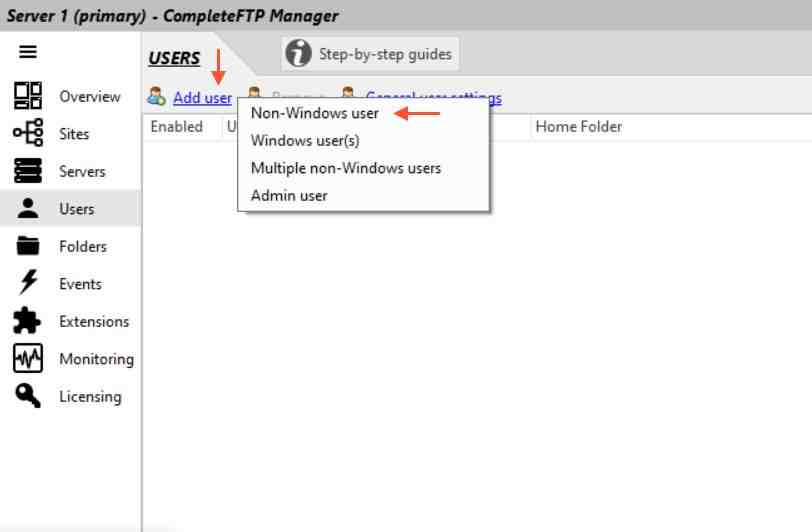
Step 3: Create a user, RSA keypair
Open Complete FTP Manager and create a user. Click on Add user and select Non-Windows user.
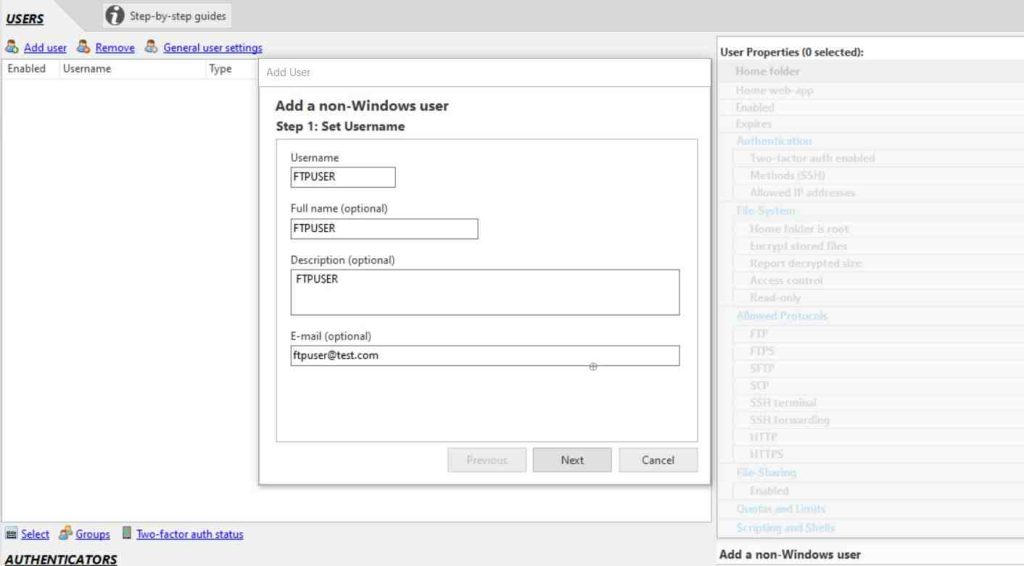
Write any username you want to create and click on next, I am creating FTPUSER.
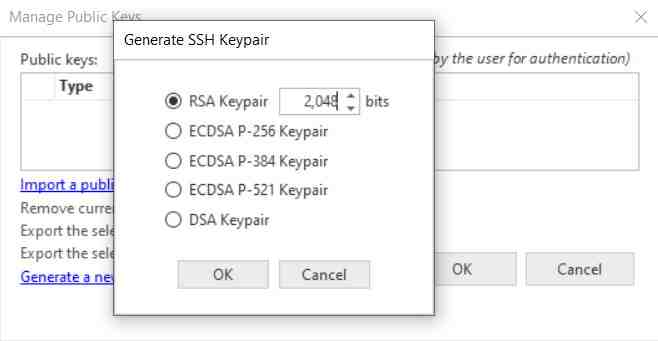
You will see the keypair option then click on Generate a new SSH keypair for the newly created FTPUSER.

Do not change anything here and click on OK to save the SSH keypair.
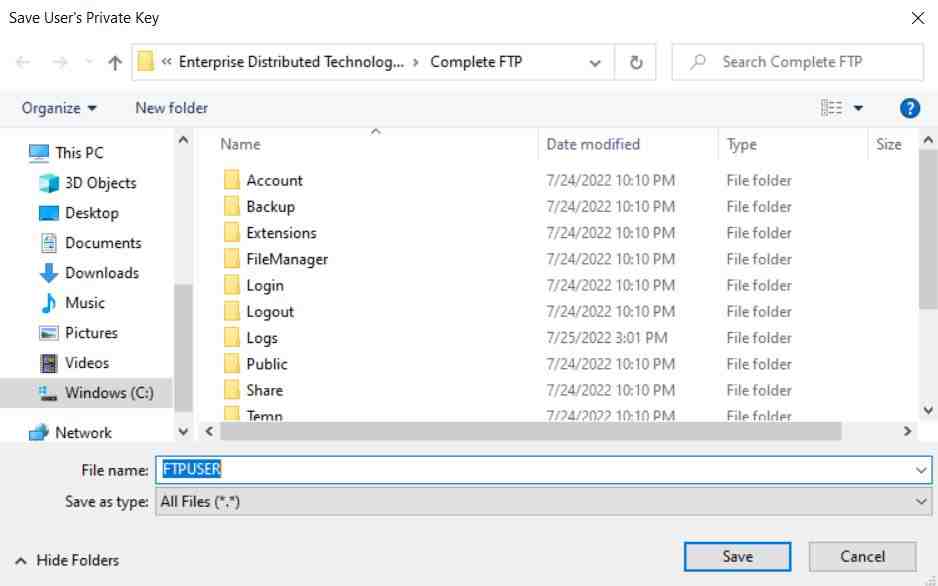
Finally, save the key on the server wherever you want. I am saving the SSH keypair in the CompleteFTP directory.
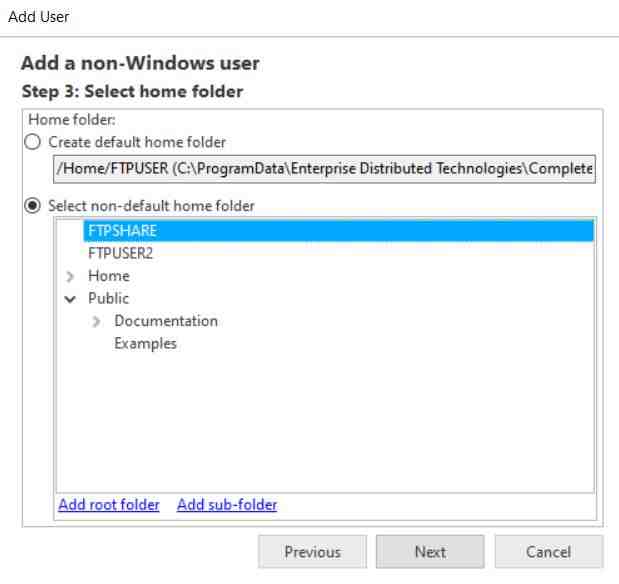
Step 4: Assign the folder to the FTP user
Once the key pair is saved click on next and assign a folder to this newly created FTP user. The folder which we have created for file sharing purposes is in step 2. Click on next then finish.
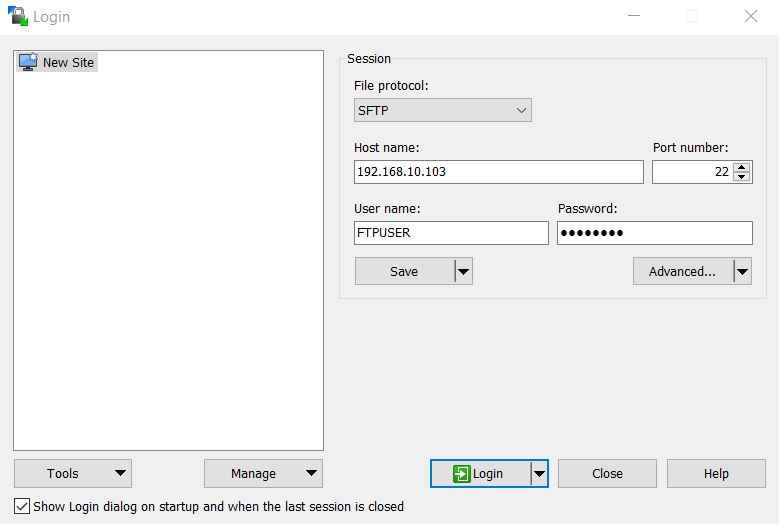
Step 5: Test FTP user login by FTP Client
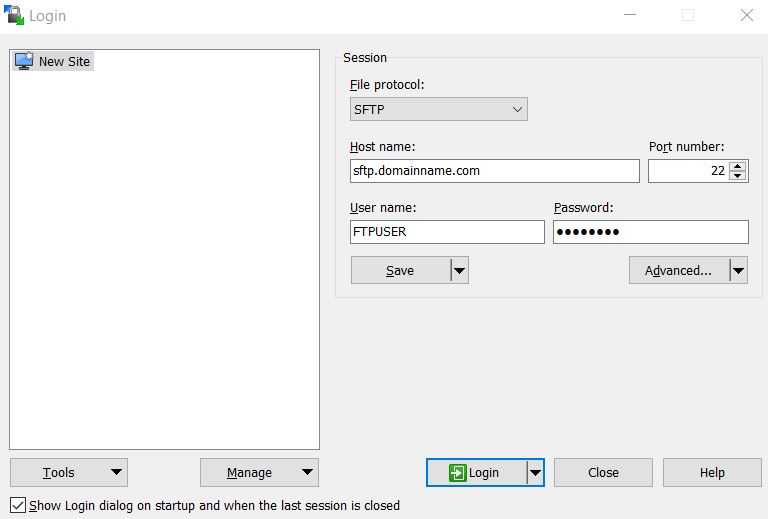
There are multiple SFTP clients available on the internet. I will recommend using the WinSCP FTP client which is very simple to use. Download and install WinSCP and do the following.
- Host name: CompleteFTP IP Address
- Port number: Do not change, keep default port 22
- User name: FTP user which is created by you on the CompleteFTP server
- Password: Put an FTP user password
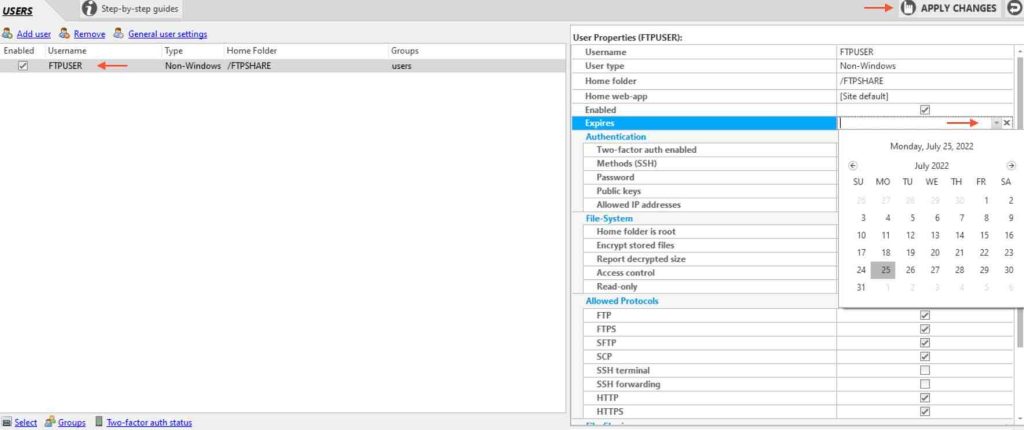
Step 6: Modify expiry date for FTP user
We can set an expiry date for any FTP user which is created. Select FTP user and on the right-hand side, you will find the date option. From this date option, we can set an expiry date, on that date FTP user access will be expired. We can keep never also, so access will never be expired for FTP users.
How to Publicly Access SFTP server?
To access publicly, point your SFTP server public IP address to your domain name which should be dedicated to your SFTP server. This can be done with the Domain DNS panel updating the “A” record.
sftp.domainname.com A server static public IP

Once you update the “A” from your domain DNS panel, this will take 24 to 48 hours to reflect the pointing. Once the changes are done, now you can use the domain name in the hostname instead of the IP address.
Video Tutorial
That’s all, in this tutorial, we have covered how to download ComppleteFTP software and set up it on a windows machine. We have created FTPUSER with a keypair and successfully accessed the SFTP user. If you have any doubts or queries, feel free to email me to resolve issues related to CompleteFTP.


i need to with you more