If you are looking to create awesome app icons for Android you must have to read this post. Yes! in this post we are going to show you, how to create an Android app icon and upload it to the Android Studio.
You will be able to create all-size icons for your app in just one click. For example, mipmap-hdpi, mipmap-ldpi, mipmap-mdpi all the supported sizes will be generated in one click.
Best Self. Co Signup and Get huge discounts on every product
Steps to generate Android App icon
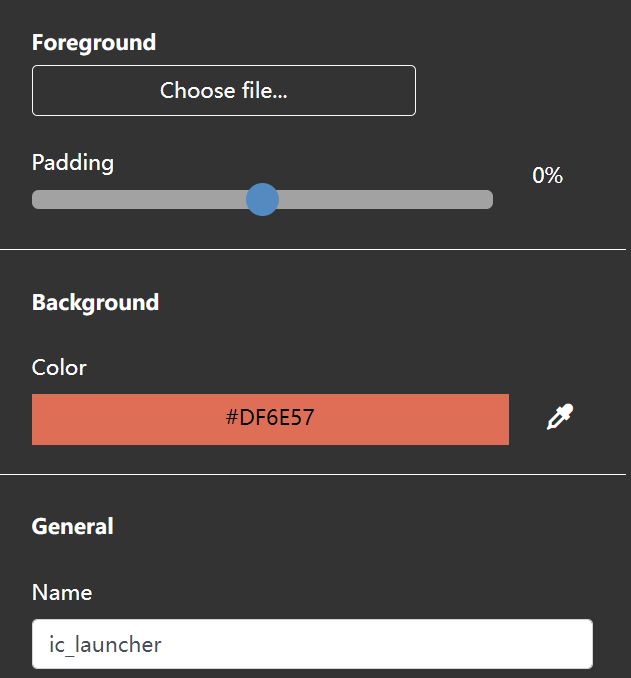
EasyAppIcon helps the developer to resize and create your own Android App Icon, including legacy and adaptive app icons. Simply, upload your design after finalizing your app icon and choose your favorite background color.
Step 1
Open your browser and go to the Easyappicon website and click on “Choose file” and upload, that will be your app icon.

Step 2
Once the upload is done, you can see the preview for your app icon in the right-hand side window. You can select any background color for your icon and every time there will be a preview after changes.
![]()
Step 3
The final step is to save your app icon to your local machine. Click on the download button and save it.
![]()
Steps to Apply Android App icon
You will get the following icons with multiple folder after download the icon.
ic_launcher.png
| Destiny | Pixel |
|---|---|
| ldpi (0.75x) | 36 x 36 px |
| mdpi (baseline) | 48 x 48 px |
| hdpi (1.5x) | 72 x 72 px |
| xhdpi (2x) | 96 x 96 px |
| xxhdpi (3x) | 144 x 144 px |
| xxxhdpi (4x) | 192 x 192 px |
ic_launcher_round.png
| Destiny | Pixel |
|---|---|
| mdpi (baseline) | 48 x 48 px |
| hdpi (1.5x) | 72 x 72 px |
| xhdpi (2x) | 96 x 96 px |
| xxhdpi (3x) | 144 x 144 px |
| xxxhdpi (4x) | 192 x 192 px |
ic_launcher_foreground
| Destiny | Pixel |
|---|---|
| mdpi (baseline) | 108 x 108 px |
| hdpi (1.5x) | 162 x 162 px |
| xhdpi (2x) | 216 x 216 px |
| xxhdpi (3x) | 324 x 324 px |
| xxxhdpi (4x) | 432 x 432 px |
Step 1
Add the following code in your AndroidManifest.xml within the app folder.
<application
…
   android:icon="@mipmap/ic_launcher"
   android:roundIcon="@mipmap/ic_launcher_round"
…>
</application>

<adaptive-icon xmlns:android="http://schemas.android.com/apk/res/android">
   <background android:drawable="@color/ic_launcher_background" />
   <foreground android:drawable="@mipmap/ic_launcher_foreground" />
</adaptive-icon>
Step 2
Replace the downloaded icon with existing icons in mipmap.
YourAppProject\app\src\main\res
![]()
That’s all. Once you replaced the icon one by one, close your Android Studio and re-open. The new icon will be generated without any hard work. I am using this website for generating my app’s icon very easily, this saves a lot of time from research and development.
Also Read : Implement AdMob Banner Ad using Android Studio
Also Read : How to save social media status on any Android phone
Video Tutorial
In this tutorial, we have covered how to generate app icons simply with a few clicks and apply these icons to your project on Android Studio. You can create Android as well as iOS App icon from Easyappicon website. Comment below if you have any queries and do not forget to share this post with your friend circle or groups.


usor de facut