In Ubuntu, Tomcat provides a quick and simple way to run your applications. It offers speedy loading and promotes server efficiency.
Users of Tomcat can operate flexibly thanks to a range of robust built-in customization options.
A free and open-source program is Tomcat. With access to the code, it allows for excellent customization In this article, we are going to learn how to install Tomcat on Ubuntu.
Steps to Install Tomcat on Ubuntu
Tomcat provides its consumers with an additional layer of security. Because of its stability, even if Tomcat has problems, the rest of the server continues to function. We will see in the following steps, how can we install Tomcat 10 on Ubuntu 20.04
Step 1
Update your system and create a Tomcat Group user first. We will create one group and add a Tomcat user to this group.
# sudo apt-get update

# sudo groupadd tomcat

# sudo useradd -s /bin/false -g tomcat -d /opt/tomcat tomcat
Step 2
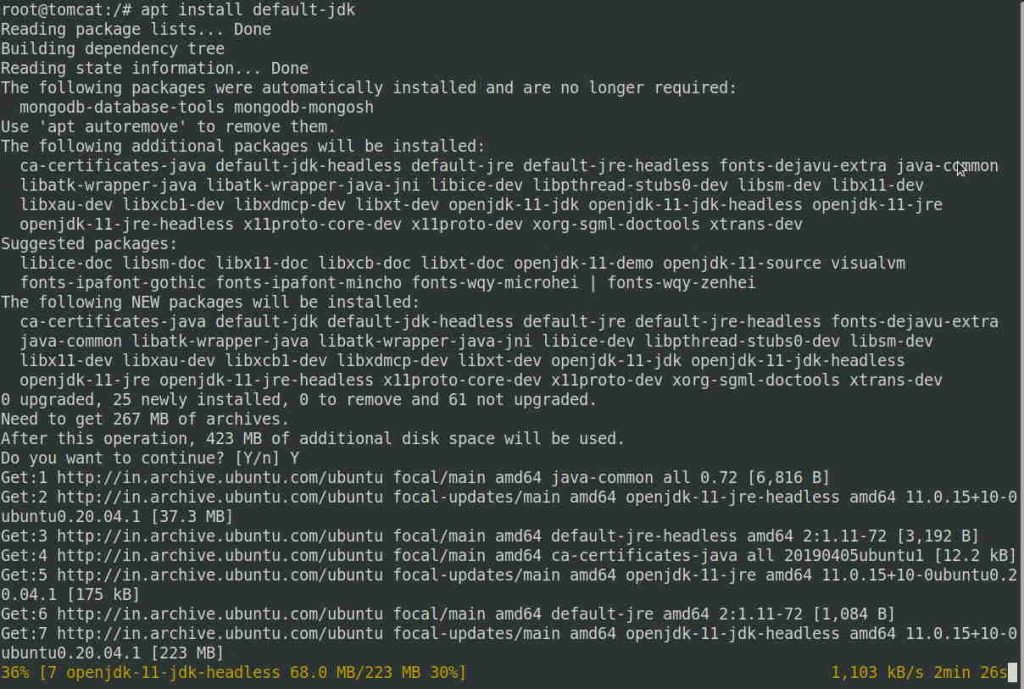
Install the JAVA which is very simple and quick to install on the Ubuntu system.
# sudo apt install default–jdk
Step 3
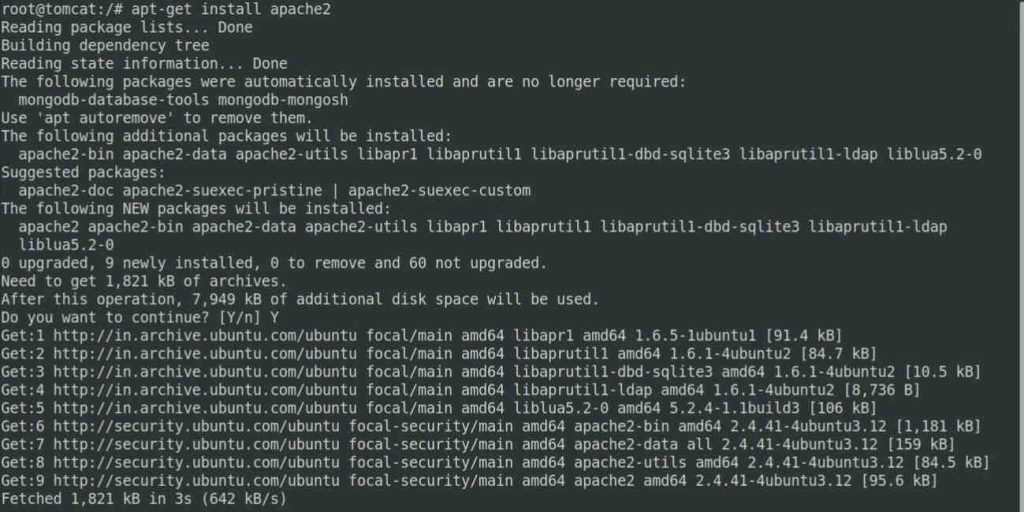
Install apache2 simply with the below command.
# sudo apt-get apache2
Step 4
Create the tomcat directory, extract the download tar file and update the permissions to the tomcat group.
# sudo mkdir /opt/tomcat

# sudo cd /opt/tomcat

# sudo curl -O https://techsbucket.com/apache-tomcatv10/apache-tomcat-10.0.22.rar

# sudo unrar x apache-tomcat-10.0.22.rar

Download Offline file (Optional) : Click to Download Apache Tomcat v10.0.22
Step 5
Allow permission to Tomcat user on several folders and config file as follows.
# sudo chown -R tomcat:tomcat /opt/tomcat/

# sudo chmod -R u+x /opt/tomcat/bin

# sudo chown tomcat /opt/tomcat/logs/catalina.out

Step 6
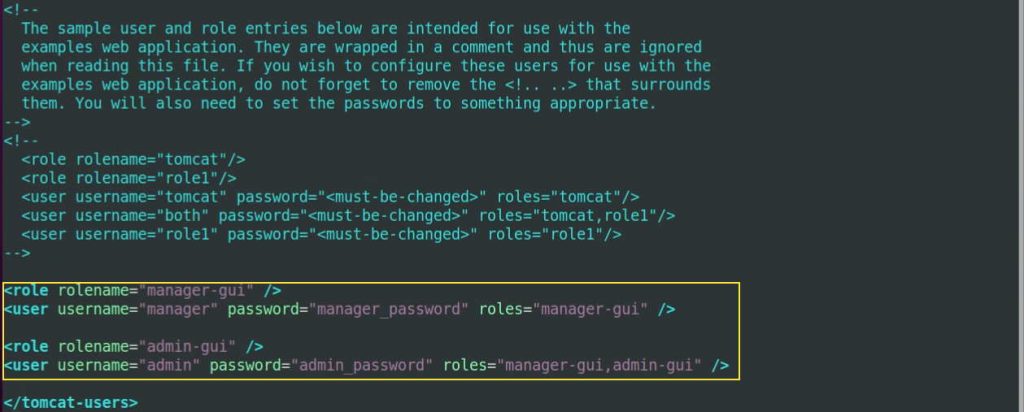
Edit the tomcat-users.xml file and define the tomcat user and password who can access it.
# sudo vi /opt/tomcat/conf/tomcat-users.xml
Add the following lines in tomcat-users.xml
<role rolename="manager-gui" />
<user username="manager" password="manager_password" roles="manager-gui" />

<role rolename="admin-gui" />
<user username="admin" password="admin_password" roles="manager-gui,admin-gui" />
Note: Replace the password with yours.
To access the manager edit the manager content.xml file under /opt/tomcat/webapps/manager/ directory.
# sudo vi /opt/tomcat/webapps/manager/META-INF/context.xml
Comment out as highlighted and save the file.
...
<Context antiResourceLocking="false" privileged="true" >
<CookieProcessor className="org.apache.tomcat.util.http.Rfc6265CookieProcessor"
sameSiteCookies="strict" />
<!-- <Valve className="org.apache.catalina.valves.RemoteAddrValve"
allow="127\.\d+\.\d+\.\d+|::1|0:0:0:0:0:0:0:1" /> -->
<Manager sessionAttributeValueClassNameFilter="java\.lang\.(?:Boolean|Integer|Long|Number|String)|org\.apache\.catalina\.filters\.Csr>
</Context>
Same for the Host-Manager, follow this directory /opt/tomcat/webapps/host-manager/META-INF/ and edit the context.xml
# sudo vi /opt/tomcat/webapps/host-manager/META-INF/context.xml
Comment out as highlighted and save the file.
...
<Context antiResourceLocking="false" privileged="true" >
<CookieProcessor className="org.apache.tomcat.util.http.Rfc6265CookieProcessor"
sameSiteCookies="strict" />
<!-- <Valve className="org.apache.catalina.valves.RemoteAddrValve"
allow="127\.\d+\.\d+\.\d+|::1|0:0:0:0:0:0:0:1" /> -->
<Manager sessionAttributeValueClassNameFilter="java\.lang\.(?:Boolean|Integer|Long|Number|String)|org\.apache\.catalina\.filters\.Csr>
</Context>

Step 7
We need to create a new service file for Tomcat. We will create a service file under /etc/systemd/system/.
# sudo vi /etc/systemd/system/tomcat.service
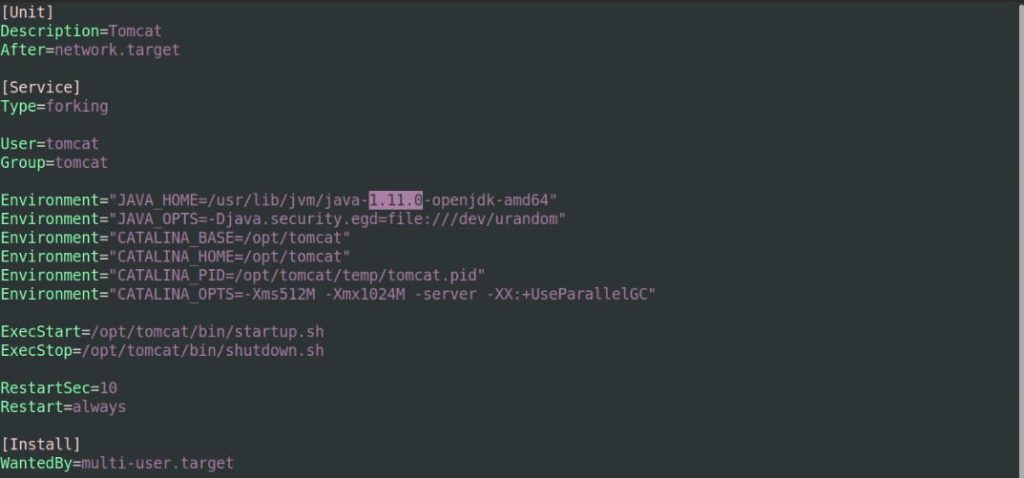
Copy and Paste the following configuration and save the file.
Note : Change the JAVA version in this file if you have a different version of JAVA.
Check the JAVA version and replace the highlighted version as per yours, my JAVA version is 1.11.0.
# sudo update-java-alternatives -l
![]()
[Unit]
Description=Tomcat
After=network.target

[Service]
Type=forking

User=tomcat
Group=tomcat

Environment="JAVA_HOME=/usr/lib/jvm/java-1.11.0-openjdk-amd64"
Environment="JAVA_OPTS=-Djava.security.egd=file:///dev/urandom"
Environment="CATALINA_BASE=/opt/tomcat"
Environment="CATALINA_HOME=/opt/tomcat"
Environment="CATALINA_PID=/opt/tomcat/temp/tomcat.pid"
Environment="CATALINA_OPTS=-Xms512M -Xmx1024M -server -XX:+UseParallelGC"

ExecStart=/opt/tomcat/bin/startup.sh
ExecStop=/opt/tomcat/bin/shutdown.sh

RestartSec=10
Restart=always

[Install]
WantedBy=multi-user.target
Step 8
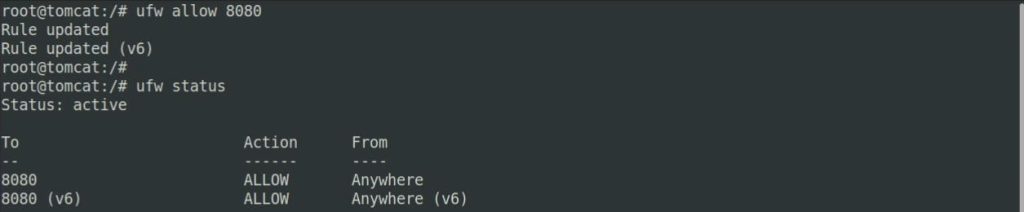
Allow Tomcat port in Firewall if you have enabled and running a firewall in your Ubuntu system.
# sudo ufw allow 8080
Step 9
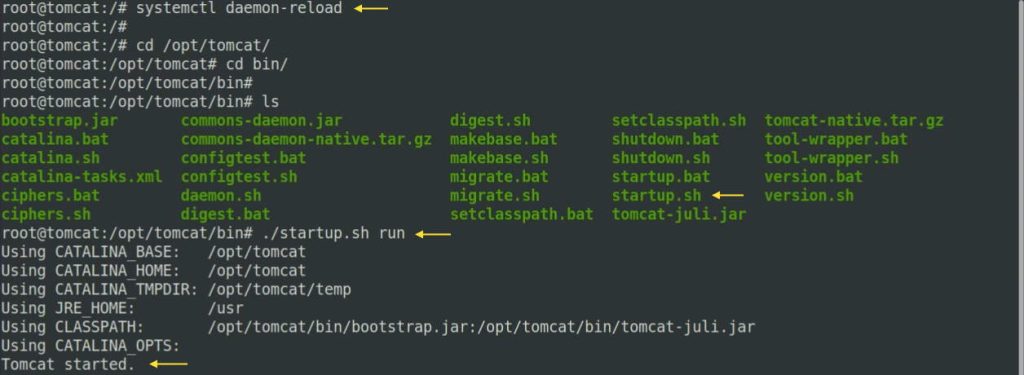
Reload daemon, Execute and start the tomcat service using the following command.
# sudo systemctl daemon-reload

# cd /opt/tomcat/bin

# sudo ./startup.sh run
Step 10
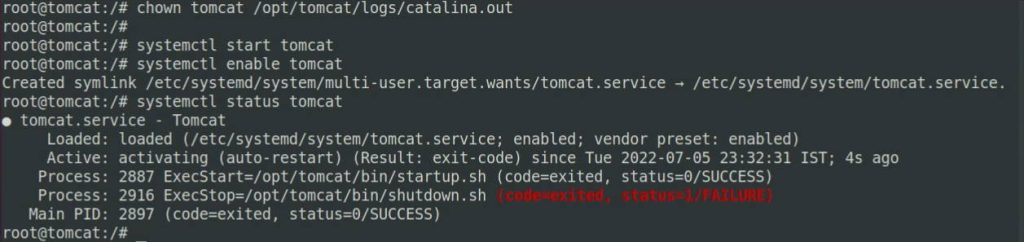
Finally, start, enable and check the Tomcat service.
# sudo systemctl start tomcat

# sudo systemctl enable tomcat

# sudo systemctl status tomcat
Step 11
Now we can access the web interface in the local browser by Tomcat server’s IP address. Make sure you have updated username and password in tomcat-users.xml file per step 7. We can access the manager app and host-manager app.
http://server_domain_or_IP:8080
To access the manager app
http://server_domain_or_IP:8080/manager/html
To access the host-manager app
http://server_domain_or_IP:8080/host-manager/html/
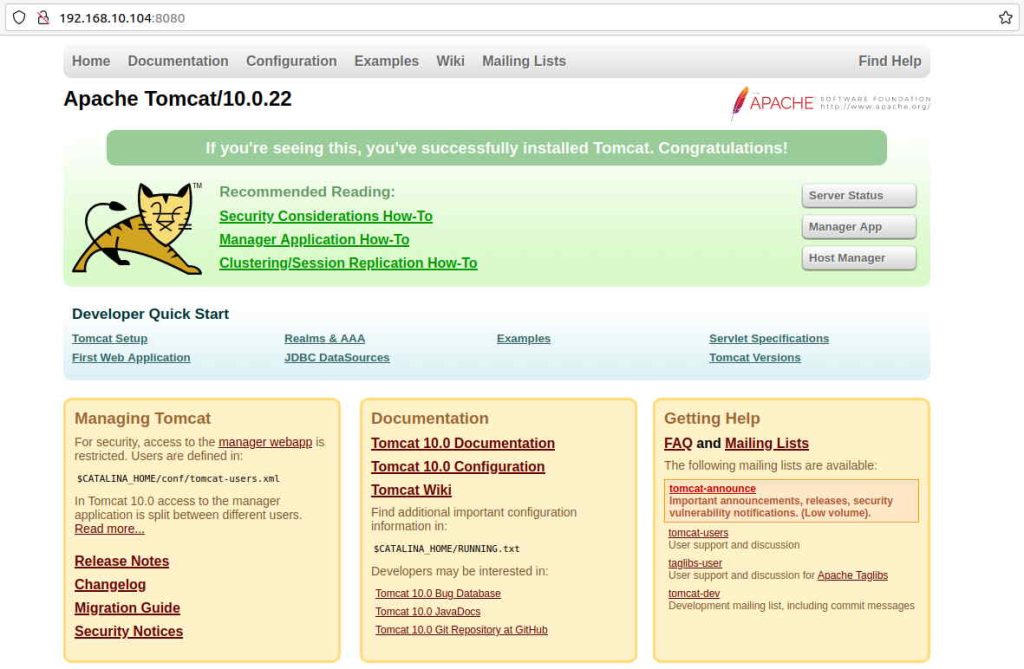
To open the manager simply click on the Manager App and to open the host manager click on Host Manager you will be able to access both pages. Remember, username and password are stored in the /opt/tomcat/conf/tomcat-users.xml file that will be used in login.
Also Read : Install MongoDB community edition on Ubuntu 20.04-22.04
Also Read : Build your own file sharing Website
Video Tutorial
In this tutorial, we have covered how to install apache tomcat on Ubuntu 20.04 step by step. Comment below or contact me via social media or email if you have any queries about the tomcat installation.