Hi Everyone.. Today in this post we are going to learn how to install Ubuntu Server 20.04 LTS on AWS. This is going to be very easy can be installed with some easy steps. To make any instance on AWS you should have activated AWS account. AWS account will be fully start after link with your Debit or Credit card for Billing Process. I am going to show you how can we install a Free Tier instance in a 0 cost, this will be very helpful for practice purpose, let’s read something about EC2.
EC2 : Elastic Compute Cloud
- EC2 service provides resizable compute capacity in the cloud
- You can set root / Administrator access to your EC2 infrastructure (SSH / RDP)
EC2 SLA
- EC2 SLA is 99% – 95% for each region during any monthly period
- You can provision your EC2 infrastructure on shared or dedicated hosts (Physical Server)
EC2 Key
- To access a EC2 instance you will require a keypair
- When you launch a new EC2 instances you can create a private and public keypair
- You can download a private key only once
Install Ubuntu Server 20.04
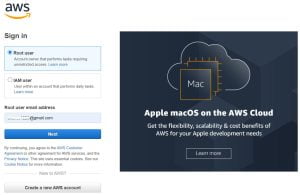
1. Very first step is login to your AWS Console
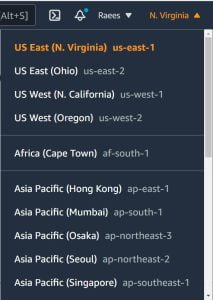
2. Once you logged in, you can select any region from this console where you want to install EC2. You will get same speed to login on your instance from all the region present in the AWS console.
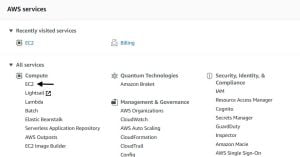
3. Next step is to click on EC2 option from the AWS services
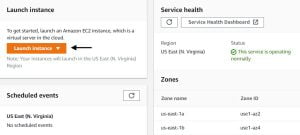
4. On the next page, select the launch Instance
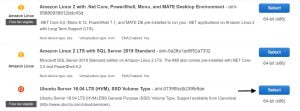
5. From the left side menu, check on the Free Tier Only which will show the Free instance list only and select the Ubuntu Server 20.04 LTS from the list
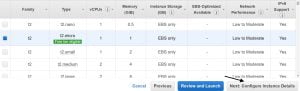
6. Check on t2 micro Free tier eligible and hit Next for Configure Instance Details
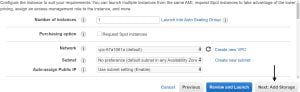
7. Keep it default and go for next window Add storage
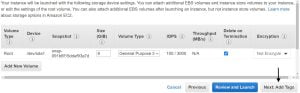
8. Do not increase the size of the disk else you will be charged in the next billing date, keep it default and hit next
9. Add Tag is optional, go to next window for Security Group Configuration
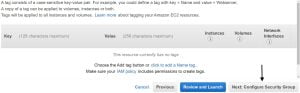
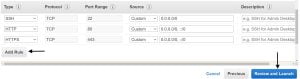
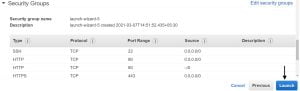
10. By default SSH port is enabled in Security Groups which allows to connect Instance Remotely. If your are going to host with Ubuntu, I will advise to Add Rule HTTP, HTTPS and hit Review and Launch
11. Now hit on Launch
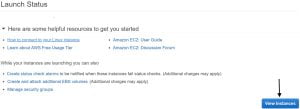
12. Next step is Create and Download a New Key pair which will be used to connect instance by SSH through PuTTy
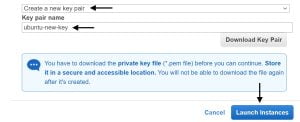
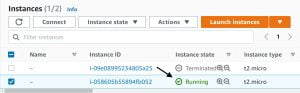
13. Finally click on view instances which will redirect to your installed Instance page.
14. Recently created Instance will take 2 to 3 minutes to up and run.
Access Ubuntu Server 20.04
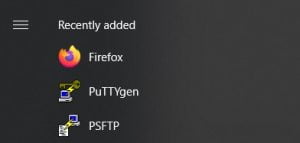
Your instance will be access by Putty Once you installed PuTTy on your Machine, you will find PuTTygen in the Start menu. To Access instance you will have to convert (.pem) key into Private Key (.ppk).
1. Download & Install PuTTy and Open PuTTygen from the start menu
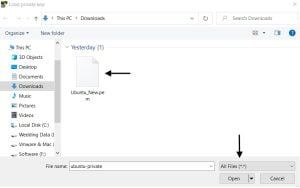
2. Load the New Key Pair (.pem) which you have downloaded previously in step 12
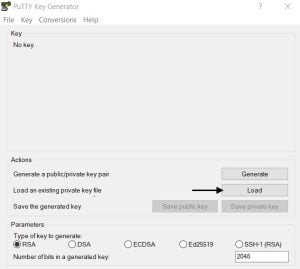
3. Browse and Navigate to (.pem) key and upload
4. Once upload done, click on Save private key
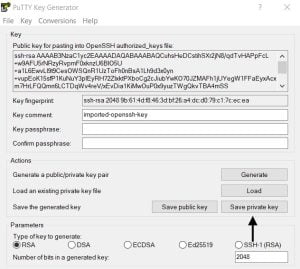
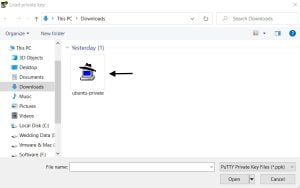
5. Private key will be saved by Default in a Download Directory
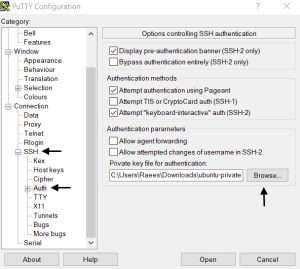
6. Finally open PuTTy from the start menu and Expand SSH option. Select Auth under SSH and upload the Private Key (.ppk)
7. Once Private key uploaded then go back to session option and put your Instance public IP and hit open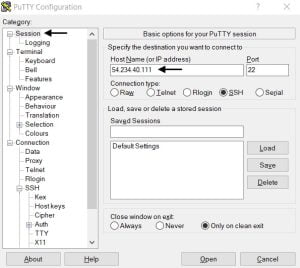
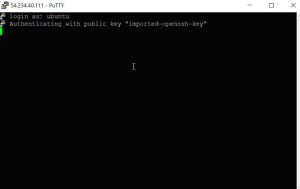
8. The default user name for AWS Ubuntu is ” ubuntu “. To make any changes you can enter into root user by typing ” sudo su ” and password will be null
Also Read : How to install Android Studio
Video Tutorial
Hope you all are followed the steps from this post. This was very simple steps to install Ubuntu Server on AWS. The free tier instances are for practicing purpose so I will advise, stop instance from the option when you are not require and start the instance whenever you require it for practice.