Hi Everyone.. Today in this post we are going to learn how to install Mac Operating System in VMWare on Windows 10. This can be installed with some easy steps along with the patience, yes ! the installation of MacOS cab take around 1:00hr to 1:30hrs. So, I will advise not to restart or cancel the process during the installation of MacOS. Once the MacOS installed it will run smoothly without any delays. So, we are going to learn about MacOS Catalina installation in VMWare, let’s start.
Requirement
| Hardware | Minimum | Recommended |
| Hard Disk / SSD / M.2 | 100 GB Free | SSD / M.2 |
| RAM | 8GB DDR3 | 8GB DDR4 |
| Processor | Intel i3 4th Gen | Intel i3 8th Gen |
| VM Application | MacOS Image | VM Unlocker | VM Tool |
| VMWare Workstation | MacOS Catalina Image | VM Mac Unlocker | VM Tool Image |
We can proceed with MacOS installation once all the software is downloaded.
Steps to Install MacOS on VMWare Workstation
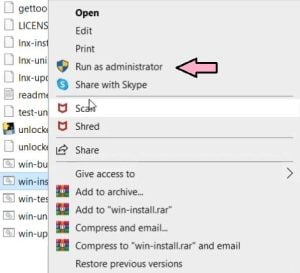
1. the First Step is to install VM Mac Unlocker to get the option to install macOS in VMWare Workstation
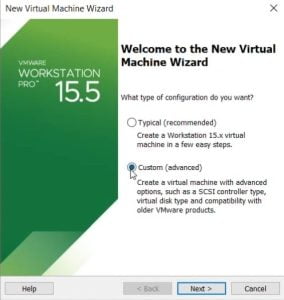
2. Open VMWare Workstation and click on create a new virtual machine with custom ( Advanced ) option
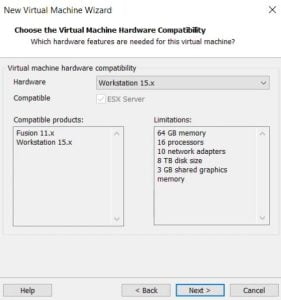
3. Don’t change anything and click on Next
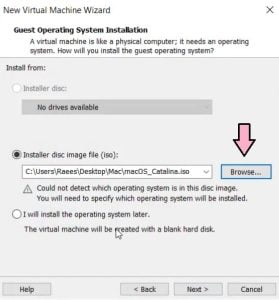
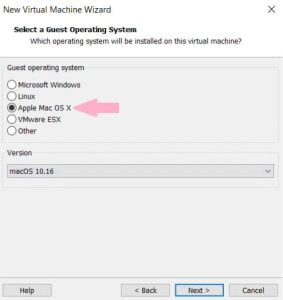
4. Navigate and Choose the downloaded MacOS image
5. Go for Apple Mac OS X option from the list and keep it macOS10.16 version
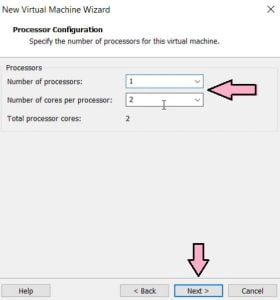
6. Minimum number of processor is 1 and core must be 2, click next. This can be more depends on your configuration
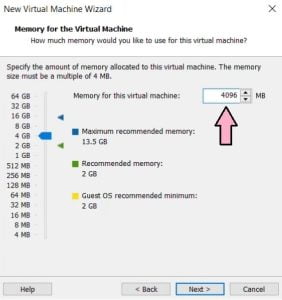
7. My recommendation would 4096MB for RAM. later this can be modify
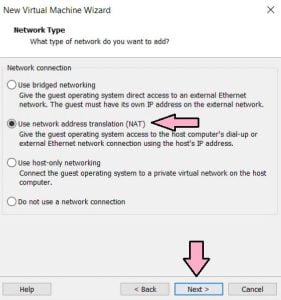
8. Keep the Network Connection settings as it is, later this can be modify
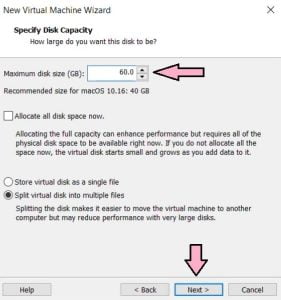
9. Minimum virtual hard disk space I would suggest 60.00GB to install Mac
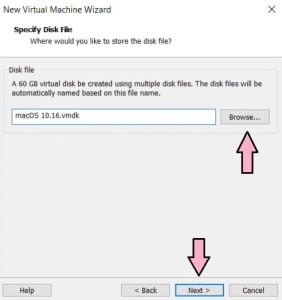
10. Here you can navigate the virtual hard disk directory, for example C or D drive where VM data will be save
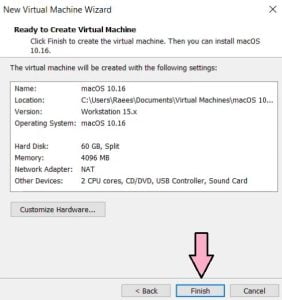
11. Virtual Machine configuration is done, hit finish and power on the virtual machine
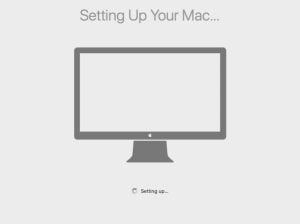
12. This will take some time to start, keep patience and don’t cancel or power off the machine

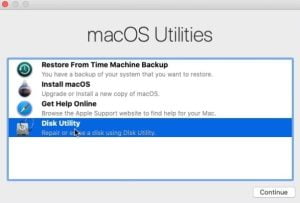
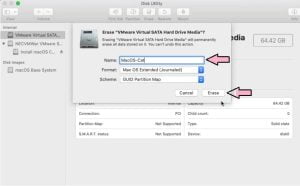
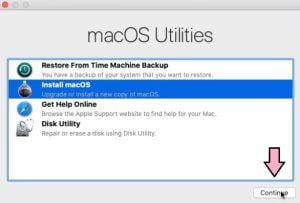
13. This is important step, navigate to Disk Utility and click continue
14. In this screen, Erase the Virtual Hard Disk and close
15. Now, Select install macOS and hit continue
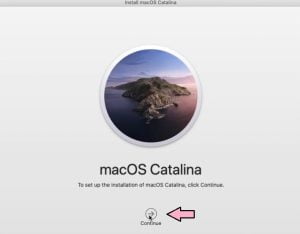
16. Continue the screen

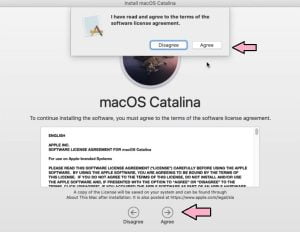
17. Agree the Terms and Condition
18. Click on macOS virtual disk and hit install
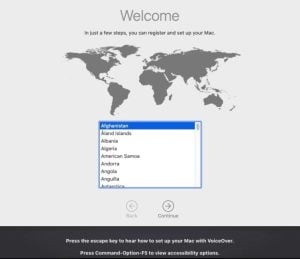
19. Select your country and continue
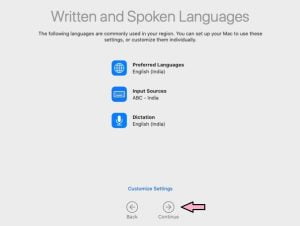
20. Don’t make any changes here and continue
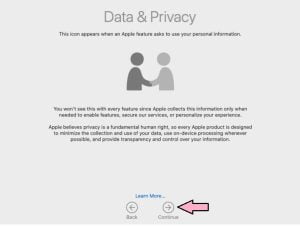
21. Read the data policy and hit continue
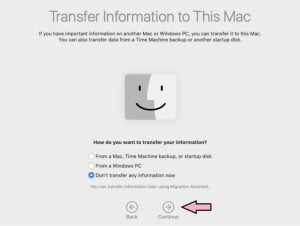
22. My recommendation would be last option ” Don’t transfer my information now”
23. Set up Apple id after completing installation

24. Do Agree the Terms and Conditions

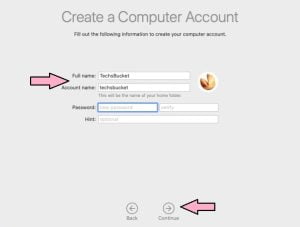
25. Create your Account with your name along with password and password hint
26. Just hit continue for Express Setup screen
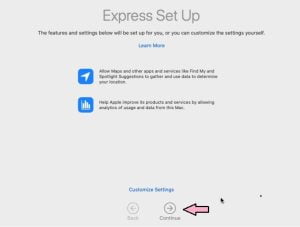
27. Untick Share Crash..blah blah.. hit continue

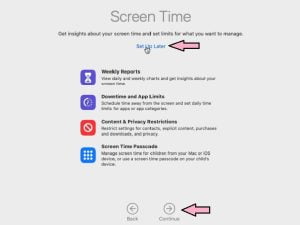
28. Set Up Screen Time, do it later, hit Set Up later
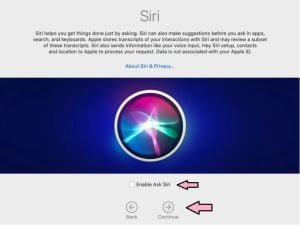
29. Tick / Untick siri its up to you, hit continue
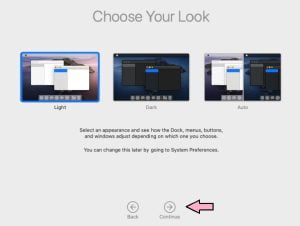
30. Choose the theme for your Mac, click next
31. Finally, MacOS has been installed in VMWare Workstation
Enable Full Screen for MacOS
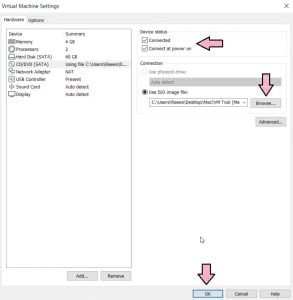
1. Select the Mac VM Tool from the settings in a CD/DVD as per below image and go back to the Mac screen
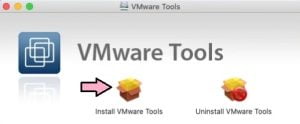
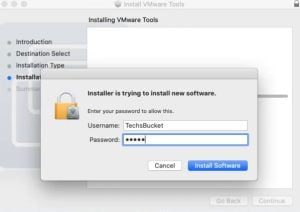
2. VMWare Tool will run automatically, double click on Install VMWare Tools
3. Click continue and put your account password
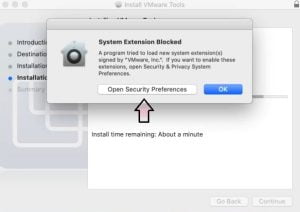
4. Now, it will ask for Security Preferences, just click on it and open
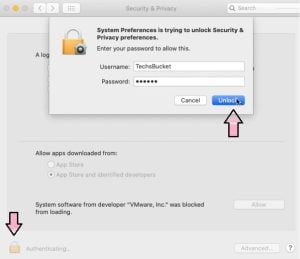
5. Click on unlock settings and put the account password to unlock
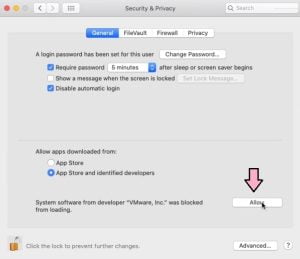
6. On the same screen click on Allow the changes
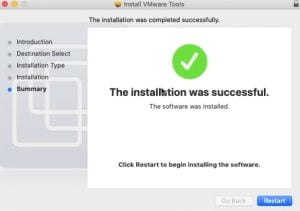
7. VMWare Tool installation completed, restart the Virtual Machine
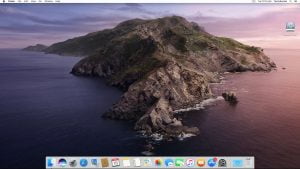
8. Congratulations… MacOS has rebooted along with the full screen
Video Tutorial
Friends.. In this post we have covered how to install MacOS in VMWare Workstation with some very simple steps… I hope all the visitors will enjoy the post.. comment below for any doubt so I will be helping out to resolve all your queries.. Thanks..