
Hello Friends, today in this post I am going to show you about Mailwizz SMTP setup. If you have not seen how to install Mailwizz on my blog, then go to the link below where there are some easy steps to install Mailwizz Application on CentOS.
Once Mailwizz is installed on your server, update your PTR records and go for Mailwizz SMTP setup after verifying PTR. Before configuring SMPT, make sure you have done below configurations in your Mailwizz installed server.
Install and Configure Certificates
Once the given steps are completed, now we can proceed to the Smtp setup. Remember, the steps above are very important to build a Smtp Server.
Smtp Types On Mailwizz
There are many types of SMTP on Mailwizz Application. Basically, SMTP is a mechanism of sending email to the end valid user. SMTP settings can be done with some easy steps. We will learn about ” Smtp “configuration from below list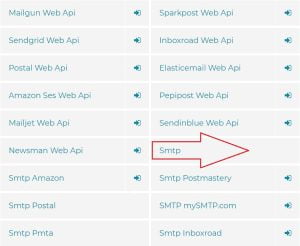
Before we proceed, make sure you have followed all the above steps and check out the Smtp port which must be open from server.
Telnet your server’s fully qualified domain name or IP address followed by Smtp port number in the run
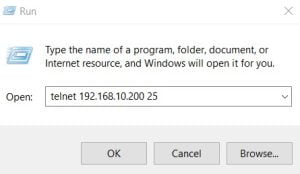
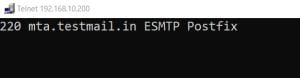
If port is opened the result would be as follow
Configure Smtp On Mailwizz
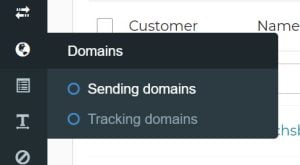
1. Login to your Mailwizz Application and first go to Sending Domains Option from the Dashboard.
2. Go ahead and click on Create New

3. Type the Domain Name and hit save

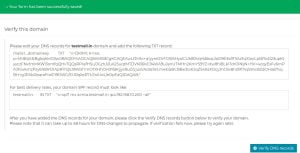
4. Now, DKIM will be appear for the saved domain. Copy DKIM and paste it to your Domain’s DNS as txt record and wait for atleast 24hr to validate saved Domain.
5. Next, Go to Delivery Server Option from the Dashboard.
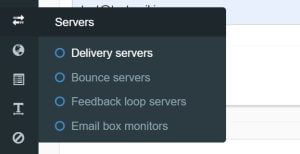
6. Click on Create new server and Select Smtp option from the list

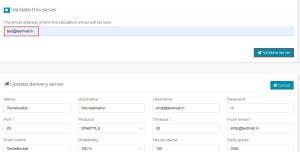
7. Fill out the correct details of your server host, domain name, port number and save the details

8. Once details saved, go for the validating server. Put the correct email address to get validation link on the mail id. Once the server validated the you can start the sending test email.
Video Tutorial


