In this post, I’m gonna show you how to download and install Android Studio on Ubuntu, which is the program we’re going to be using to write our Android applications. if you’re using Linux you’re in the right place, so let’s get started.
Now it’s possible that you might be running a 32-bit version of Linux if that’s the case firstly consider installing a 64-bit version the next time you rebuild your computer because there are lots of advantages.
Now to check whether you are running a 32-bit we can open a terminal and we can type ” uname -m “, now if it reports x86_64 does in my case that means you’re running a 64-bit version but if it comes back with either a 386 or i6 86 then that means you’re running a 32-bit version of Linux

System Requirement
- Any 64-bit Linux distribution that supports Gnome, KDE, or Unity DE; GNU C Library (glibc) 2.31 or later
- x86_64 CPU architecture; 2nd generation Intel Core or newer, or AMD processor with support for AMD Virtualization (AMD-V) and SSSE3
- 8 GB RAM or more
- 8 GB of available disk space minimum
- 1280 x 800 minimum screen resolution
Steps to Install Android Studio
Now Android studio includes its own installation of Java but that only ships with a 64-bit version and won’t work on a 32-bit. If you don’t have one already, you can buy a VPS with Hostinger, GoDaddy or Bluehost at a very cheap price. Deploy a fully managed VPS or cloud server at a very reasonable cost.
If you are running a 64-bit version of Ubuntu, you need to install some 32-bit libraries with the following command
Step 1
We are going to install the first libc6 i386
# sudo apt-get install libc6:i386
Command for CentOS / Fedora
# sudo yum install libc6:i386

Step 2
The next step is to install libncurses5:i386
# sudo apt-get install libncurses5:i386
Command for CentOS / Fedora
# sudo yum install libncurses5:i386
Step 3
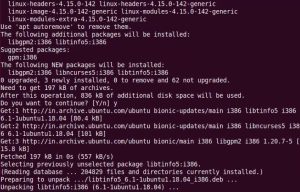
Go with the next command to install libstdc++6:i386
# sudo apt-get install libstdc++6:i386
Command for CentOS / Fedora
# sudo yum install libstdc++6:i386
Step 4
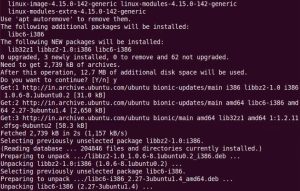
The final command is to install ib32z1 libbz2-1.0:i386
# sudo apt-get install lib32z1 libbz2-1.0:i386
Command for CentOS / Fedora
# sudo yum install lib32z1 libbz2-1.0:i386
Step 5
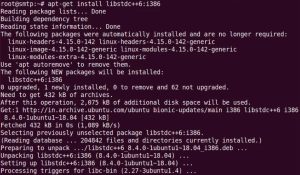
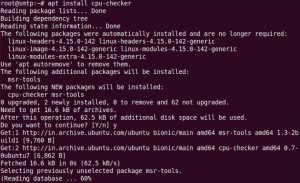
check hardware virtualization support, Install the CPU checker using the following command
# sudo apt install cpu-checker
Command for CentOS / Fedora
# sudo yum install cpu-checker
Install qemu-kvm to virtualization support
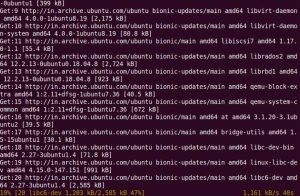
# sudo apt install qemu-kvm libvirt-bin ubuntu-vm-builder bridge-utils
Command for CentOS / Fedora
# sudo yum install qemu-kvm libvirt-bin ubuntu-vm-builder bridge-utils
Once we have installed all the libraries with the above steps, move ahead to download and Install Android Studio
Step 6
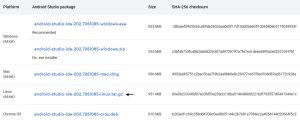
Open the below link on your favorite browser and download Android Studio for Linux
Step 7
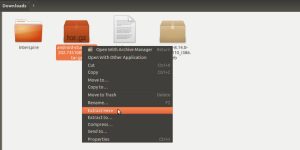
Extract the downloaded Android Studio
Step 8
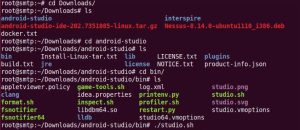
Head again on Terminal window to install Android Studio, navigate to the Android Studio downloaded Directory, and run installation
# sudo cd Downloads

# sudo cd android-studio

# cd bin

# ./studio.sh
Step 9
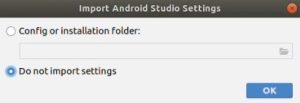
The installation has begun, simply click ok on default settings
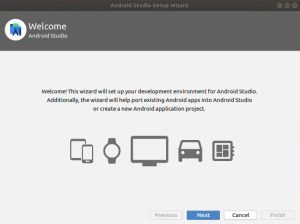
Just click on Next on the next screen
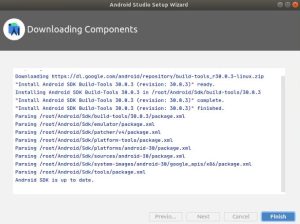
Click on Finish and wait to complete the installation. This may take around 20 to 30 minutes to complete, depends on your system configuration
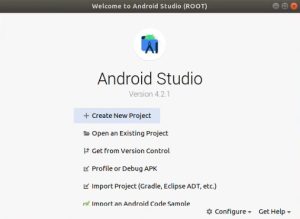
Congratulations! Android Studio has been installed
Video Tutorial
That’s all, In this article, we have explained How To Install Android Studio on Ubuntu operating system in a very simple way. I hope you enjoy this article. If you like this article, then just share it and then do subscribe to my YouTube Channel also for a video tutorial. If you have any questions or doubts about this article, please comment or contact