LAMP is a very common example of a web service stack, named as an acronym of the names of its original four open-source components: the Linux operating system, the Apache HTTP Server, the MySQL relational database management system, and the PHP programming language. Lets learn how to install LAMP stack On Ubuntu 18.04
What is LAMP ?
The LAMP stands for Linux, Apache, MySQL/MariaDB, and PHP, Perl, or Python. It is freely available across the internet designed for Linux and Windows operating systems. LAMP stack is the combination of OS and software which allows you to host the website and some other application through the Apache server, where data will be run and saved on the SQL database. Here I am sharing LAMP installation Tutorial for CentOS7.
- Apache : for running the web server ( HTTP / Port 80 )
- MySQL/MariaDB : Saves the website / application’s data ( Port 3306 )
- PHP : for processing the web content
Also Read : How To Install LAMP On CentOS 7
Steps to Install LAMP Stack On Ubuntu 18.04
Step 1
Install Apache2 Web Server
# sudo apt update
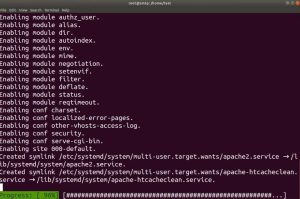
# sudo apt install apache2
Allow the Apache Ports in the Firewall
# ufw allow 80

# ufw allow 443

# ufw allow ssh

# ufw allow enable
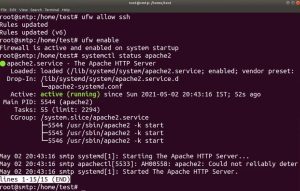
Check the Apache status which should be Active and Running
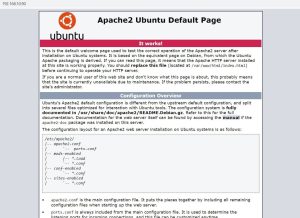
Finally, check the Apache page by putting the server IP Address in the web browser. My IP Address in 192.168.10.90
Step 2
Install PHP and PHP Extensions
Install Some Repositories before installing PHP
# sudo apt-get update

# sudo apt -y install software-properties-common

# sudo add-apt-repository ppa:ondrej/php

# sudo apt-get update
Once Repositories installed, run the below command to install PHP
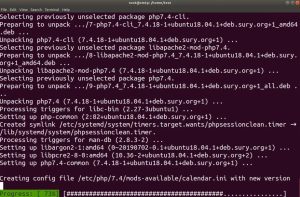
# sudo apt -y install php7.4
To Check PHP Version, follow the below command
# sudo php -v

You should install PHP Additional packages to avoid Web Applications error in future. Use following commands to install some important PHP Extensions ( {bcmath,bz2,intl,gd,mbstring,mysql,zip,common} )
# sudo apt-get install php7.4-bcmath

# sudo apt-get install php7.4-bz2

# sudo apt-get install php7.4-intl

# sudo apt-get install php7.4-gd

# sudo apt-get install php7.4-mbstring

# sudo apt-get install php7.4-mysql

# sudo apt-get install php7.4-zip

# sudo apt-get install php7.4-common
Step 3
Install MariaDB – MySQL
To install MariaDB run the below command
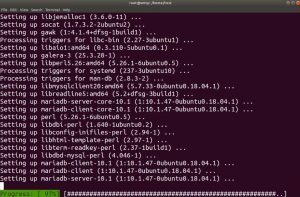
# sudo apt install mysql-server
The next step is to secure the installation of MySQL
# sudo mysql_secure_installation
- Enter current password for root (enter for none):
- Set root password? [Y/n]
- New password :
- Re-enter new password :
- Remove anonymous users? [Y/n] :
- Disallow root login remotely? [Y/n] :
- Remove test database and access to it? [Y/n] :
- Reload privilege tables now? [Y/n] :
Once installation is done, start and enable MariaDB
# systemctl start mariadb

# systemctl enable mariadb
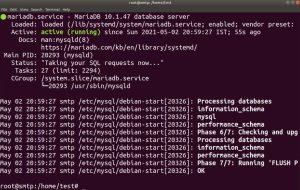
Check the MariaDB status, status must be active and running
# sudo systemctl status mariadb
Congratulations for Apache, MySQL, and PHP have been installed On Ubuntu 18.04. You can perform all the steps in a Local Host by Private IP Locally or in a Virtual Private Server Globally by Public IP. You can Buy a Premium VPS here on Hostinger , BlueHost, and GoDaddy At a very Cheap Rate.
Video Tutorial
So Guys, in this post we have covered how to Install LAMP stack n Ubuntu 18.04 step by step in a very simple way. LAMP is a mechanism to run almost every web based application like WordPress, Cpanel, OSTicket some Email Marketing Applications and many more. This is the first step to build your Linux server to run web applications globally. Comment below if you have any doubt in this article, so I can help you to resolve your problems.